


Azure DevOps is an amazing offering from Microsoft that lets users manage projects that are platform-, language-, and operating system-agnostic. With Azure DevOps pipelines, it is very easy to manage project task items, CI/CD pipelines, and even publishing of artifacts. This article begins with the basic concepts and jargon associated with Azure DevOps, moves on to build a simple pipeline, and enhances it by leveraging variables.
Back in the 1990s, industries often followed the waterfall model for software development, where each department had a separate responsibility like requirements, development, test and operations. In such a model, once a change is made, it becomes difficult to backtrack and modify something. So the model is not good for projects that have frequent requirement changes.
The modern approach is for industries to follow the agile method of work, which removes the strict separation between the requirements, development, and test teams. The project teams are generally proficient in all disciplines. Consequently, the development of software products is speeded up as changes in requirements or errors can be detected and remedied as they occur.
DevOps is the practice that brings the development and operations teams together. It’s all about creating a repeatable and reliable process for delivering software to customers fast. The DevOps toolchain is used to achieve continuous integration and continuous deployment. DevOps also helps teams to identify errors quickly, as the development team can easily check the latest release builds.
Why is Azure DevOps needed?
We need a toolset to implement DevOps, which provides insights about all the steps involved in the building and running of software. Microsoft’s Azure DevOps software suite has all the tools necessary for doing so.
Users can also opt for a set of independent tools. For instance, for the agile scrum boards, Jira or Trello may be used. Build tools like Maven, TeamCity, and Bamboo can also be deployed. There are also several tools for release management like XebiaLabs, XL Deploy, Jenkins, Octopus Deploy, etc.
These solutions mean that the tools have to be hosted on-premise and need to be maintained and updated by users themselves. Also, using lots of dispersed tools for DevOps makes it challenging to keep track of all the events happening during the project development.
Azure DevOps provides one secure, fully traceable, and easy to use toolset that the user doesn’t have to host or maintain. It also brings in the functionalities of traceability and compliance out of the box.
So, if one wants to focus on building and running the software and not on maintaining the toolset, Azure DevOps is the solution. It is hosted as a SaaS solution, and is always up-to-date with no maintenance required from the client’s side. It provides a hosted pool of build machines for Linux, Mac, and Windows to develop applications.
Components of Azure DevOps
Each component of Azure DevOps is complete and independent in itself. Any component can be replaced with its third-party alternatives.
These components are:
1. Boards
2. Repos
3. Pipelines
4. Test plans
5. Artifacts
Let’s study each component in detail.
Boards: This is a collaboration tool for the DevOps team to track and manage sprints. It’s all about managing and planning work items. It provides a user interface to collaborate with the team and know the work that has to be done to create the software product. It also gives the ability to visualise the work items in different ways.
Work items: These represent the jobs. Work items hold the specifications of what is wanted and how to implement it.
Traceability: This uses the work item types to trace back the work done by the team.
Planning: This includes the task planned using Agile tools such as a backlog of work items, including the Agile backlog and sprint backlog.
Repos: These help to control the source code and track changes in code during software development. Developers can choose between Centralised Source Control (TFVC [Team Foundation Version Control]) and Distributed Source Control (Git integration). Repos can do everything that Git can. Some of the additional benefits include:
Being able to have a conversation with colleagues while approving pull requests.
Policies can be attached to the Git branch, and developers can be restricted from directly committing to the master branch, or have at least two developers review the code before merging it to master.
When a pull request is created, a build pipeline is triggered, and the results are visible. This helps us to decide whether the changes should or should not be approved.
Pipelines: Pipelines automate the release and build process. They allow developers to build, test and deploy with a CI/CD mechanism that works with any platform and language.
Running the pipeline depends on the agent pool availability. When a pipeline run is triggered, it gets queued, and when the agent is available, it is executed.
Pipelines are of two types.
1. Build pipeline: This builds the code and runs tests on it.
2. Release pipeline: This takes the input from the build and then releases or deploys it to various deployment groups. The release pipeline can also be triggered when the build pipeline is successful.
Pipelines also include:
1. Library: This maintains the variable groups, which can be used in pipelines. It can also store secure files like signing certificates without committing them to the source repository. The contents of secure files are encrypted and can only be used during the build or release pipeline by referencing them from a task.
2. Task groups: These enable the reuse of parts with similar functionality, as well as grouping and reusing them in multiple pipelines.
3. Deployment groups: These are groups of environments, which developers wish to release. For example: Dev, Prod, QA, and test.
The logs are the result of running the pipeline. They contain the outputs of the steps described in the pipeline.
Test plans: Manual or automated tests are stored here. These can be functionality tests like unit tests, or smoke tests, or load and performance tests. The results can be stored and integrated into the process, and insights obtained on the functional coverage. Using Azure test plans, one can track which particular part of the software was tested and by whom. Exploratory test sessions can also be run against specific deployments.
Artifacts: Azure DevOps makes it easy to store and manage all the artifacts that the software generates. This is where various NuGet (a free and open source package manager designed for the Microsoft development platform) and Node packages can be published. It serves as an artifact repository.
This is helpful in situations where:
1. You need to know if a specific package is being used.
2. You need to block an infected package and fall back to a previous or newer version.
Packages that have been pulled from outside and have become part of the software can be traced.
Creating a simple pipeline
To demonstrate the use of the Azure pipeline, we’ll build a simple website that can be run locally, in a container, or in the cloud.
The website is a simple HTML page, along with an Nginx Alpine-based Docker image that will serve this page and run inside a Docker container. The next step is to push this container into the Azure container registry.
Running the website locally
The current directory is as shown below:
azureuser@Kube:~/OSFY-project/projects ls Dockerfile index.html
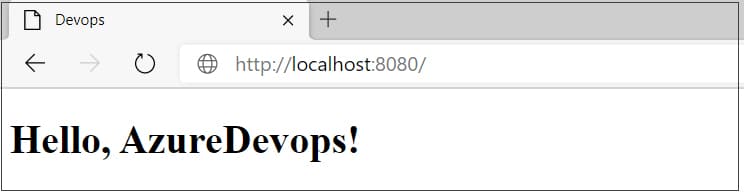
In the index.html file, there is a basic markup titled DevOps and a heading. The contents of index.html are given below:
<!doctype html>
<html>
<head>
<title>Devops</title>
</head>
<body>
<h1>Hello, AzureDevops!</h1>
</body>
</html>
First Ipull the Nginx Alpine-based docker image, and then copy index.html to the image in the following Dockerfile. The contents of Dockerfile are given below:
FROM nginx:alpine
LABEL author="Vivek Gupta"
COPY index.html /usr/share/nginx/html
EXPOSE 80 443
ENTRYPOINT [ "nginx", "-g", "daemon off;" ]
For running the application locally, we need to follow the steps given below.
1. Build the Docker image manually:
$ docker build -t osfy-proj:latest
2. Run the Docker container:
$ docker run -d -p 80:80 osfy-proj:latest
Now you can see the website getting served on port 8080, as shown in Figure 1.
Building the container using the Azure DevOps pipeline
To run this website in the Azure pipeline, first, the Azure Container Registry resource needs to be created.
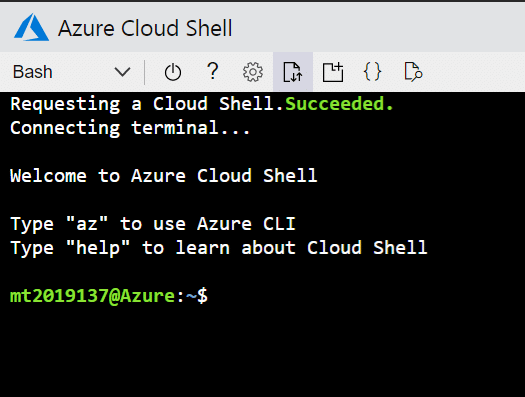
1. Visit the website http://shell.azure.com/ and login with the Azure subscription, as shown in Figure 2.
2. Now create a new resource group, named theResourceGroup by giving the following command:
$ az group create --name theResourceGroup --location eastus
3. Then create the Azure Container Registry resource in the resource group theResourceGroup. Make sure to name it uniquely:
$ az acr create --resource-group theResourceGroup --name vivekiiitbcontainerregistry --sku basic
4. The adminUserEnabled property on vivekiiitbcontainerregistry is disabled by default. To enable it, you must run the following command:
$ az acr update --name vivekiiitbcontainerregistry --admin-enabled true
5. Since you need the login credentials later, you can run the following command to get the user name and password:
$ az acr credential show --name vivekiiitbcontainerregistry
Building the pipeline using YAML
Take the following steps to create the pipeline using the YAML file.
1. Visit the website dev.azure.com and choose any project. If you don’t have one, you can easily get a demo project from http://azuredevopsdemogenerator.azurewebsites.net.
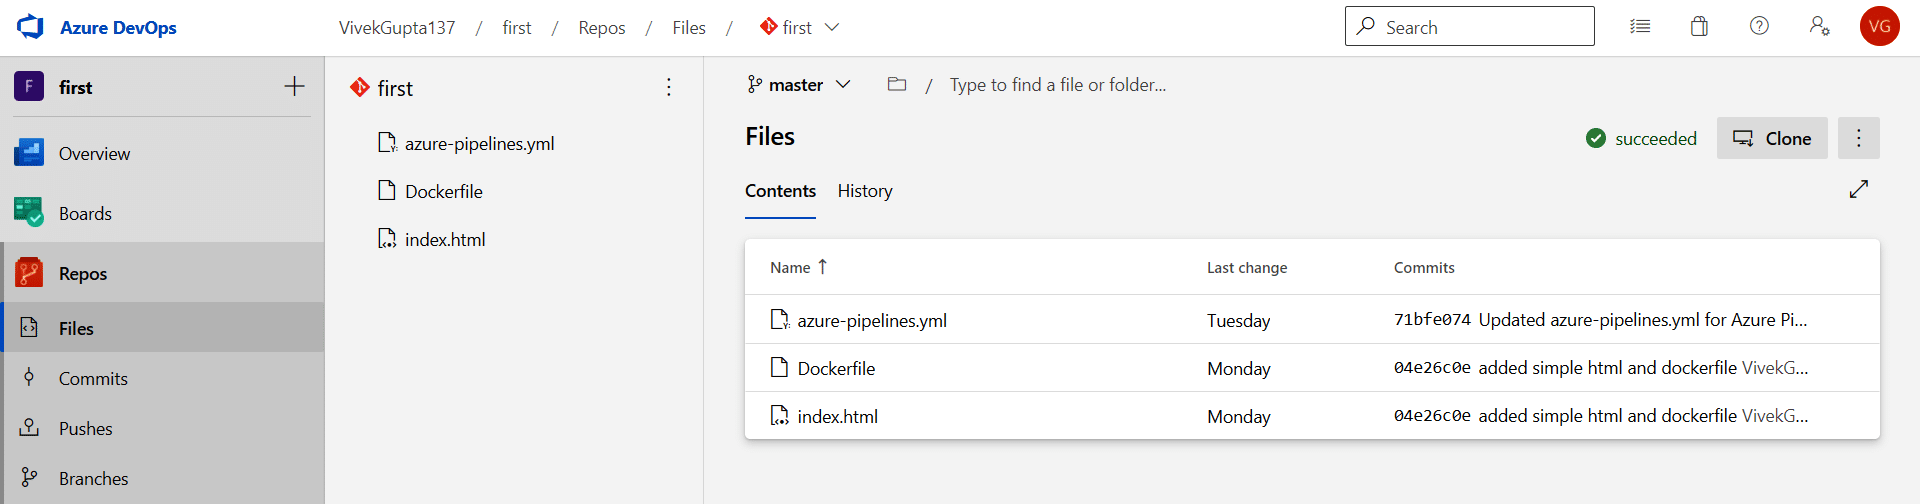
2. First navigate to the Repos section of the project, and connect it to the GitHub repository (https://github.com/VivekGupta137/azuredevops). You’ll see the screen as shown in Figure 3.
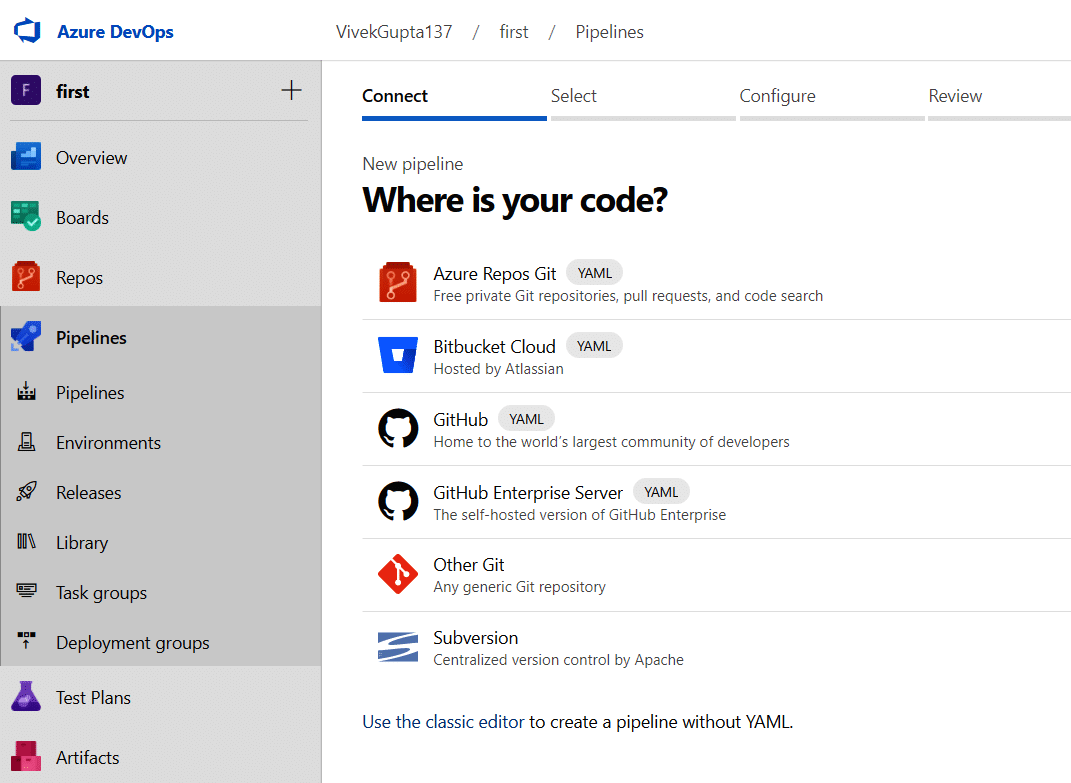
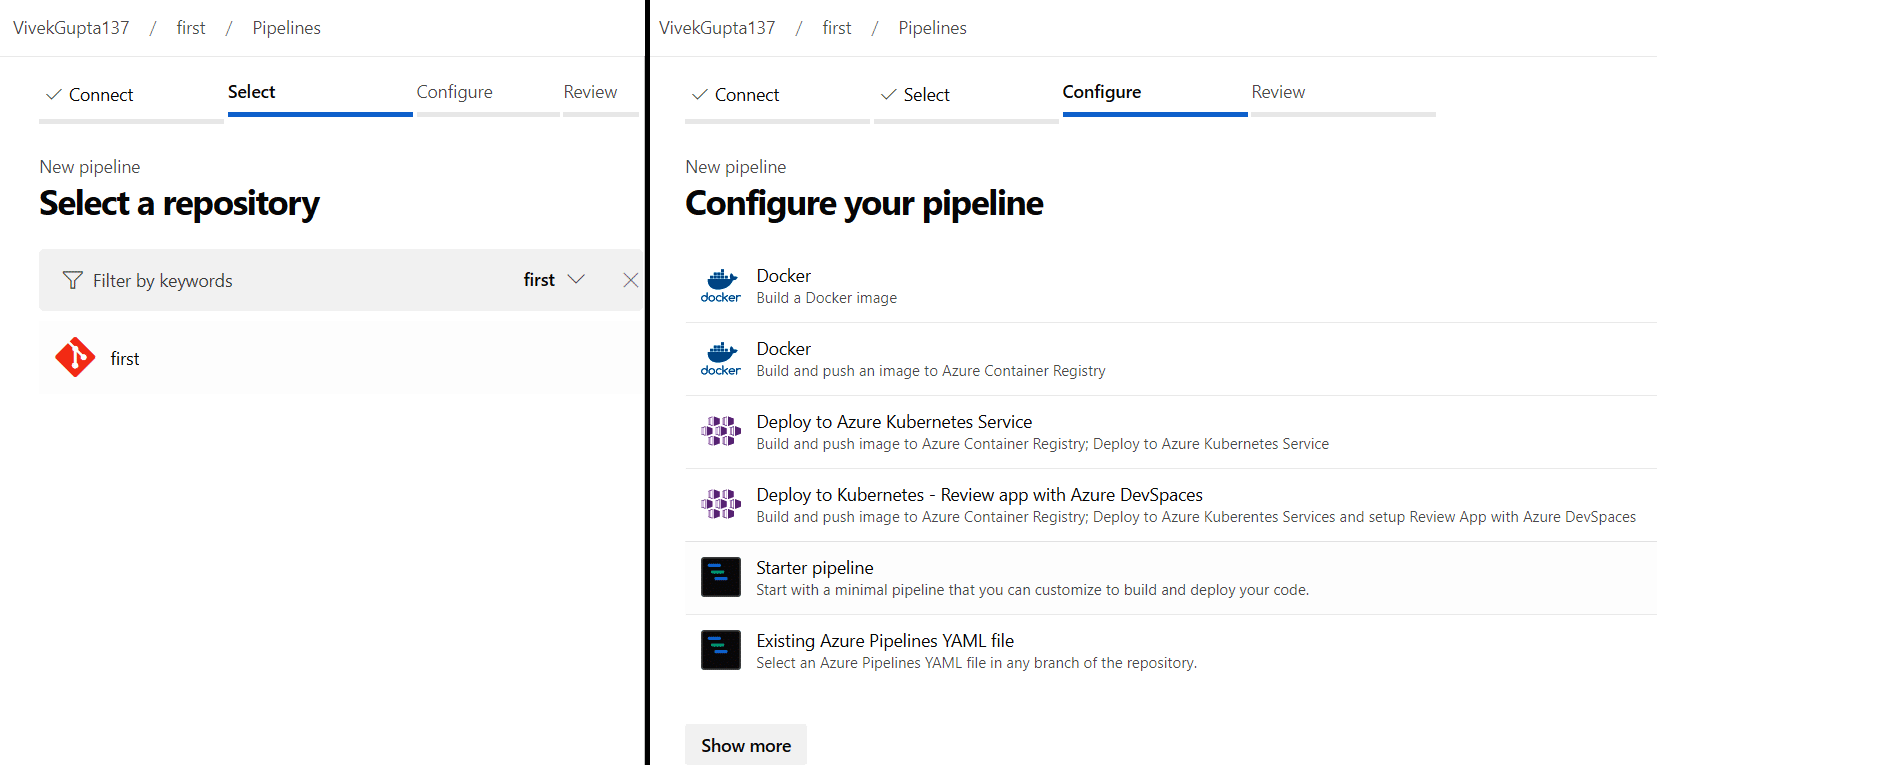
3. Now you can navigate to the pipelines tab, and then enter Create pipeline. After this, it will ask you to connect to the Azure Repos Git repository, as shown in Figure 4.
4. In the next step, select the Git repository and then choose the starter pipeline template to configure the pipeline, as shown in Figure 5.
5. Now fill in the required details in the azure-pipelines.yaml file, as shown in Figure 6.
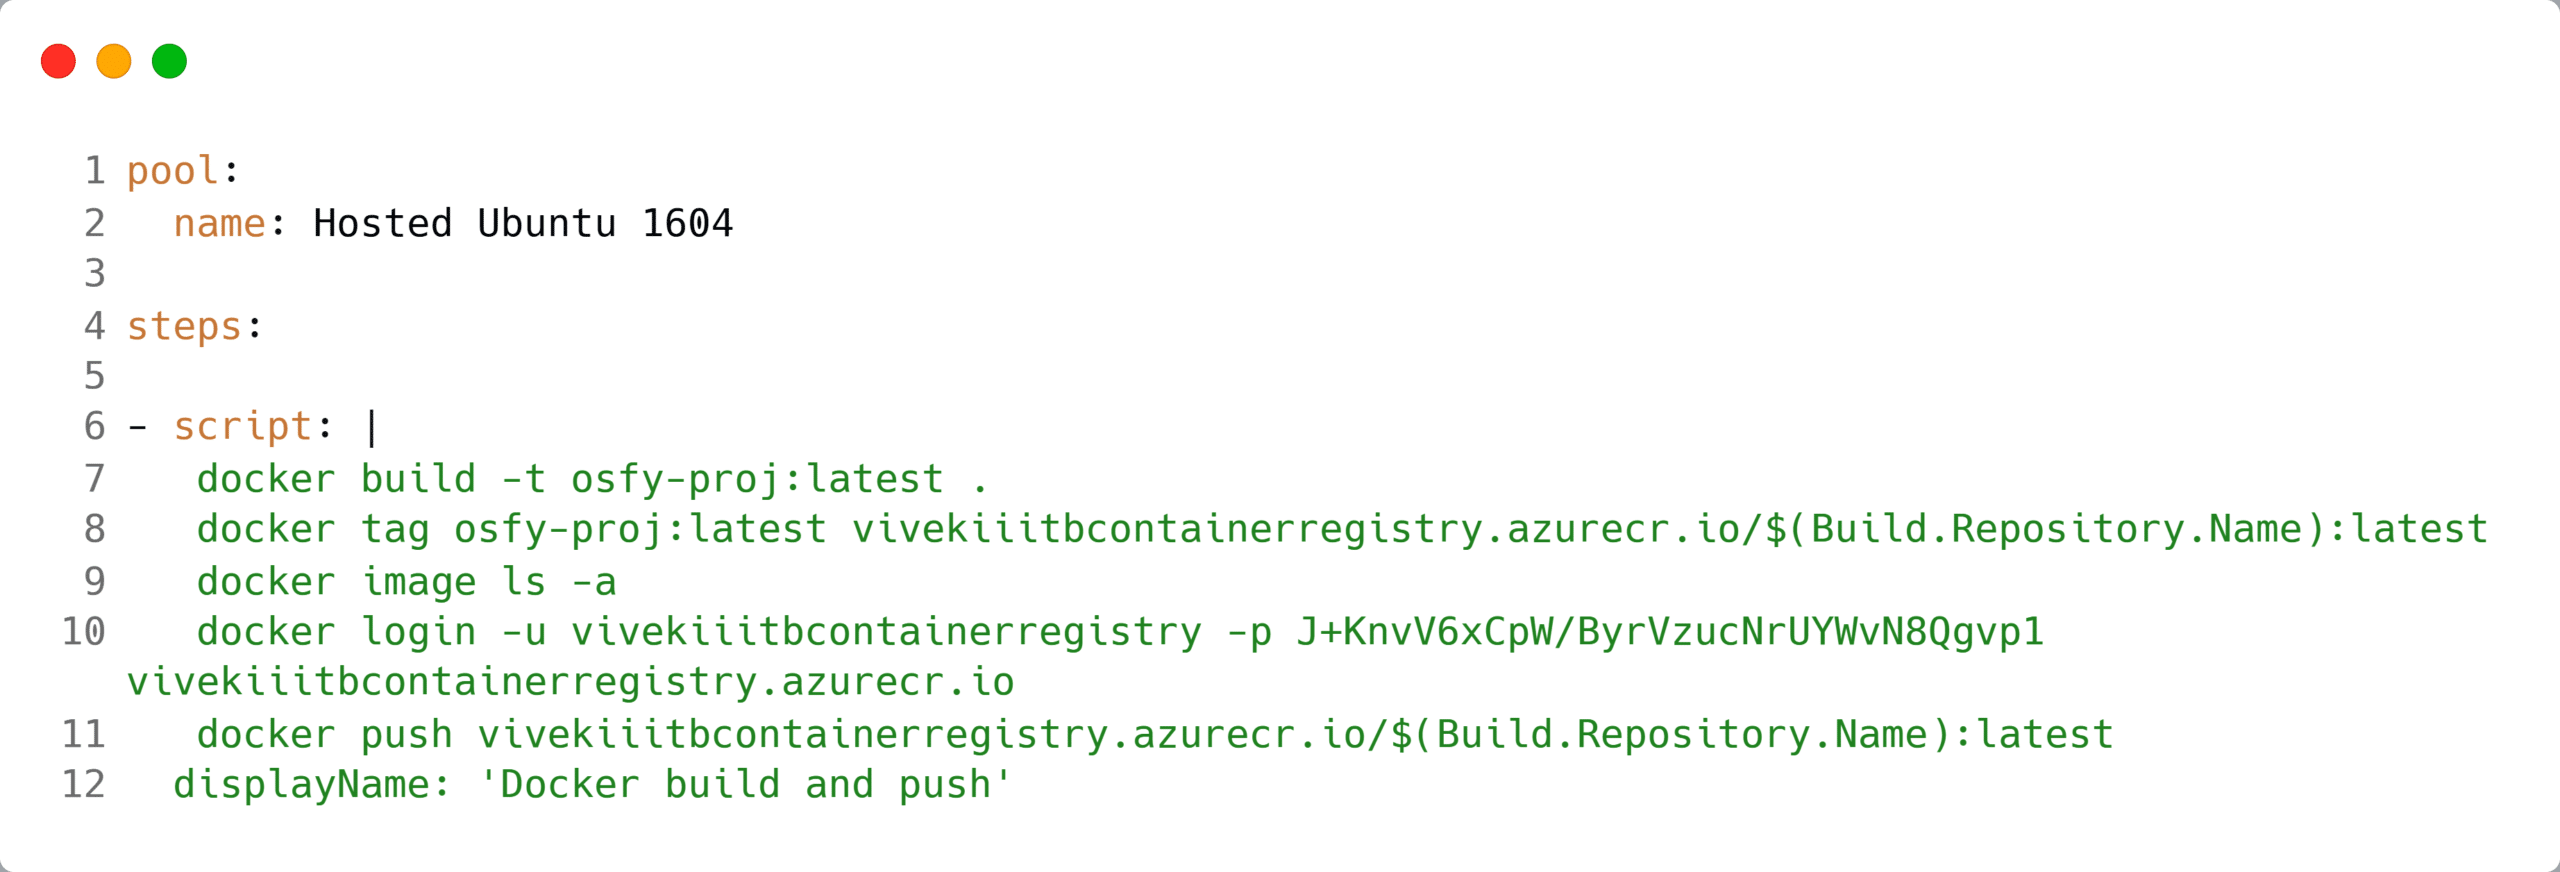
Using this YAML file, build the Docker image, and then push it into the Azure container registry.
- Lines 1-2: These lines specify the pool name, which will run this pipeline.
- Line 4: This specifies the sequence of operations that you would like to perform.
- Line 6: As you would want to run command-line tasks, they are specified within scripts.
- Line 7: This gives the docker build command to build the image.
- Lines 8-9: The image built previously is tagged, followed by the list of all the images.
- Lines 10-12: You are logged in to the Azure Container Registry by providing the user name and password of your resource. Push this image to the ACR (Azure Container Registry).
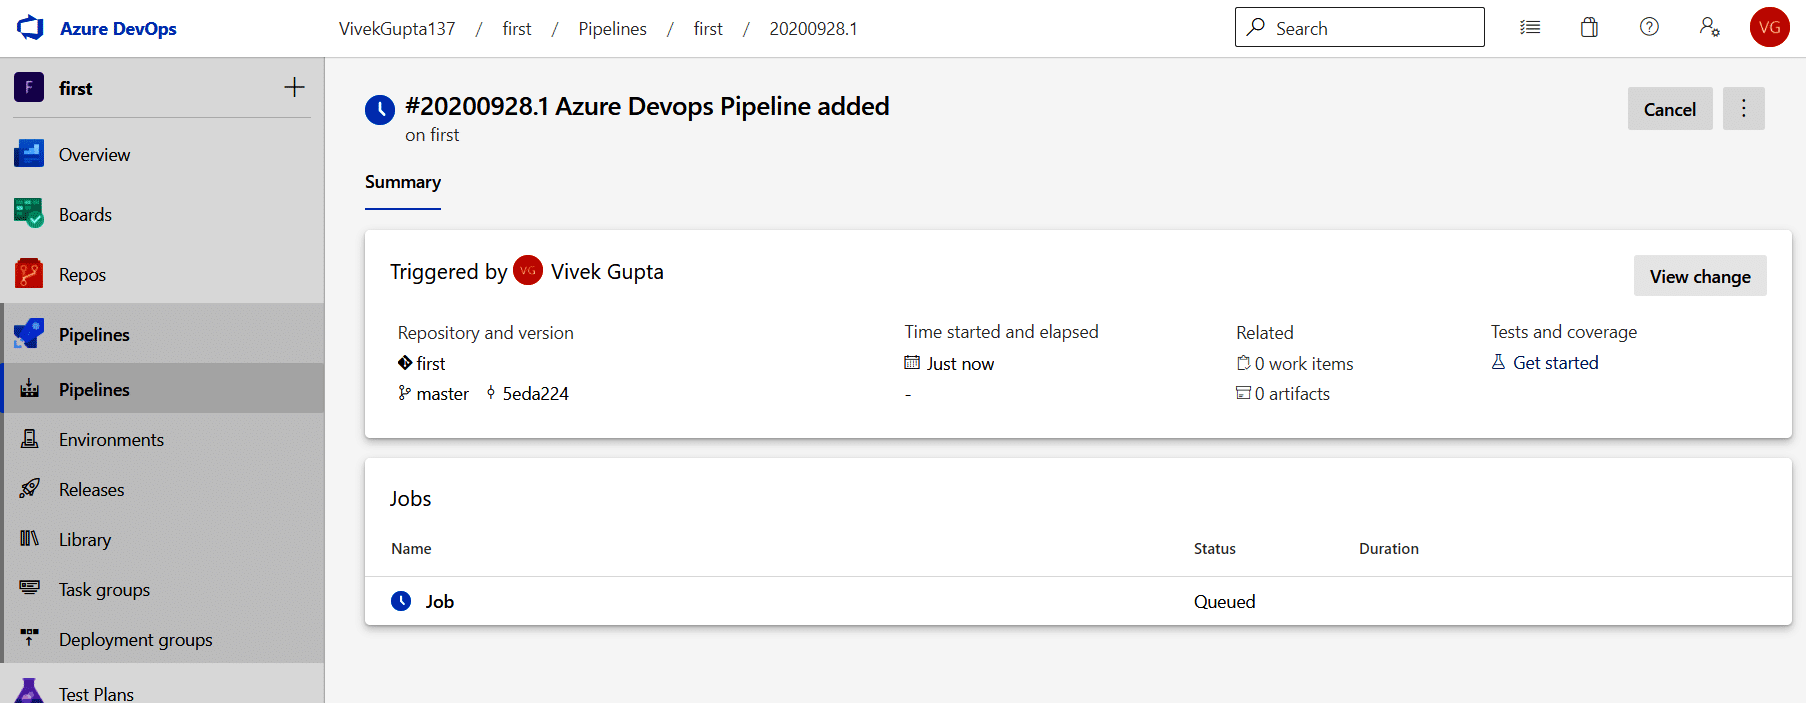
6. Then click Save and run. You will see that the pipeline is queued, which is shown in Figure 7.
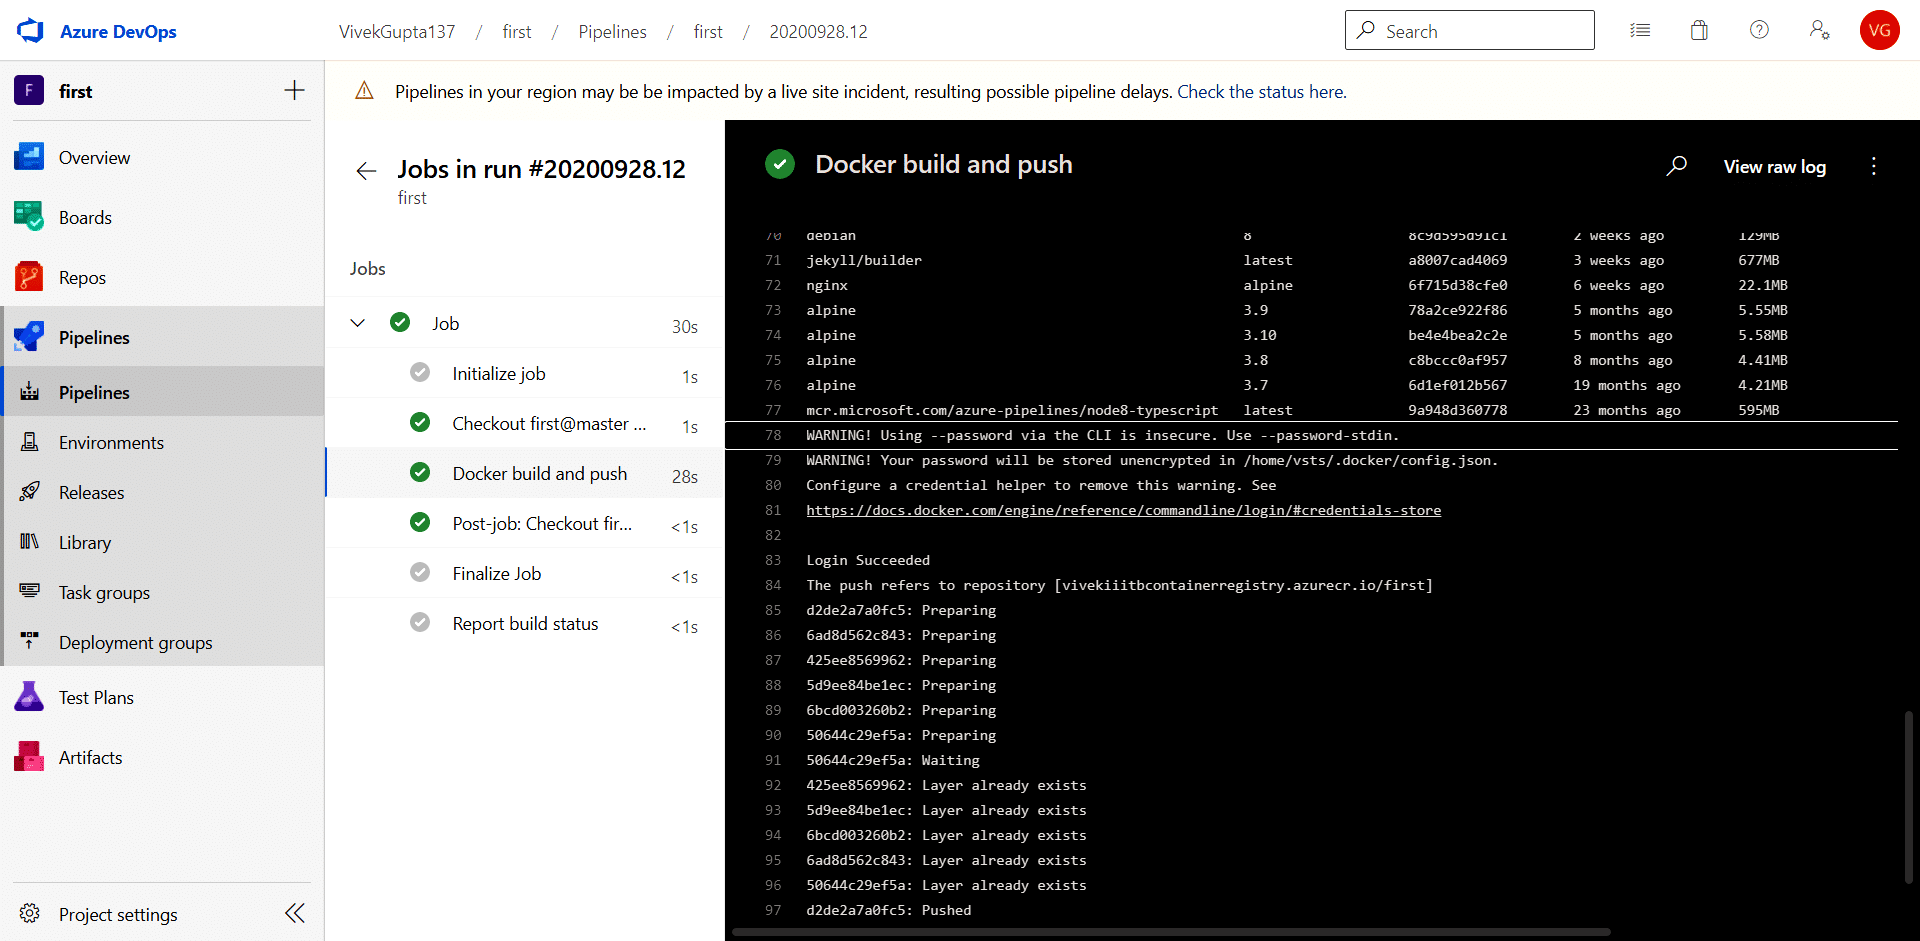
7. When it finishes its execution, you can see the logs by clicking on the Job menu, as depicted in Figure 8.
Enhancing the pipeline
As you can see, the user name and password in the YAML file are hardcoded so that one cannot reuse or update the password when it is needed from a central location. This also creates a security concern as the password will go into the source code. To overcome these problems, variables and Azure key vault are used.
Creating the Azure key vault resource
1. Log in with the Azure subscription at http://shell.azure.com/.
2. Create the resource Azure key vault in the resource group created earlier using the configuration shown below:
$ az keyvault create --location eastus --name vivekiiitbkeyvault --resource-group theResourceGroup --sku standard
Updating the pipeline code
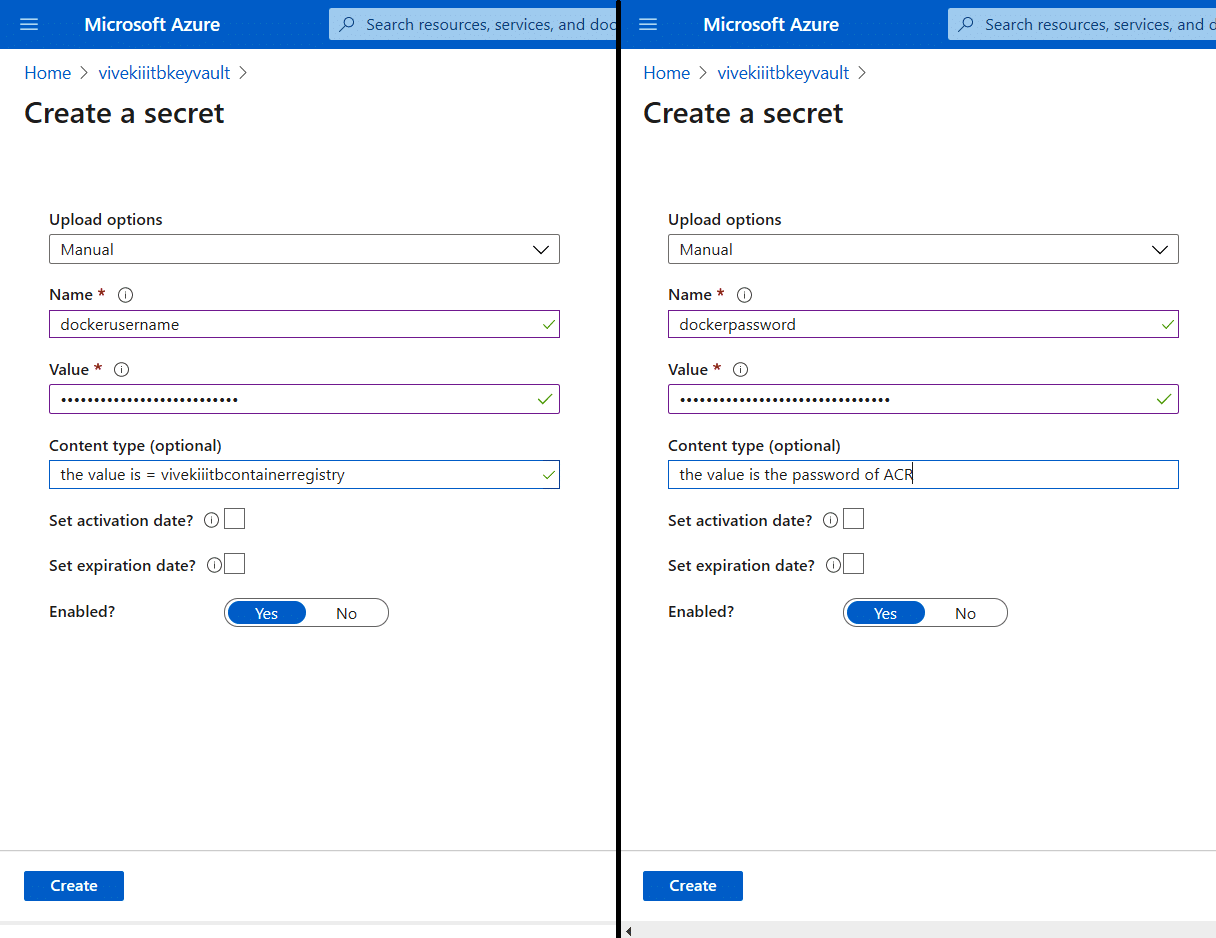
1. First, visit the Azure key vault at https://portal.azure.com/ and navigate to the Secrets tab; then hit Generate to create a new secret and two secrets for the Azure container registry’s user name (dockerusername) and password (dockerpassword), as shown in
Figure 9.
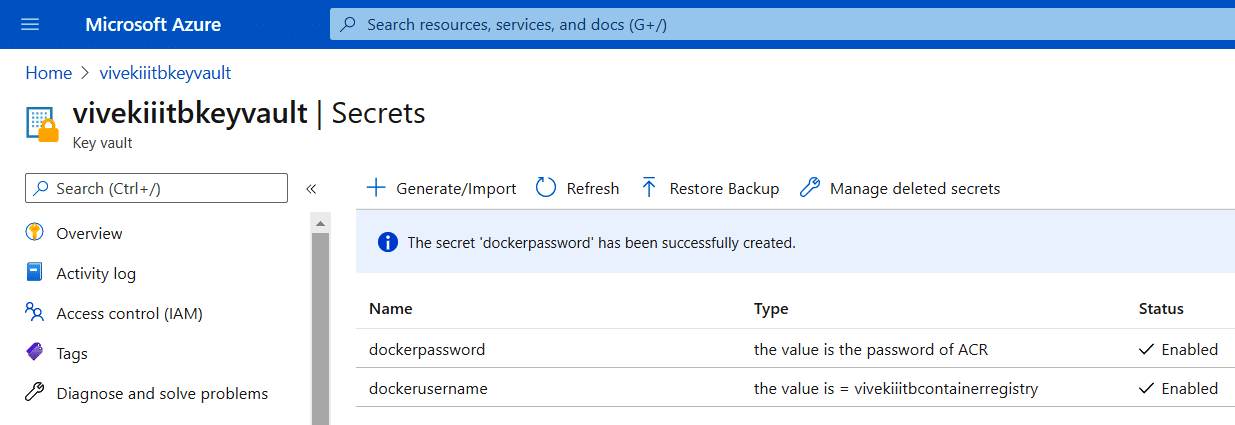
2. Once done, you’ll see that two secrets have been created (Figure 10).
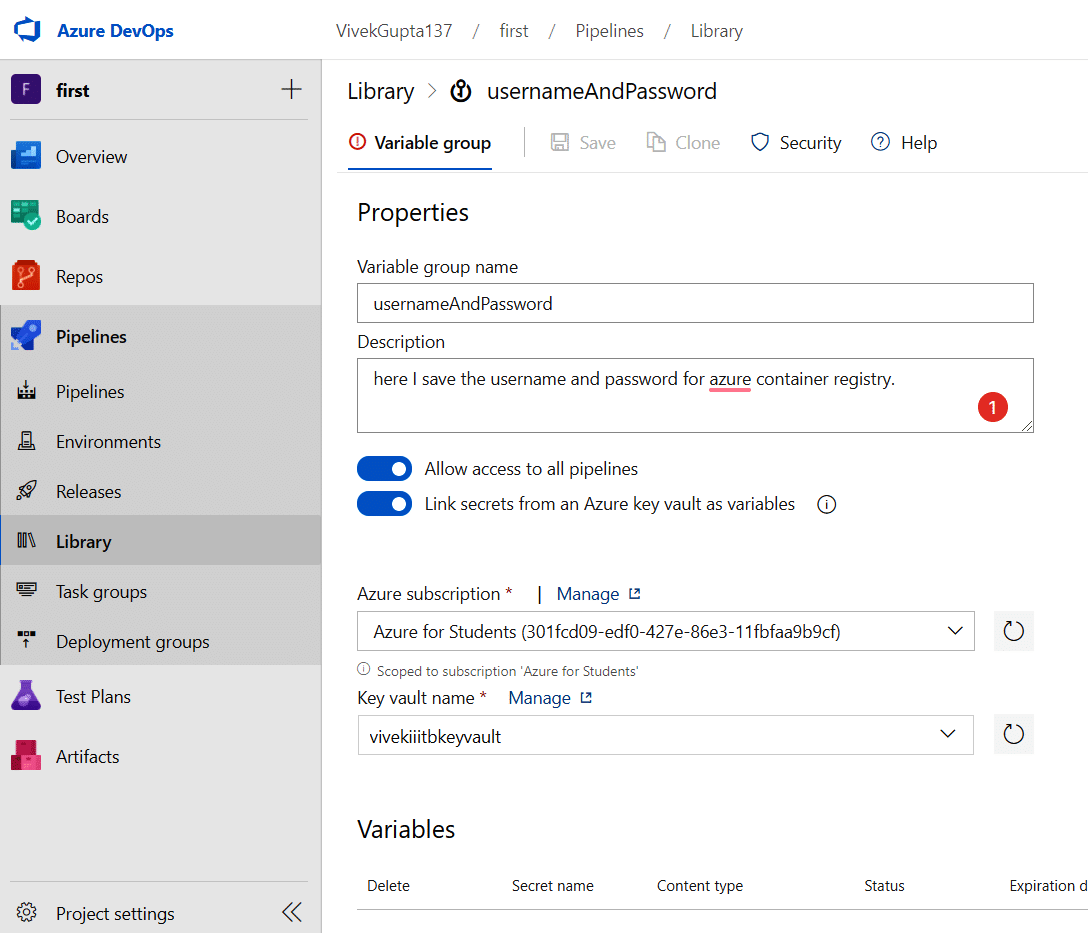
3. Now, visit the library section of pipelines and click on Add variable group to create a group with the name usernameAndpassword, as shown in Figure 11.
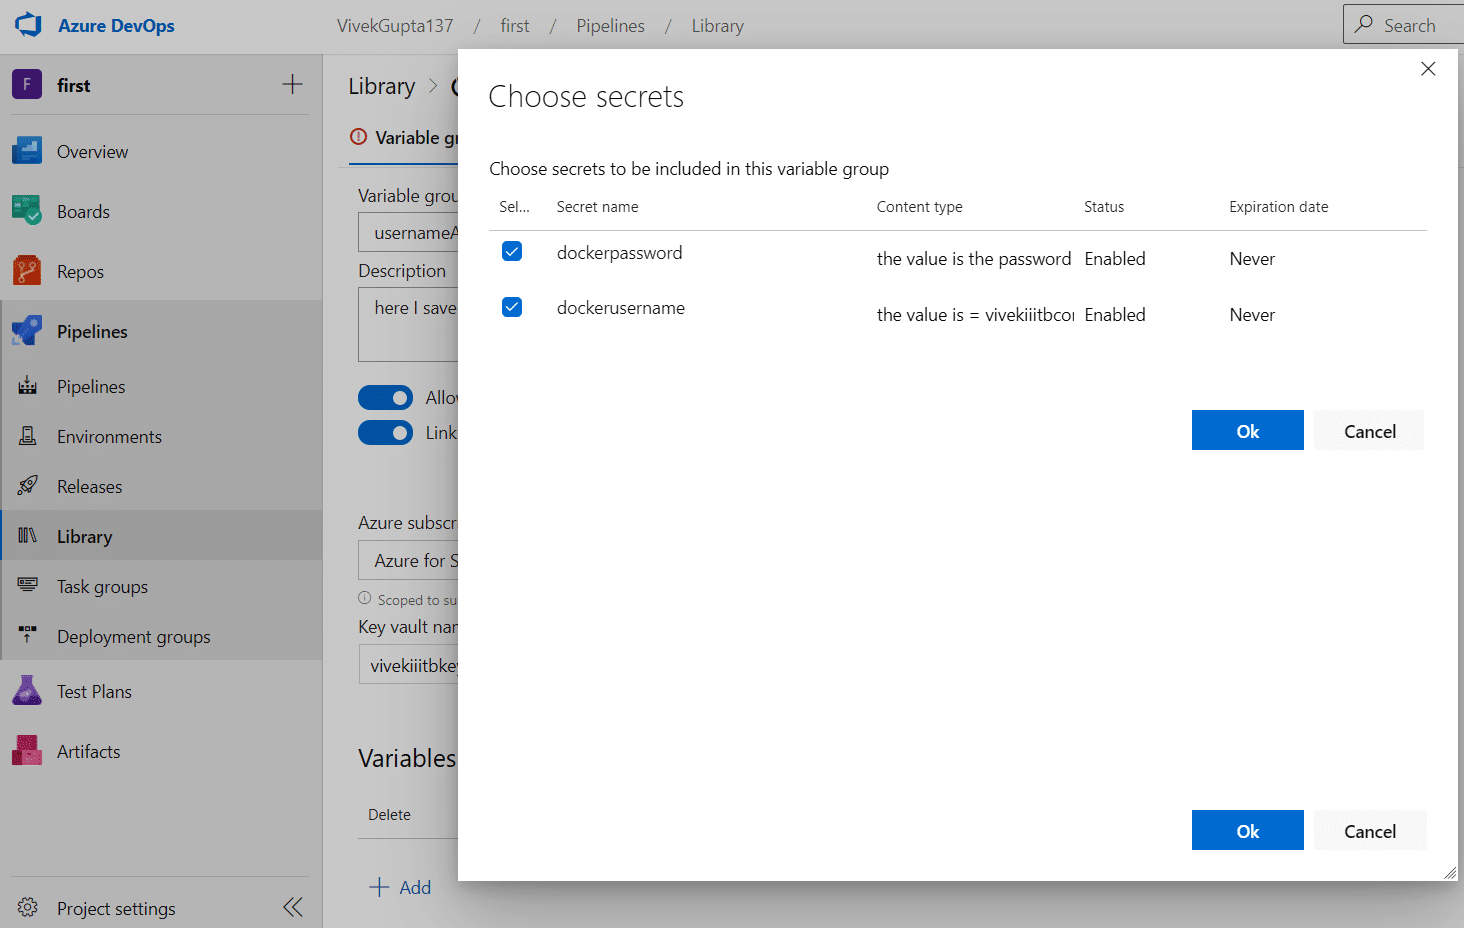
4. Click on Add variables to get the pop-up to choose the secrets and then click the OK button, as shown in Figure 12.
5. Now navigate back to the pipelines section, and edit the code of azure-pipelines.yaml to remove the user name and passwords using variables, as shown in Figure 13.
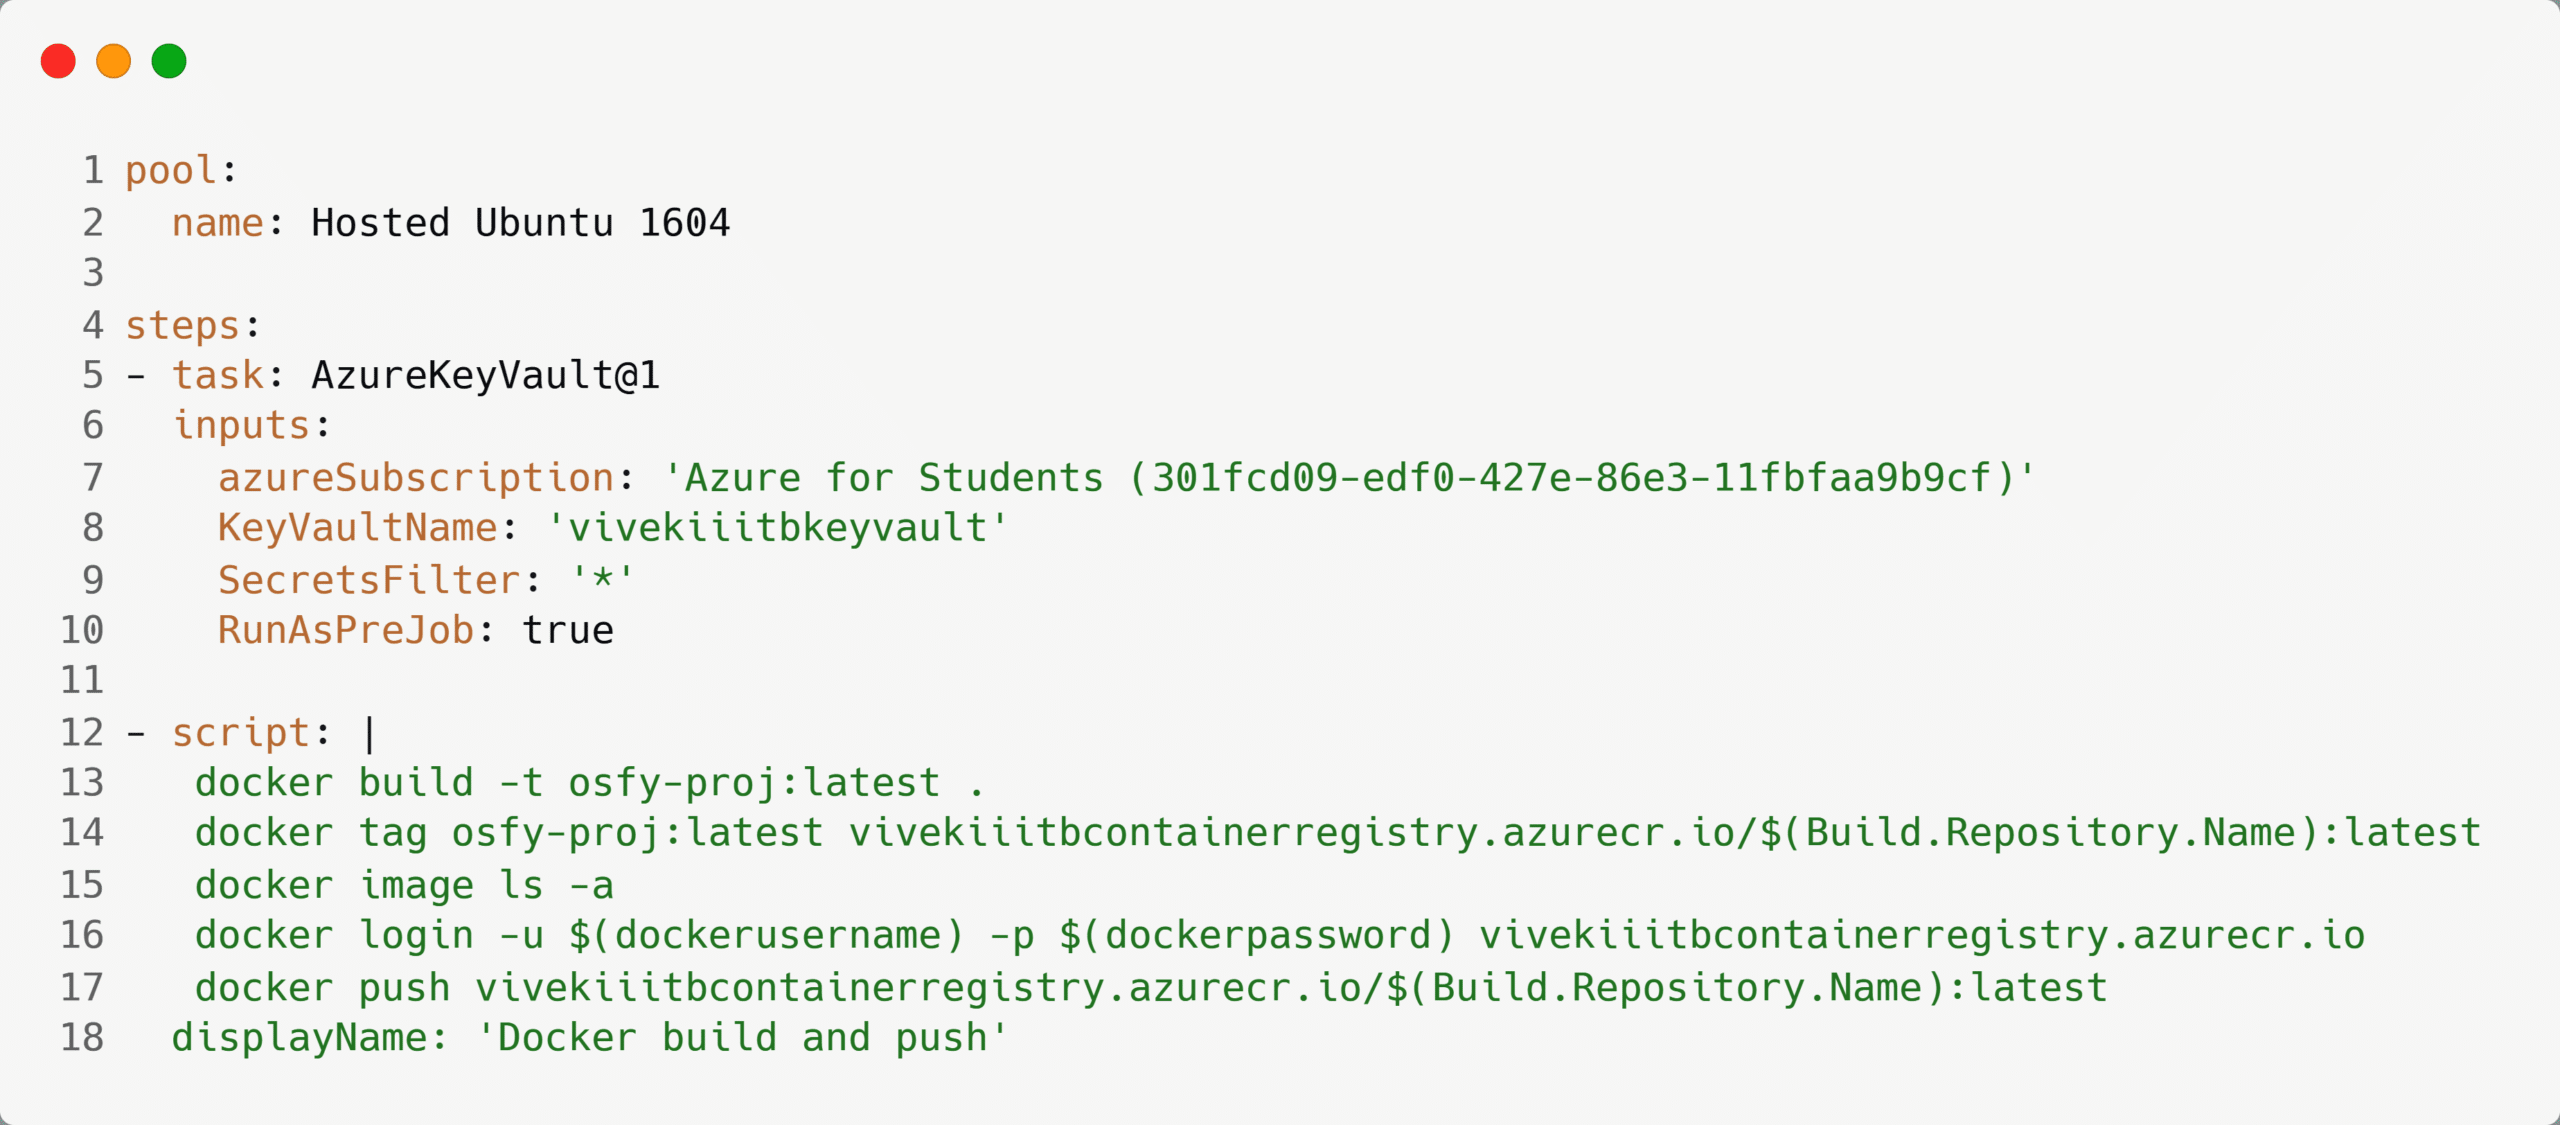
The Docker image has been built using this YAML file. Later, push it into the Azure container registry. Lines 5-10 are added, and line 16 is updated.
- Lines 5-10: These lines add a new task, which adds the Azure key vault to the pipeline. This task will run before the scripts. Here, you have specified the Azure subscription to use the name of the key vault that was created earlier — SecretsFilter with value = ‘*’. It will choose all the secrets in the key vault.
- Line 16: Here the actual user name and password are replaced with the pipeline variables defined in the usernameAndPassword variable group.
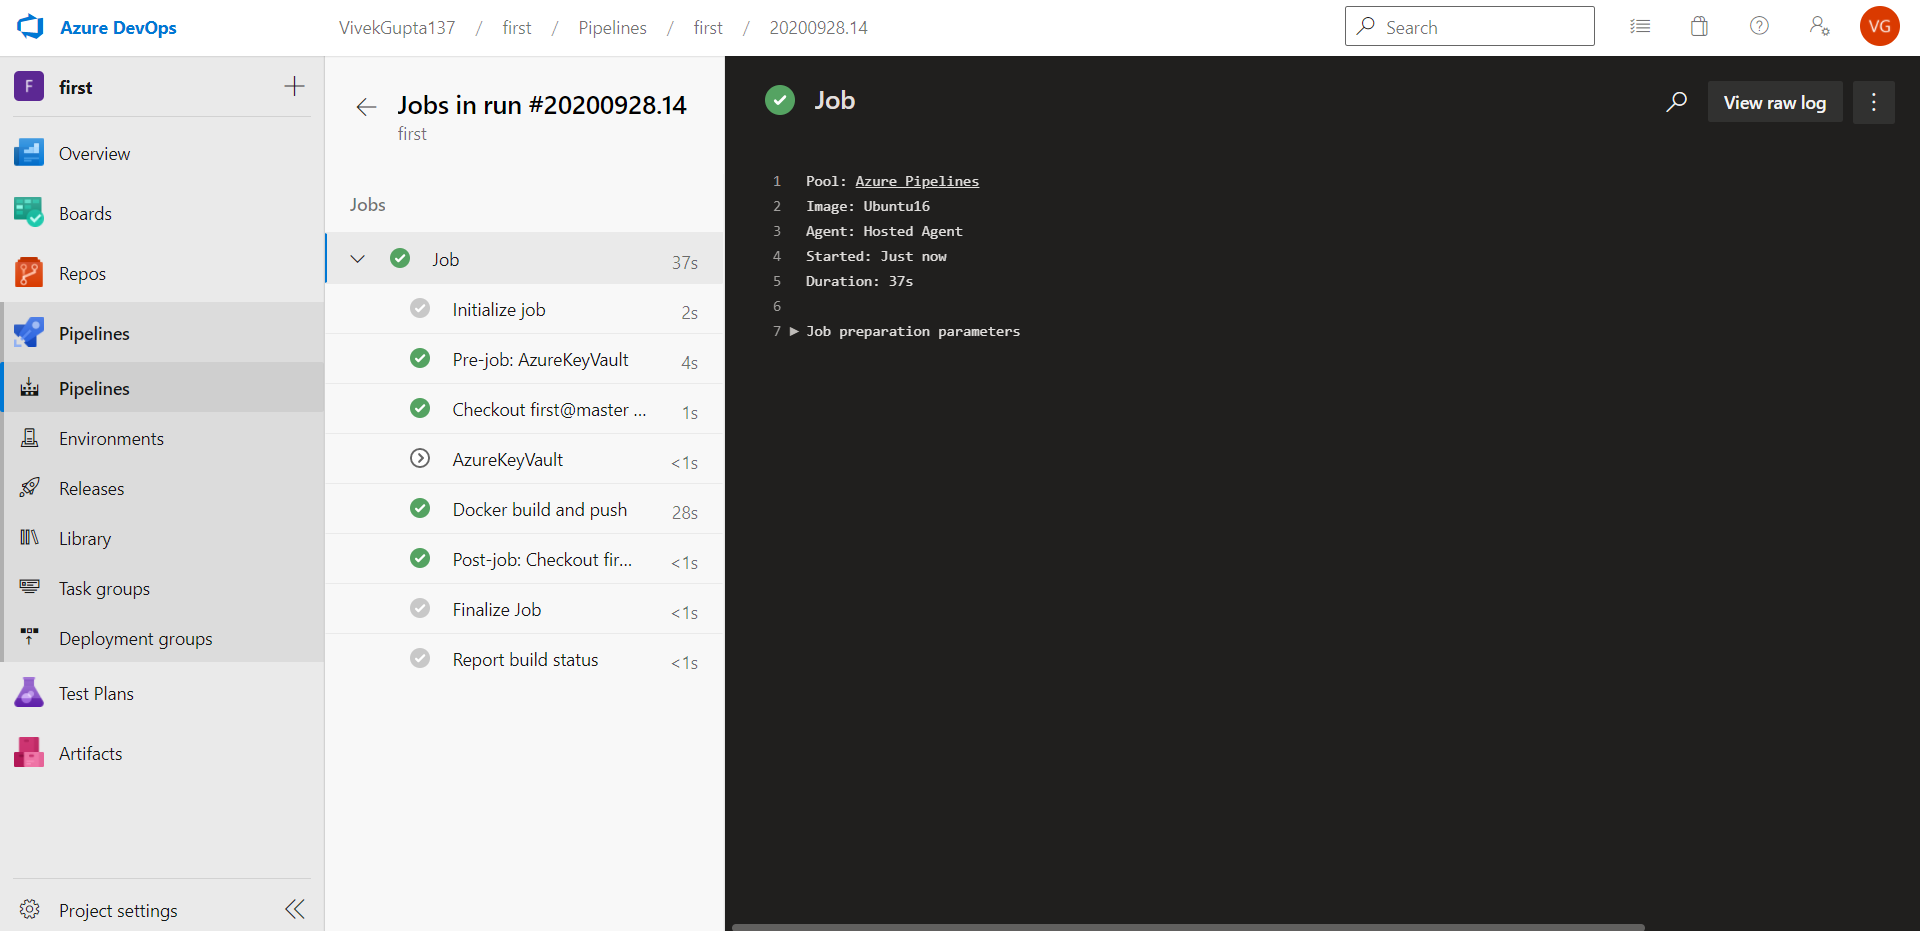
6. Now run this pipeline by clicking the Run button. Once the job runs completely, you can see the logs, as seen in Figure 14.
We have now successfully removed the user name and passwords from our pipeline.
For faster software builds and delivery, CI/CD can be used to automate builds and deployments.
We do hope this article has helped you understand Azure DevOps and the procedure to build a CI/CD pipeline.


