


Apache Xampp is an open source tool used for running PHP or PERL Web applications locally using a Web server. It is available for all major operating systems and is popular with Windows users to locally build and test their Web apps. In this tutorial, we will explore how to get started with Xampp. In the process, we shall create and run our own Web application in PHP, and use MySQL databases with the help of the PHPMyAdmin tool.
Xampp is a free and open source cross-platform Web server solution stack package developed by Apache Friends. It comes loaded with an Apache HTTP server, MariaDB, and MySQL. It also has interpreters for the programming languages PHP and PERL. Xampp is one of the most popular solutions for running PHP apps locally on Windows. Pronounced as Shamp, it is an abbreviation for ‘cross-platform MySQL PHP and Perl’.
In this article, we will explore how to use Xampp from scratch. We will start by downloading and installing it. We will then run a simple PHP Web application on a local host and use the PHPMyAdmin tool to utilise the MySQL database.
Downloading Xampp
Downloading Xampp is super easy and does not require any special instructions. Simply Google ‘Xampp’ and click on the first link. Then click the Download button for Windows. This should download a .exe file on your computer. Upon completion of the download, run the executable file.
Installing Xampp
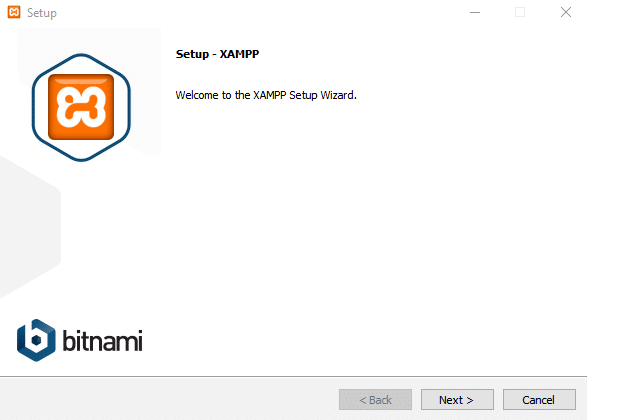
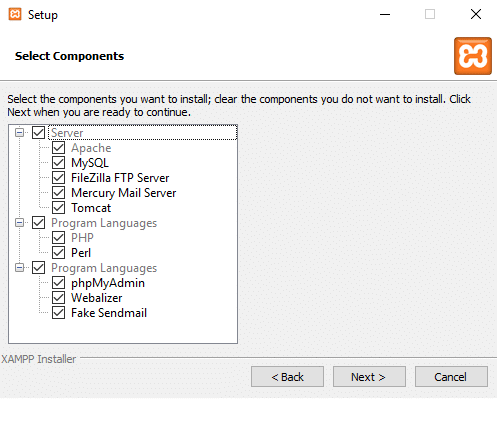
Upon opening the executable file, you will see the installation window on your screen, as shown in Figure 1. Click Next and begin the installation. You will be asked to select the components to install. You can either select and install all the components of the package, or install only the ones that you require. For the sake of this tutorial, it is necessary to select PHP, MySQL, Apache, and PHPMyAdmin. For simplicity, we have selected and installed all the components, as seen in Figure 2.
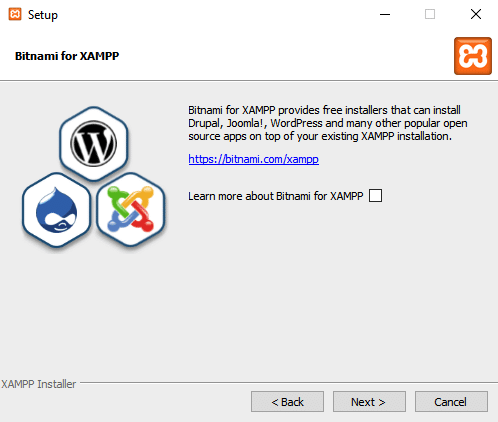
You will be prompted to install the Bitnami extension for WordPress, Jumla, Drupal, etc, along with your Xampp package. Check or uncheck the box as per your requirements. As can be seen in Figure 3, we have unchecked the box as the installation of Bitnami is irrelevant to this tutorial.
In the next couple of slides, you will have to select the location where you would like to install Xampp, and click on Next on a few others. Upon completion of the installation, select ‘Launch Xampp’ and click Finish.
Running Xampp
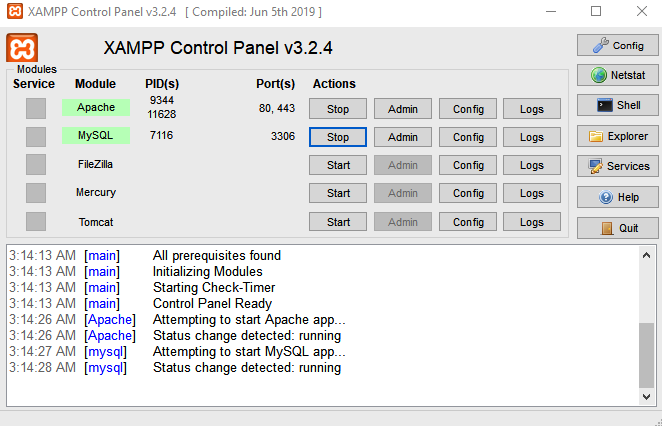
After successfully installing and running Xampp, you should see the Xampp control panel on your screen, as shown in Figure 4. Using this panel, you can start or stop services that are required for deploying and running your Web app. Click Start for Apache, which will serve as our local Web server, and for MySQL, which we will use as a database for our PHP Web app.
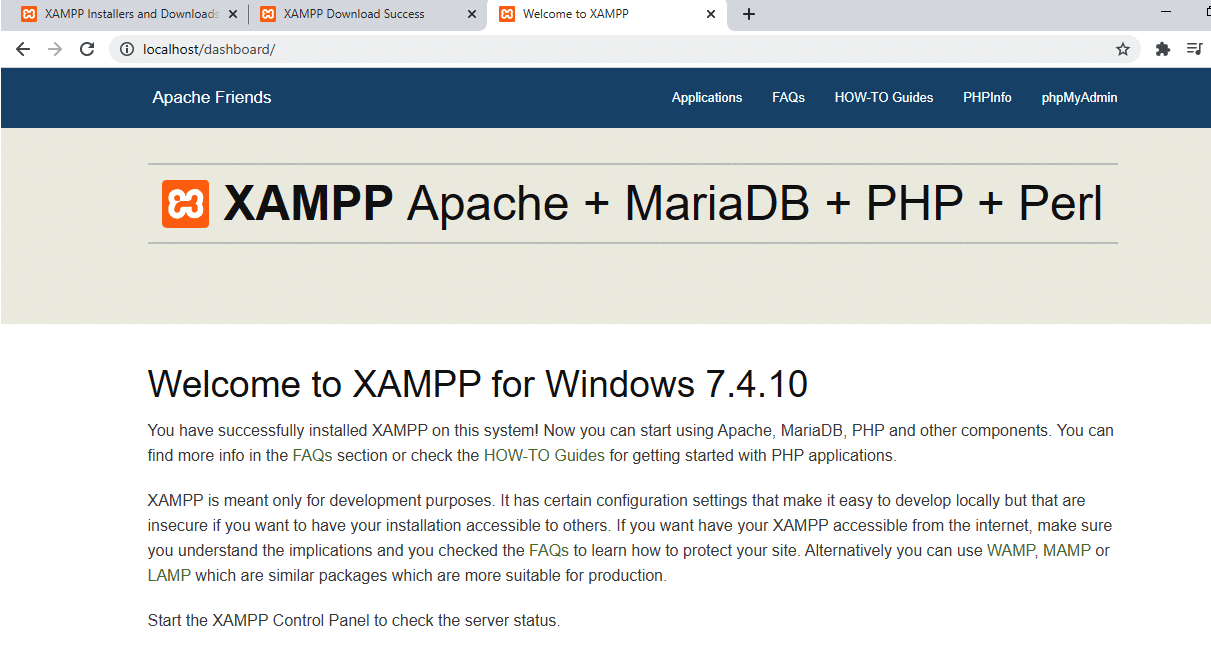
Now open your Web browser and type localhost or 127.0.0.1, which is the default IP address for the local Web server. If everything is in order, the page shown in Figure 5 should open up. What you are seeing is the default page of the Web application, which basically means that your local server is working perfectly.
Deploying the PHP Web app to local server
Now we will get to the fun part, which is launching the very first ‘Hello World’ Web app using PHP. In order to do this, you need to locate the htdocs folder and upload your PHP code to that folder. Navigate to where you downloaded and installed Xampp. For most people, it is
C:/Xampp/ unless you have chosen a different destination directory during installation.
In the Xampp folder, locate the htdocs directory. You will see a bunch of pre-installed files and folders there. Select all the files and folders within the htdocs directory and delete them. Then create a single file named index.php. An index file in a Web app is a file that opens by default when the domain of the Web app is accessed. You can think of it as the home page or the landing page of your Web app.
Now, open the index.php file using any code editor of your choice. My personal preference is ‘Sublime Text’ but you can choose whatever you like. Once opened, write the code shown in Figure 6 and hit Save.
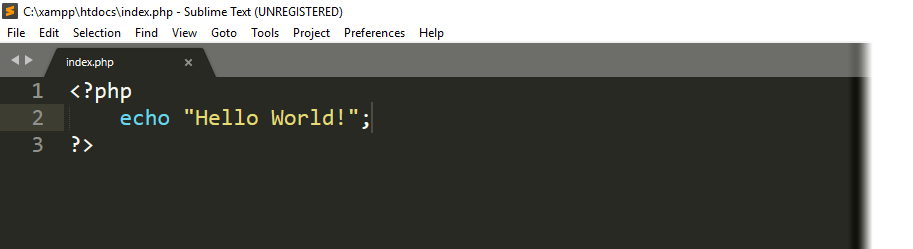
Now, if you refresh the localhost page on your Web browser, you should see a blank page with the ‘Hello World’ message, as shown in Figure 7. Congratulations, you have just deployed your first PHP Web app using Xampp!

Using MySQL with Xampp
Now that we have launched a simple Web app using PHP, let’s move on to a slightly more advanced concept, which is connecting your app to a database. If you remember, we had started two services in the Xampp control panel. One was the Apache Web server and the other was the MySQL database. MySQL is a free and open source relational database that is popularly used in many Web applications across the Internet.
We will use the PHPMyAdmin tool to access MySQL databases. This tool is written in PHP to handle the administration of MySQL. In order to access PHPMyAdmin, open a new tab in your Web browser and type localhost/phpmyadmin or 127.0.0.1/phpmyadmin. This should open up the PHPMyAdmin interface.
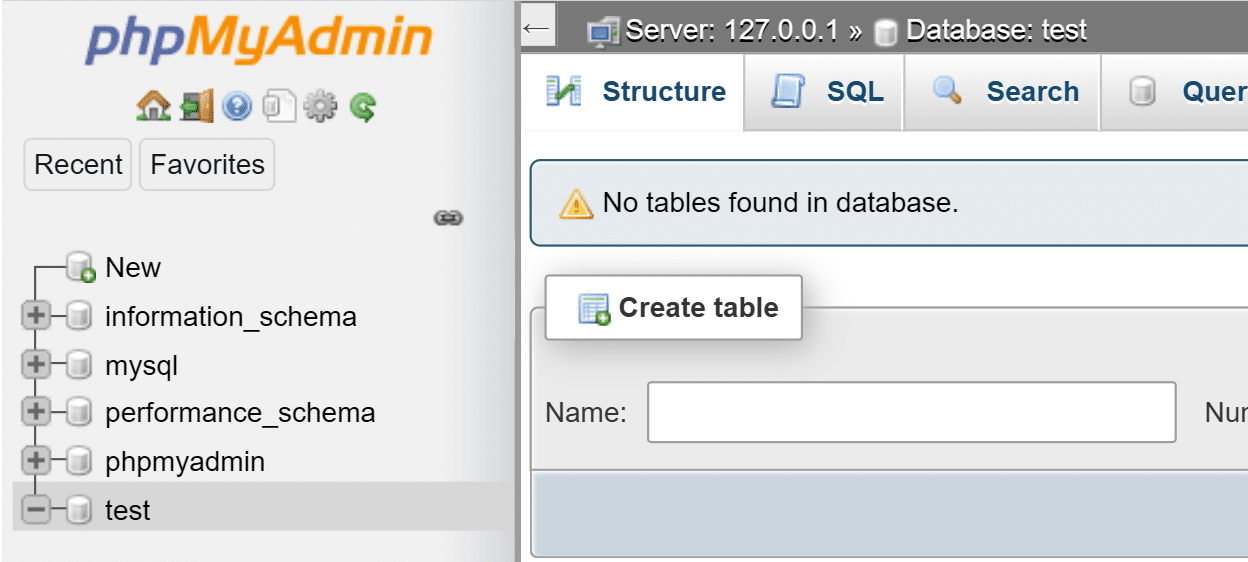
On the left hand pane of PHPMyAdmin, you will be able to see a list of preloaded databases that you can use. Needless to say, you can create your own database, but for the purpose of this tutorial, let us use the preinstalled test database, as shown in Figure 8.
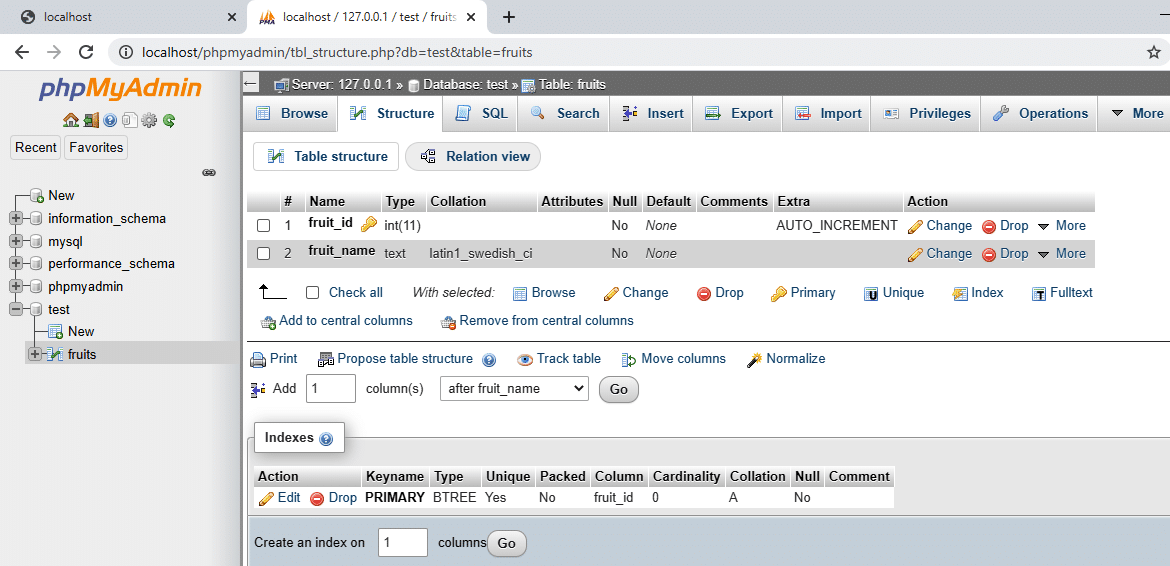
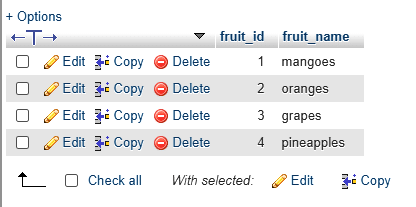
In order to demonstrate the usage of MySQL, we will create a simple table named ‘fruits’. In this table, we will create two columns, namely fruit_id, which acts as a primary key identifier for each row and fruit_name. We will then try and connect the Web app with this database and retrieve the data from the fruits table. Figure 9 shows the table with two attributes, as discussed above.
After creating the table, let’s fill it up with some sample data, as shown in Figure 10.
Connecting to the database
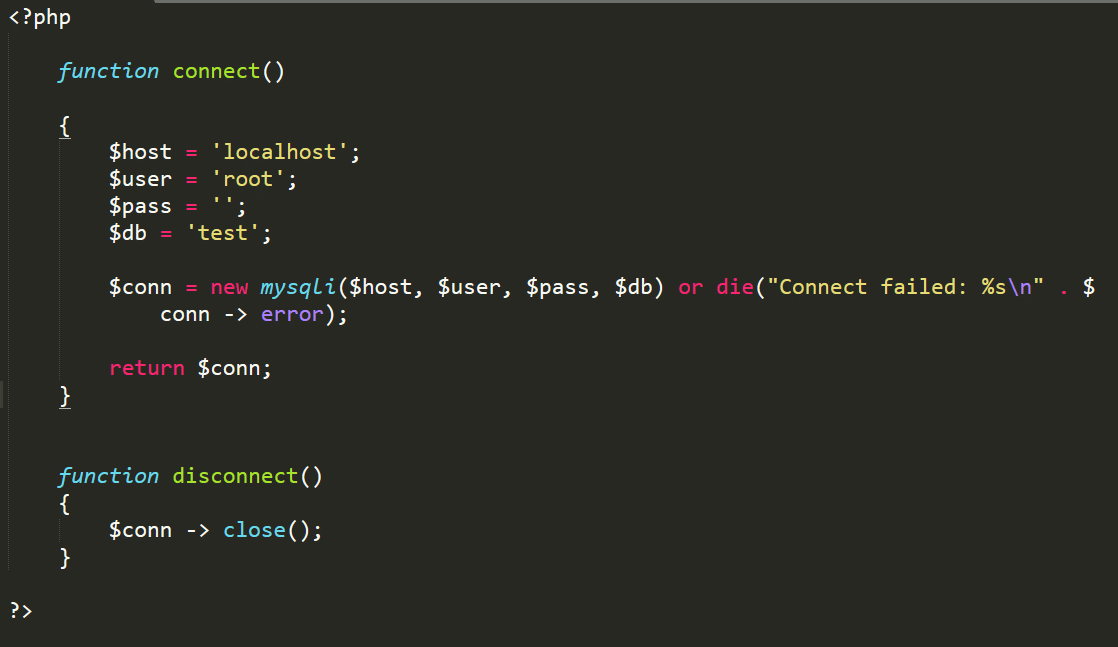
Back in your htdocs folder, let’s create a new file and name it conn.php. This file will contain two functions, one for connecting to the database and the other for disconnecting. In conn.php, write the code, as shown Figure 11.
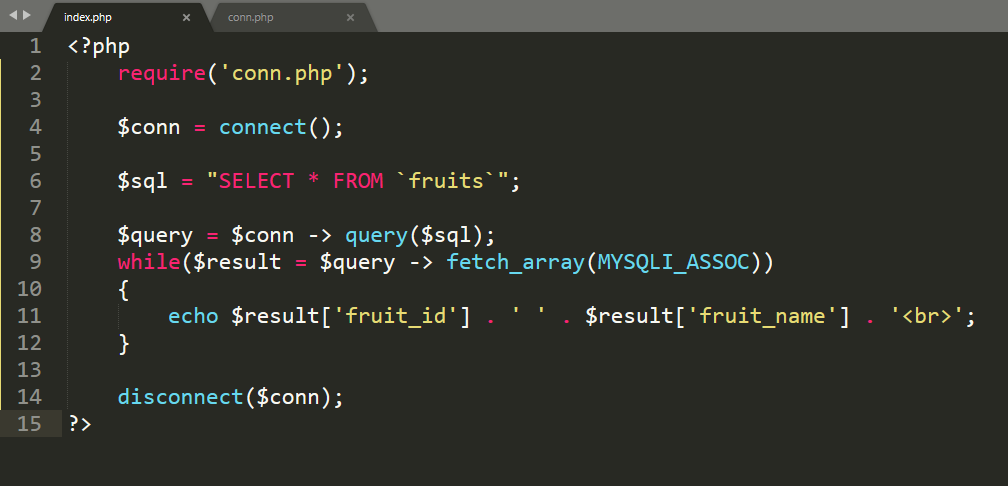
Now let’s get back to the index.php file. The first thing we do is include the conn.php file into the index.php file using the require() function. We will then establish a connection with the database. Write the code shown in Figure 12 on your index.php file to establish a connection and retrieve the data from the database.
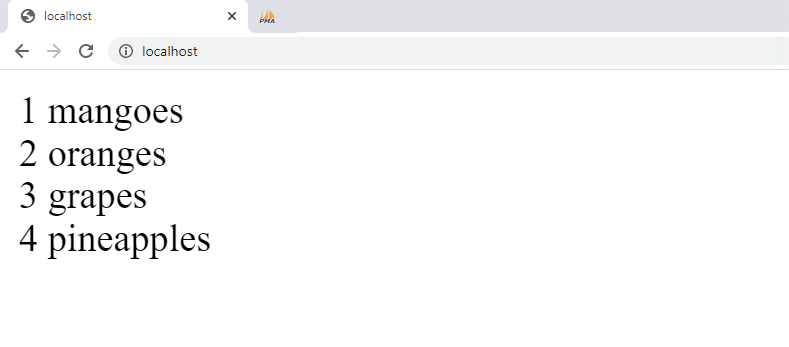
Now when you refresh the index page on your browser, you should be able to see the list of fruits retrieved from the database, as shown in Figure 13. Congratulations, you have just learned how to set up a MySQL database and retrieve data from it.
It is always a good practice to deploy and test your Web applications locally before launching them for public access. For the Windows platform, the Xampp package provides the easiest way to deploy and test PHP applications on your device. We encourage you to explore more ways in which you can utilise Xampp for your PHP projects.


