


AWS Elastic Beanstalk provides a platform for deploying and managing applications (versions) in the AWS Cloud. This article explains how it works, and lists its key components as well as the platforms it supports.
There are multiple platforms (Java, .NET, Node.js, PHP, Go, Python, and Ruby) available that can be used to upload an application package file or store it in Amazon S3. AWS Elastic Beanstalk helps you to manage all the resources that are needed to run applications. It manages such features as load balancing, scaling, and monitoring.
Key components
Table 1 lists the key components of Elastic Beanstalk.
| Component | Role |
| Application | Logical collection (folder) of Elastic Beanstalk components such as environments, versions, and environment configurations |
| Application version | Specific iteration of deployable code for an application. An application can have multiple versions |
| Environment | Collection of AWS resources that runs one application version at a time. However, one version can be deployed in multiple environments |
| Environment tier | Type of application that the environment runs, and provides resources accordingly; for example, Web server environment tier and worker environment tier |
| Environment configuration | Collection of parameters and settings — load balancer, auto scaling group, database, security, and so on |
| Platform | Combination of an operating system, runtime environment, Web server/application server, and Elastic Beanstalk components |
Table 1: Key components of Elastic Beanstalk
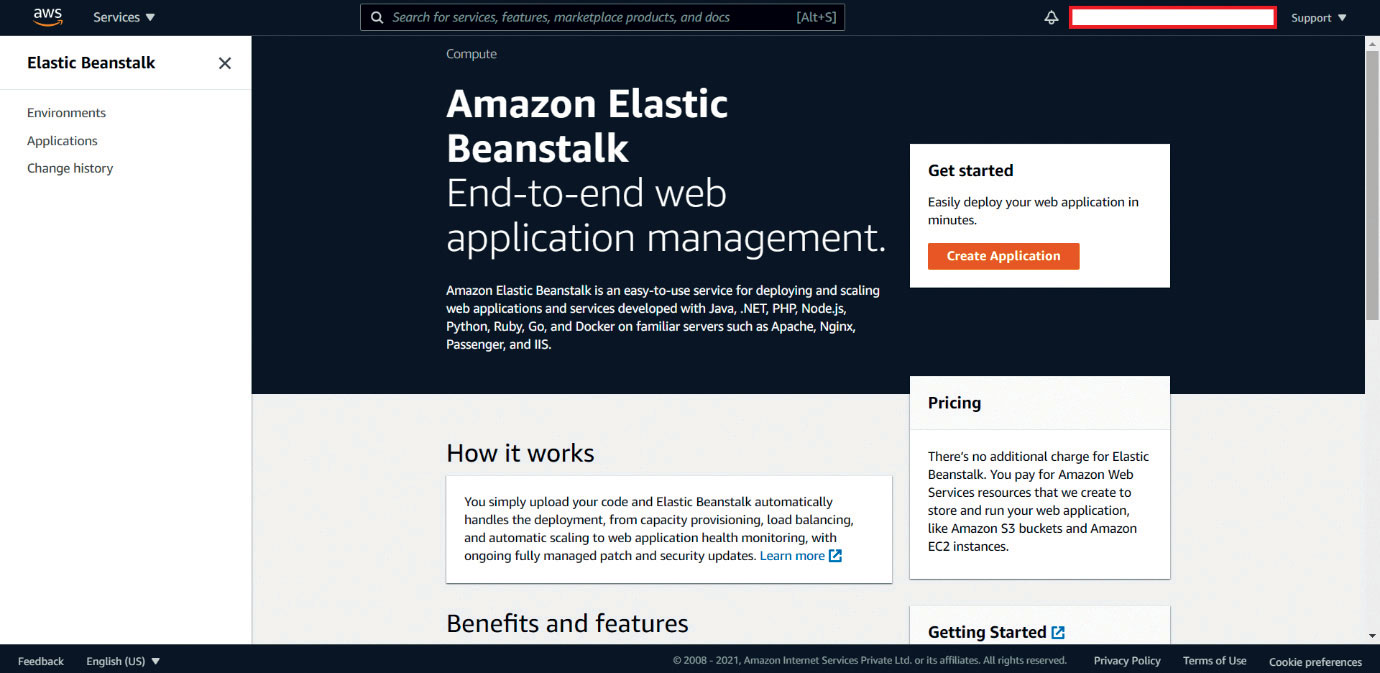
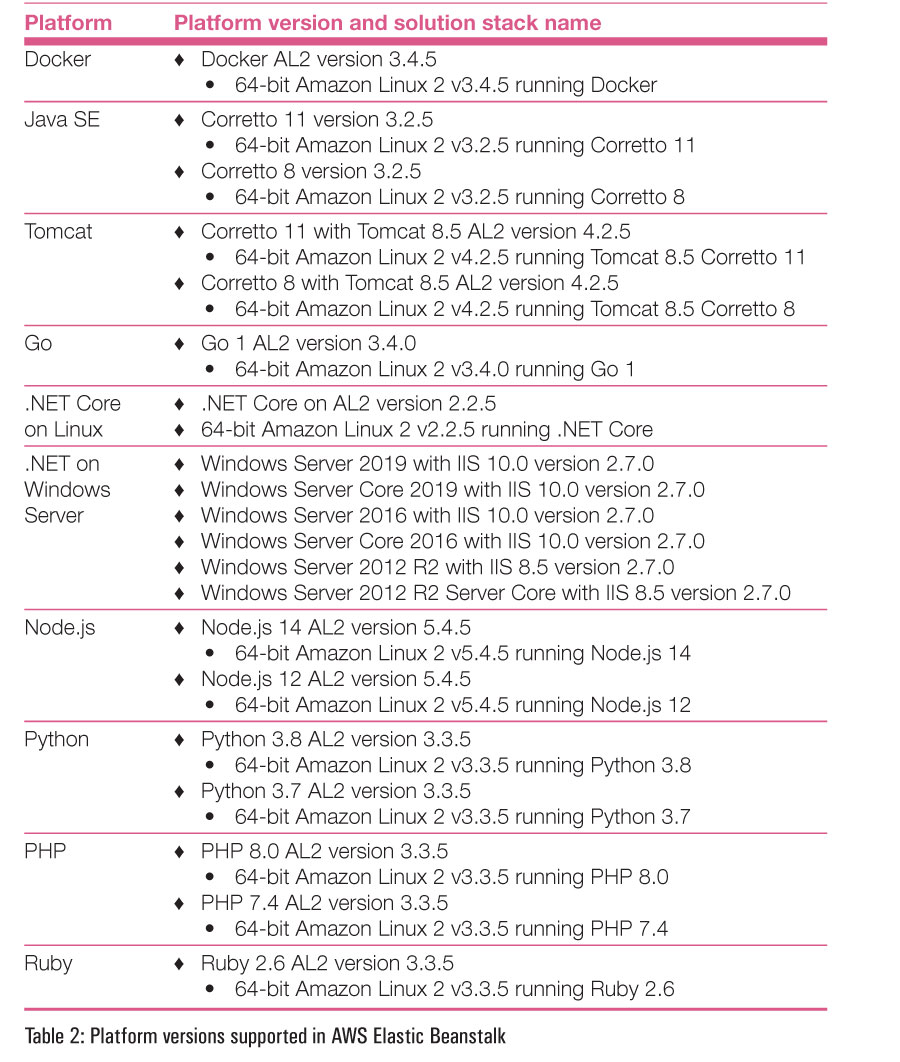
Table 2 lists the platform versions that are supported in AWS Elastic Beanstalk.
How it works
Here are the steps needed to create and manage applications in AWS Elastic Beanstalk:
1. Create an application.
2. Upload an application version .jar or .war file for Java.
3. Provide details about the application.
4. The environment is launched.
5. Manage the environment from the Elastic Beanstalk console.
Application deployment on AWS Elastic Beanstalk
Sign in to the AWS Management Console with your IAM credentials. Click on Services and select the Elastic Beanstalk console. If you have never used Elastic Beanstalk service, you will get a Welcome page to AWS Elastic Beanstalk.
Click on Create Application, as shown in Figure 1.
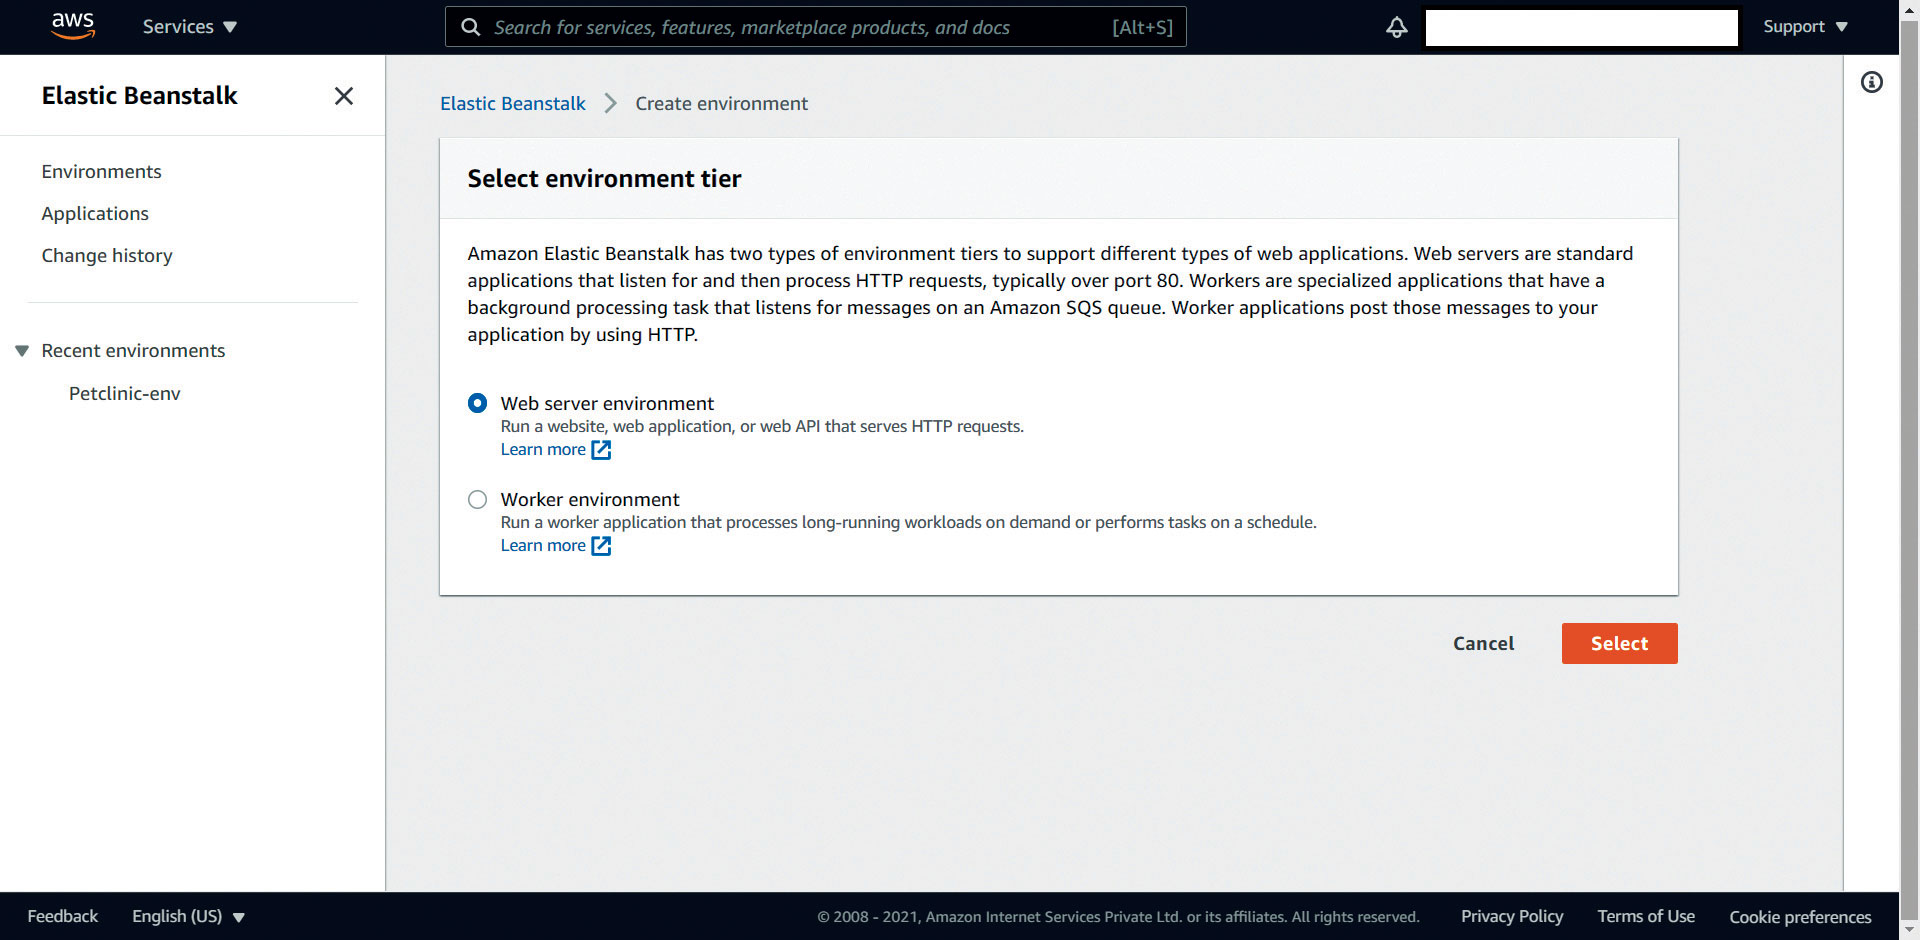
You will get two options — Web server environment and Worker environment. Click on the former, as shown in Figure 2.
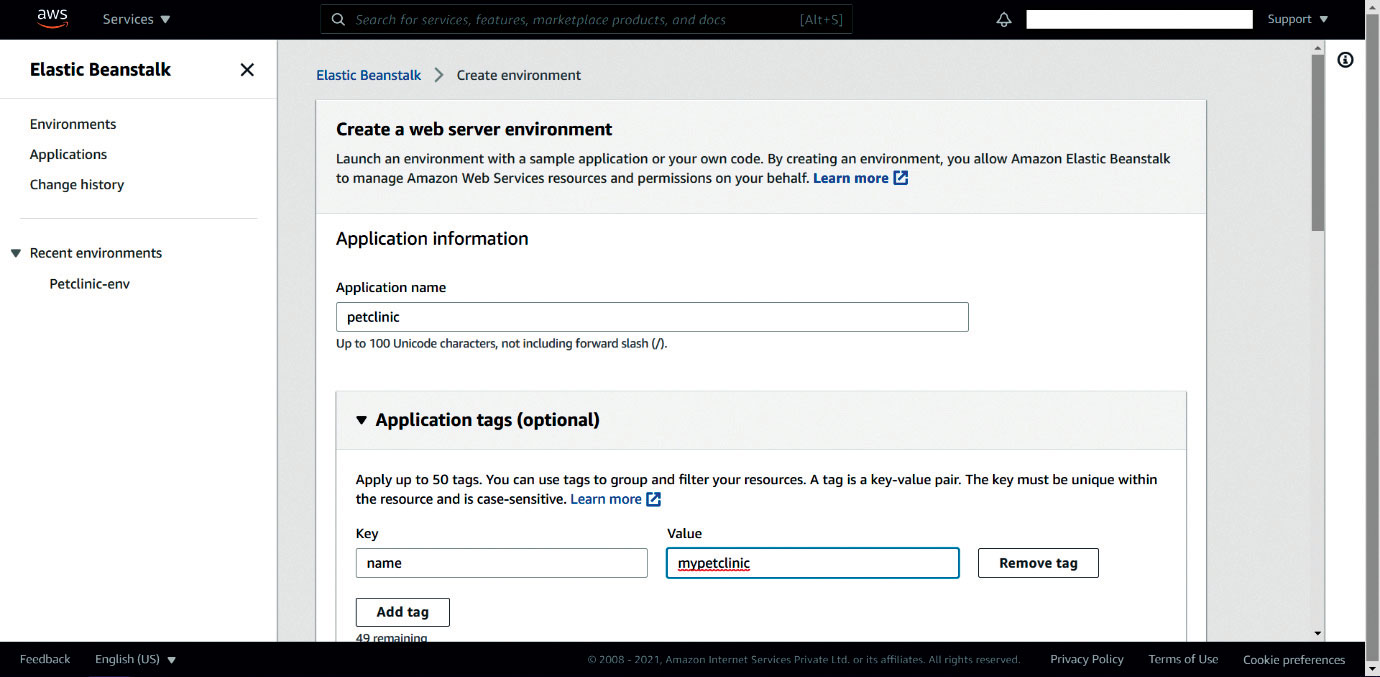
Next, you need to provide the application name and tags, as shown in Figure 3.
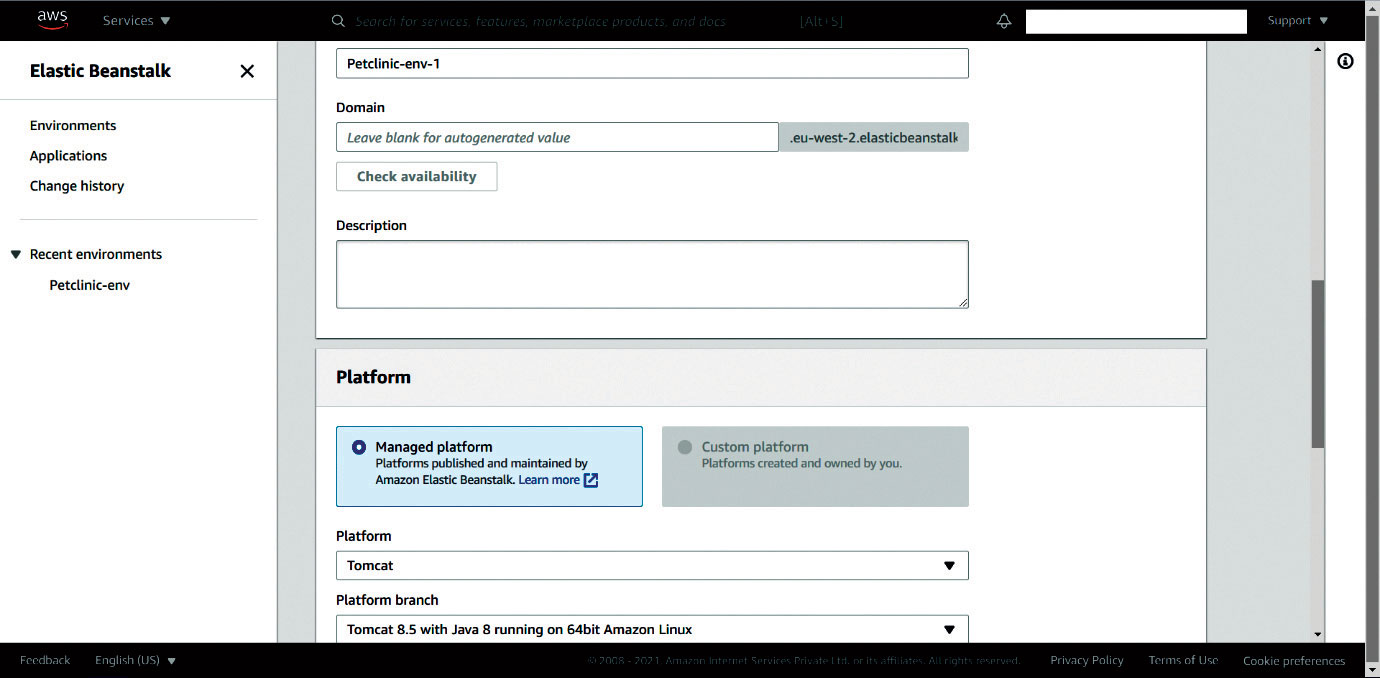
After providing the name, select the platform and platform branch.
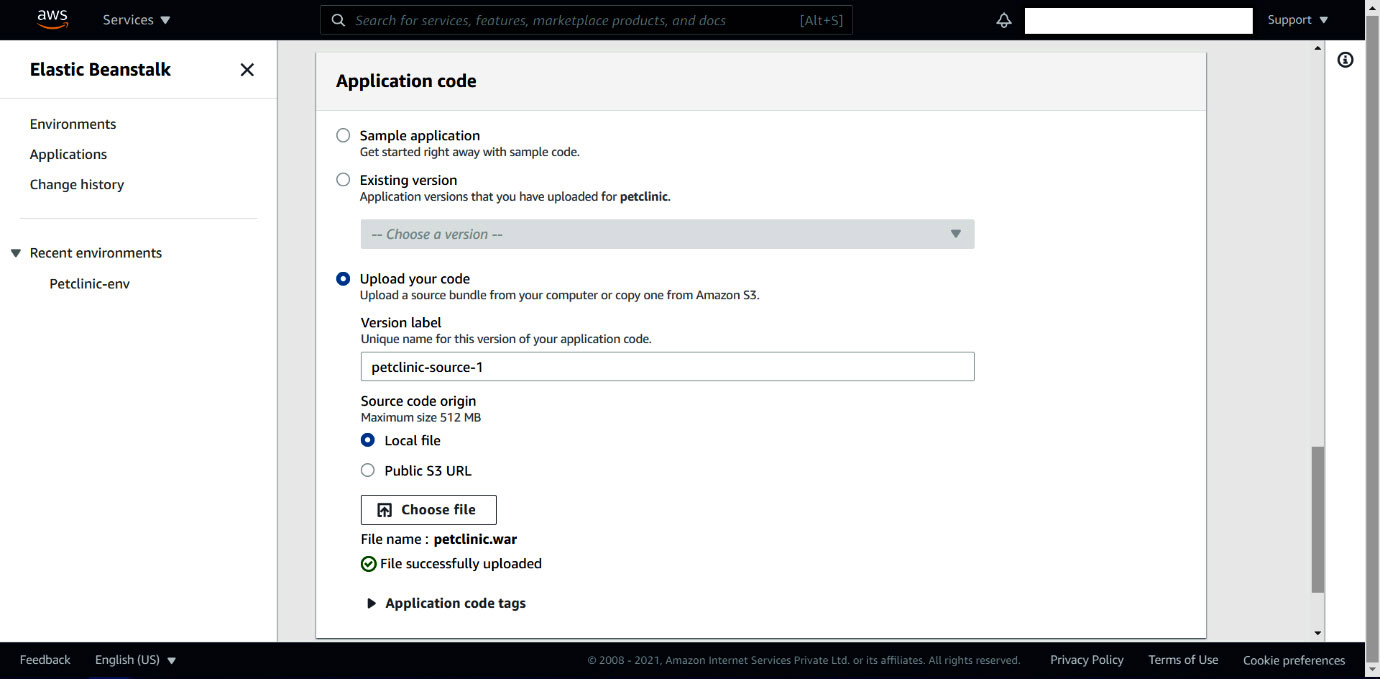
Now we need to upload the application package (Figure 5).
It’s now time to review all the settings and launch the environment.
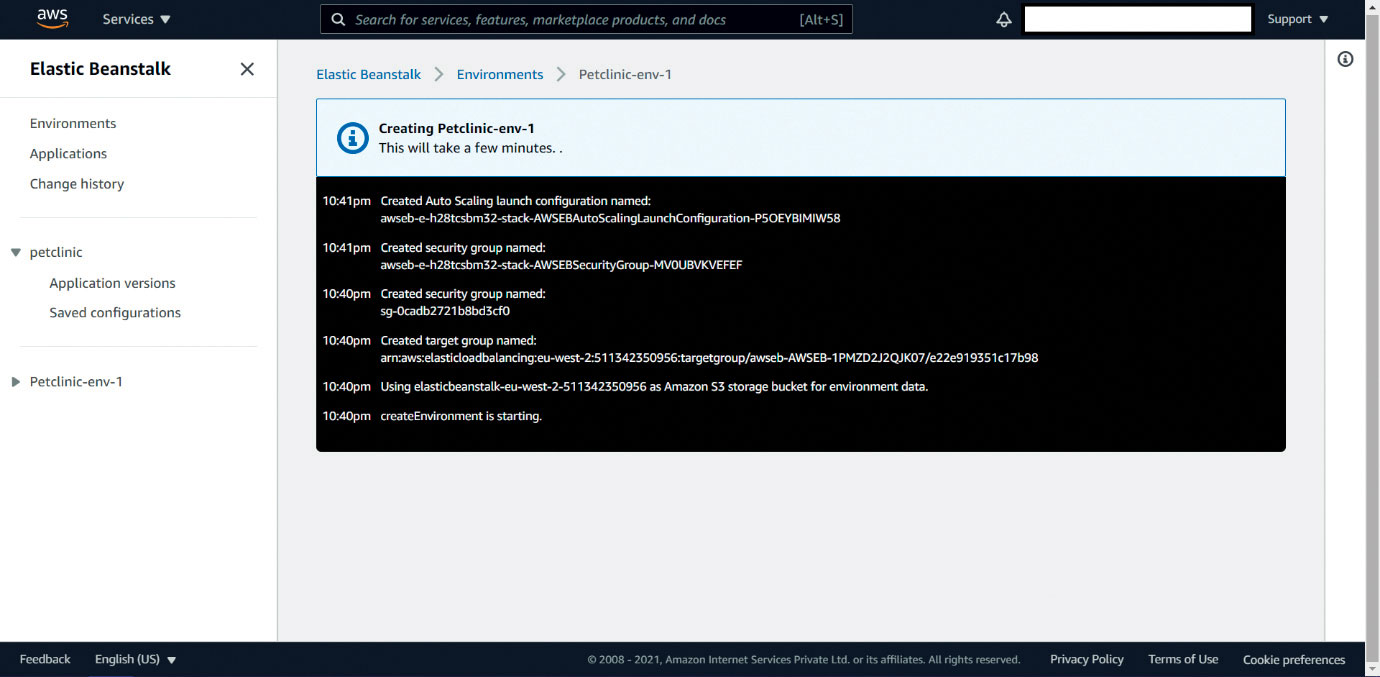
Wait for some time until the environment is created, and you will be redirected to the environment page where the application health is given. Note the URL; you will need it to check the application home page.

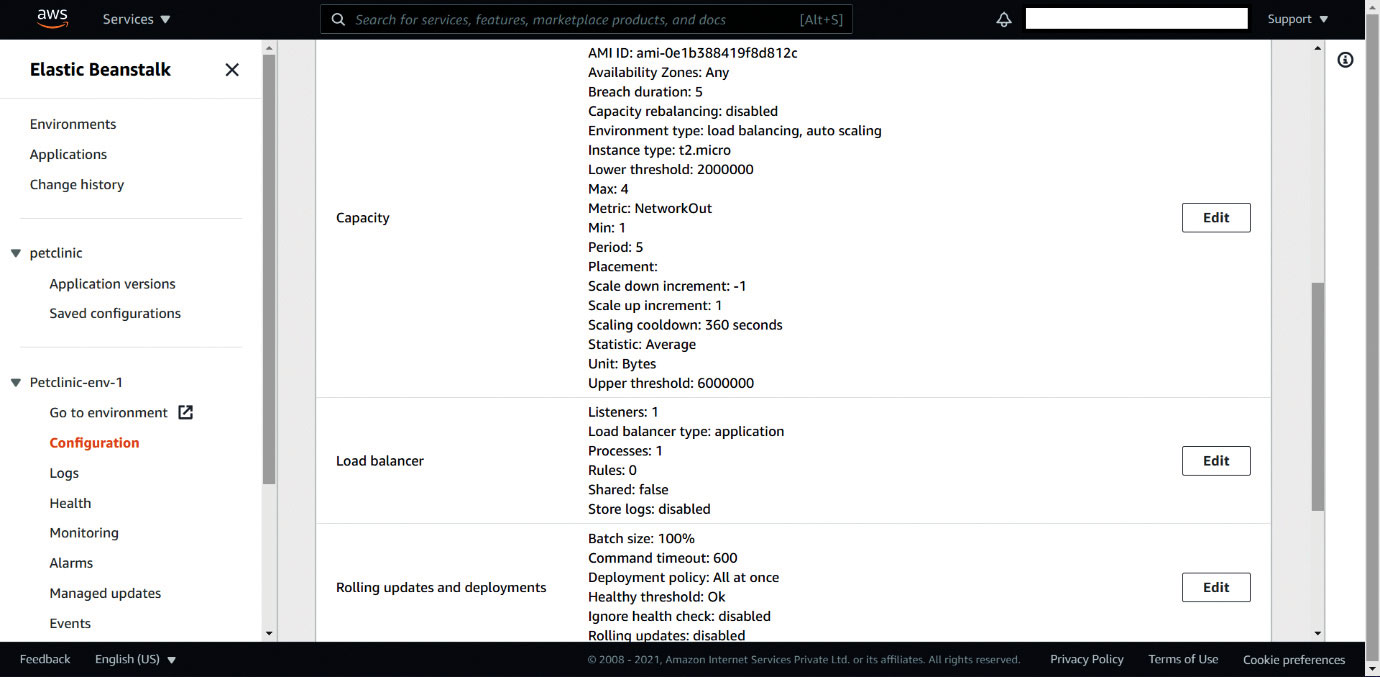
Click on Environment configuration and verify the capacity as well as the load balancer related details (Figure 8).
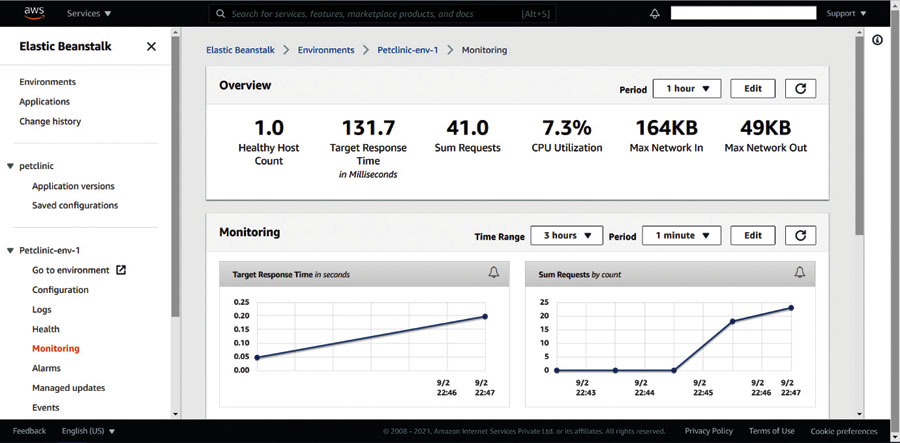
Go to the Monitoring section and verify the different parameters available to monitor the existing application such as target response time and total requests.
Visit the URL available on the environment page, and you can see the application home page in your browser.
There is no extra charge for using AWS Elastic Beanstalk. You just need to pay for AWS resources such as Amazon S3 buckets and Amazon EC2 instances that are created to store and run Web applications. Give it a try to see how it works.


