Theres a new boot loader on the block called BURG. Install it and discover how to enjoy it with this simple tutorial!
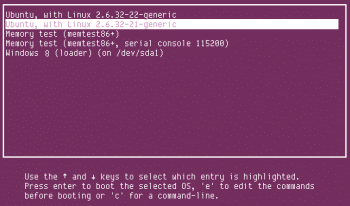
If you run multiple OSs on your machine, GRUB is probably the first screen you will look at when you turn ON your system. GRUB stands for GRand Unified Boot loader, and is a part of the GNU project. It is the default boot loader that comes with all UNIX-like OSs. GRUB provides a pretty basic menu to choose froma list of the installed OSs and the entries that come with them, such as recovery modes and memtests.
So why switch to BURG?
Quite simply, because GRUB is now plain boring. Over the years, the user interface in our desktop environments has improved a lot. It has become more user-friendly and highly customisable. But sadly, GRUB has remained pretty much the same. It still offers the bash-like, command line interface of old!
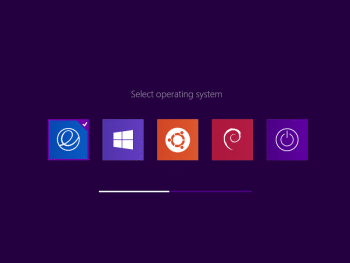
BURG is a cool replacement to GRUB. It can turn your boot loader into whats shown in Figure 2. Its minimalistic and appealing.
How to set up BURG
First, you need to add a new repository; so enter the following command in a terminal:
sudo add-apt-repository ppa:n-muench/burg -y && sudo apt-get update
Then you need to install BURG and some themes, for which you can use the following command:
sudo apt-get install burg burg-themes
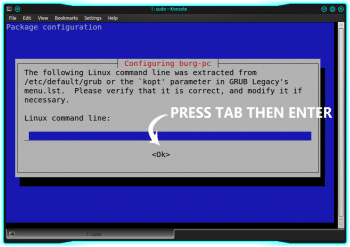
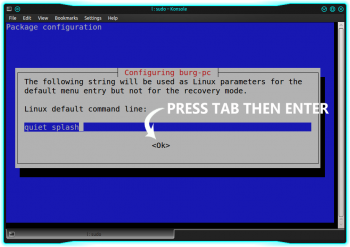
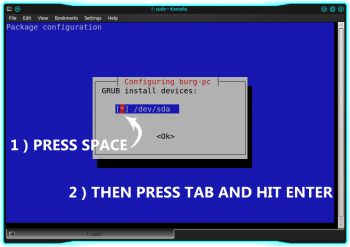
As the installation proceeds, dialogue boxes will pop up for configuration. Please follow the steps carefully.
Once you have successfully installed BURG and its themes, you could disable the memtest option from the boot screen if you want to, by typing the following command:
sudo chmod x /etc/grub.d/20_memtest86+
Now lets see what it looks like. We can emulate the boot screen using the following command:
sudo burg-emu
Press
F1 Help F2 Change Theme F3 Change Resolution Arrow-keys to move.
For now, just choose your theme, and do not change the resolution. This is because, if your monitor doesnt support the particular resolution youve chosen, the next time you boot your system, you will get a blank screen, which will obviously freak you out. So press F3 during your next boot and choose the resolution by pressing Enter. If you get a blank screen while doing so, move up or down to choose another resolution.
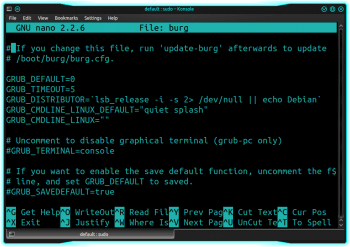
I have three OSs installed on my machine (Ubuntu, Windows 8 and Linux Mint). But there are two options each for Ubuntu and Linux Mint. Those are the recovery modes that I mentioned at the beginning, which can be disabled easily. For that, we need to edit the BURG configuration file. In this tutorial we will be using a basic editor called Nano. Advanced users may use editors of their choice. Open the terminal and type in the following command:
sudo nano /etc/default/burg
In this file, we need to edit the following line:
#GRUB_DISABLE_LINUX_RECOVERY=true
You need to uncomment the line, by removing the # character.
This file also contains the time-out period for the boot screen, if you want to change it. Locate this line and change the R-value, which is in seconds.
GRUB_TIMEOUT=5
To save the changes made, press Ctrl-x, then y, and then press Enter.
We now need to configure these changes into BURG and view the modified boot screen. For that, use the following command:
sudo update-burg
sudo burg-emu
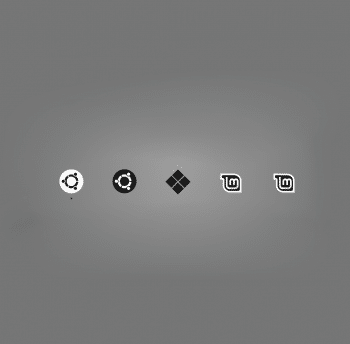
Now the two extra recovery entries would be gone. Thats it. Enjoy booting with BURG!
To get more themes, visit http://www.deviantart.com/


