


Since the beginning, IPCop has been a fantastic firewall distro, with various useful features, including:
- Minimum hardware requirements — even an old 386-based PC with 2 Ethernet cards, 32 MB RAM and a 300 MB hard disk (anybody seen such a configuration lately?)
- Various Internet connectivity options are supported, including ISDN, PPPoE, Static, PPTP, DHCP, etc.
- Basic installation gives excellent firewall functionality, protecting the internal network.
- A very stable distribution.
- Versatile add-ons are available, which extend firewall functionality (see the following table).
- Uses IPTables to apply rules to received packets.
| Add-on | Function |
| Block Outgoing Traffic | Port-by-port blocking of outgoing traffic |
| Zerina | OpenVPN server |
| Advanced Proxy | Advanced Proxy |
| URL Filter | Filtering of unwanted URLs |
| Calamaris | Proxy report generator |
| CopFilter | Antivirus and antispam module |
Before starting the installation, let us go over the basics of IPCop. The default IPCop installation supports up to 4 Ethernet interfaces, which are colour-coded according to trust levels (refer to the following table).
| Interface colour | Trust level | Typical function |
| Green | 1 — Most trusted | The internal network (or protected network) |
| Blue | 2 — Semi-trusted | Wireless network in separate subnet |
| Orange | 3 — DMZ (De-militarised zone) | For resources being accessed from internal systems as well as from the Internet |
| Red | 4 — Non-trusted | The Internet connection |
One can fine-tune the IPCop installation depending on organisational requirements. For example, only a Green + Red network is sufficient for a basic office firewall. A Green + Red + Blue network will suit an office network with wireless access or two separate subnets. If a few servers are required to be accessed from the internal network as well as the Internet, a DMZ can be added.
During the installation process, IPCop probes, detects and allots various network cards to the corresponding interfaces. Typically, the on-board Ethernet is detected first, a card in the first PCI slot is detected second, and so on. Regarding a Green + Red network, by default, all traffic from the Internal network (Green) to the Internet (Red) is allowed, whereas all traffic from Red to Green is blocked. An excellent self-explanatory network diagram of a typical IPCop network is available here, which is reproduced here as Figure 1 for ready reference.

Installation
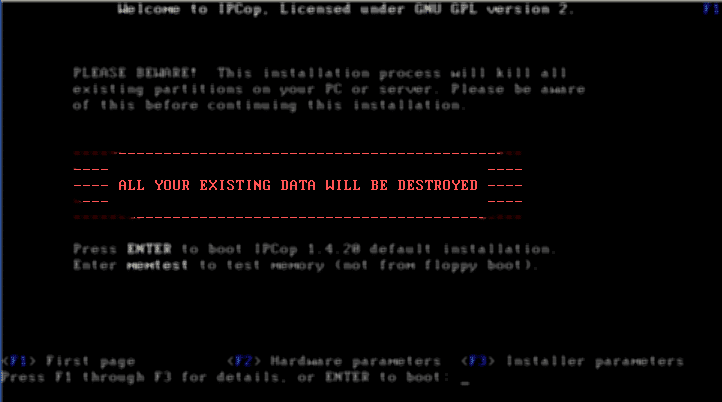
Download the IPCop 1.4.20 stable release, and prepare a boot CD. Don’t forget to take a backup of the intended install system if necessary — all the partitions and data on it will be wiped out. Boot from the IDE optical drive on the firewall system. SATA drives are not supported by default — you may be able to use BIOS settings on some motherboards to map a SATA optical drive as IDE.
IPCop installation is straightforward and simple. The following has the steps to install a Green + Red network.
| Step | Selection & explanation |
| Choose language | English |
| Welcome screen | Continue |
| Selection of boot device | CD/USB key/HTTP/FTP server — Select CD-ROM |
| Whether to restore from old backup | No backup, skip the step |
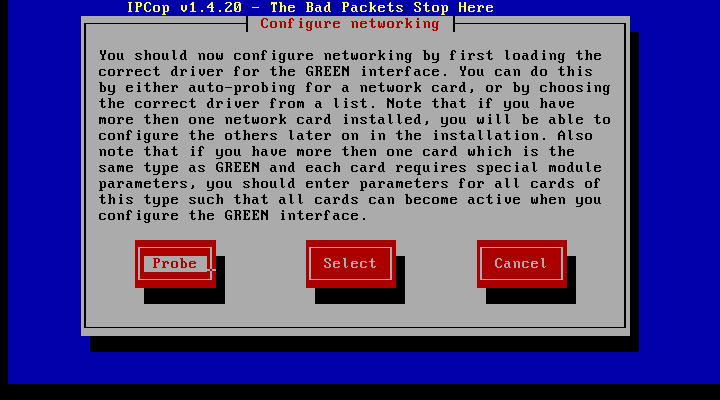
| Detection of Ethernet card | Probe |
| Green IP address | Enter the correct IP address (IP used for test set-up: 192.168.101.1) |
| Reboot screen | First installation step OK. Partitions created, IPCop installed |
| Keyboard mapping | Default |
| Time-zone | Select Asia/Kolkata |
| Hostname | IPCop (You may enter the desired hostname) |
| Domain | Firewall (You may enter the desired hostname) |
| ISDN setup | Disable ISDN, we shall use static IP instead |
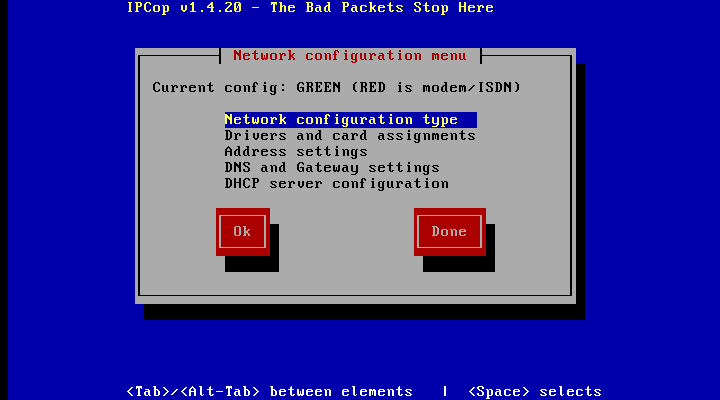
| Network configuration type | Green + Red |
| Drivers and card assignment | Probe for additional cards, assign the detected card to the Red interface |
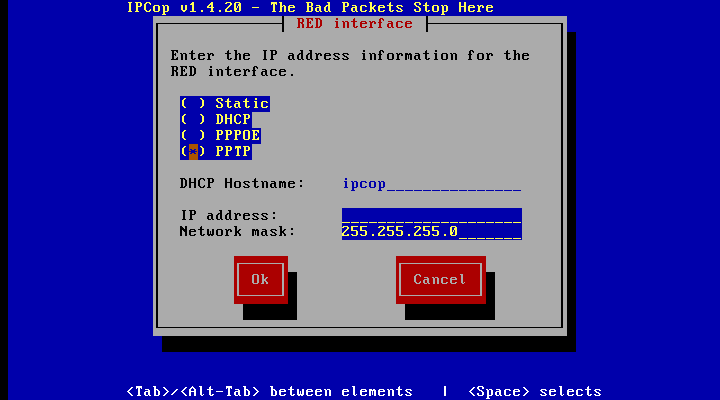
| Address settings | PPPoE |
| DNS and gateway | Applicable only for a static IP address |
| Passwords | Allot root (Shell access), admin (Web GUI access) and backup (for restoration of backups) passwords |
Following these steps completes the basic installation. The network diagram should resemble Figure 2.

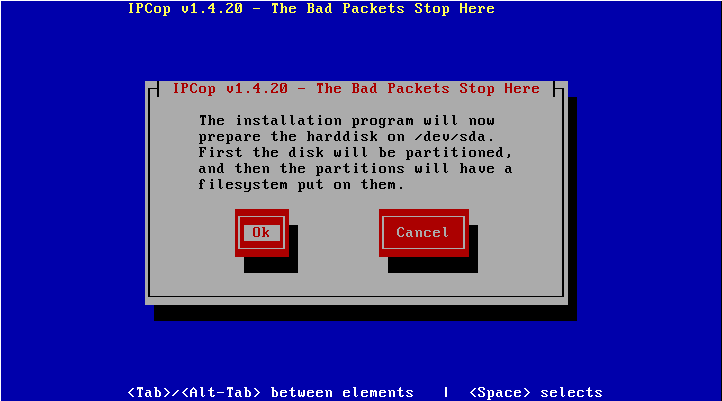
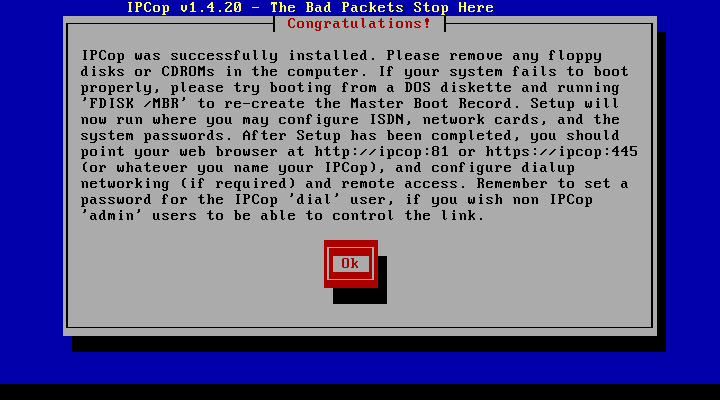
Figures 3 to 9 show the various steps of the installation (click on them for larger size).

Once the installation is complete, the IPCop firewall starts functioning immediately between the Green and Red networks, blocking all incoming requests from Red to Green. To configure and fine-tune the firewall, use the friendly Web interface via
https://GREEN_IP:445 (connect to the Green interface IP). IPCop can also be accessed via SSH, but the IPCop service runs on the custom TCP port 222.
Client TCP/IP configuration
Only two TCP/IP settings are required on client PCs, so set the default gateway and DNS server to the IPCop Green IP address.
IPCop proxy configuration
The IPCop proxy uses the TCP port 800 to accept, process, log and forward requests from the Green (Internal) network to Red (Internet), and sends received replies back to the originating internal system.
There are two ways to configure the IPCop proxy from web based GUI:
- Transparent mode: This diverts all traffic received from the Green network on port 80 to the IPCop proxy port. No changes are required in client browser settings. To enable a transparent proxy, go to Services –> Proxy and select the Transparent on Green check-box.
- Non-transparent mode: All client browsers’ connection settings must change to have the proxy server as the IPCop Green IP, and the port as the IPCop proxy port (800). No IPCop configuration change is required.
Some more IPCop Web GUI menus are listed in the following table.
| Menu | Explanation |
| System – Home | Connect/disconnect the Internet; view uptime |
| System – SSH Access | Select check box to enable SSH |
| Status – System Status | Displays information about the various services running, disk usage, inode usage, uptime and users, modules loaded and kernel version |
| Network – Dialup | For PPPoE, you can configure the login name, password and even fall-back connection, if any.
Under the reconnection option, you can select Manual, Persistent or Dial on demand. The last connects to the Internet only when a valid request for Internet resources is made by the internal network. It is disconnected if no Internet request is made for the Holdoff period of time. |
| Firewall – Port forwarding | You can forward incoming requests from the Internet to a particular system on the internal network (more on this in subsequent articles). |
| Firewall – External access | External management interface for the firewall to be enabled as and when required. It’s best to leave this disabled unless it is required to be on. |
| VPN – VPNs | IPSec VPN for site-to-site or site-to-host connectivity |
| Various log menus | Includes days to keep log summaries. Sorting is based on reverse chronological order (last logs first), system logs — for IPCop diagnostics, Internet connectivity problem troubleshooting, etc. |
IPCop provides excellent logging. To peek at an interesting log, check under Logs –> Firewall Logs. Here (see Figure 10), all attempts to access your IP address from the Internet are logged. Click on the external IP address to do a whois query for the details and location of that IP!

This completes a basic IPCop installation. Keep watching for more on the installation of various add-ons and the exciting world of IPCop Firewall.


Thank You!
[…] https://www.opensourceforu.com/2011/12/ipcop-firewall-installation-basics/ Leave a Comment TrackBack URI […]
[…] Sysadmins, Tools / Apps · No CommentsThe first article in this series discussed the basic installation and configuration of IPCop 1.4.21. Subsequent articles covered six important add-ons: Advanced Proxy, URL Filter, Update Accelerator, […]
thanks this is used my project work, thanks