


Podman (POD manager) is a daemon-less and open source Linux native tool by Red Hat for developing, managing, and running containers. It deploys applications using the Open Containers Initiative (OCI) container and container Images. Podman manages pods, containers, container images, etc, using the libpod library. Let’s learn a few more things about it.
Podman uses the RESTFul APIs to manage the containers. It has a remote Podman client, which is currently supported on Linux, Windows, and Mac whereas the RESTFul service is only supported on Linux.
Installation of Podman
The instructions to install Podman on different operating systems are given in the table given on this page.
In this article we are going to install Podman on the Ubuntu operating system. The Podman package is available in the official repositories for Ubuntu 20.10 and above.
podman@osfy:~$ sudo apt-get -y update
podman@osfy:~$ sudo apt-get -y install podman
Reading package lists... Done
Building dependency tree... Done
Reading state information... Done
The following additional packages will be installed:
| MacOS | Windows | Linux distributions |
| Podman machine is backed by a QEMU-based virtual machine. | Podman machine is backed by a virtualised Windows system for Linux (WSLv2) distribution. | Arch Linux and Manjaro Linux, Alpine Linux, CentOS, Debian, Fedora, Fedora-CoreOS, Fedora SilverBlue, Gentoo, OpenEmbedded, openSUSE, Raspberry Pi OS arm64 (beta), RHEL7, RHEL8, Ubuntu distributions are supported. |
| Use the terminal to execute Podmancommands. | Use the Windows PowerShell (or CMD) prompt to execute Podman commands. | |
| Podman is provided through Homebrew. | ||
| Give the brew install command to install Podman: brew install podman | ||
| Create and start your first Podman machine:podman machine init podman machine start | ||
| Verify the installation: podman info |
buildah catatonit conmon containernetworking-plugins crun fuse-overlayfs golang-github-containernetworking-plugin-dnsname golang-github-containers-common
  golang-github-containers-image libostree-1-1 uidmap
.
.
<Out put snipped>
.
.
Processing triggers for libc-bin (2.35-0ubuntu3.1) ...
Processing triggers for man-db (2.10.2-1) ...
podman@osfy:~$
Let’s verify the Podman installation using the info command:
podman@osfy:~$ podman info
The output of the command will provide you with all the details about the host machine, hostname, kernel, memory, version and plugins. You can use:
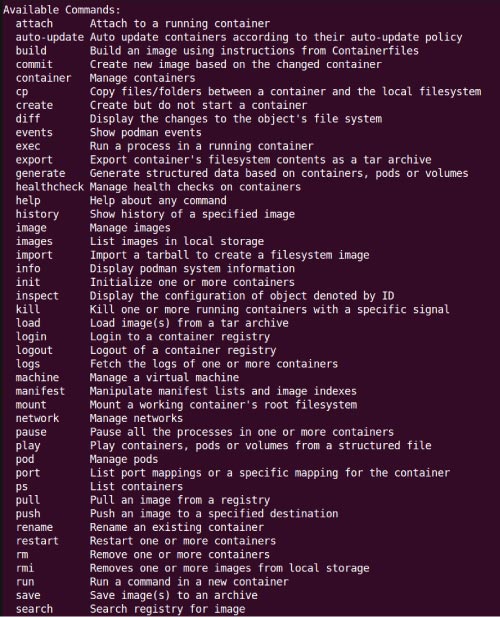
podman --help
…command to get help for different commands/parameters (Figure 1).
Once we have verified the details using info command, let’s try and run the nginx container using Podman.
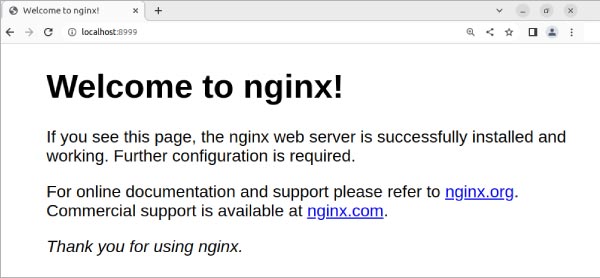
podman@osfy:~$ podman run -dt -p 8999:80/tcp docker.io/library/nginx

Trying to pull docker.io/library/nginx:latest...

Getting image source signatures
Copying blob a38226fb7aba done
Copying blob a603fa5e3b41 done
Copying blob c39e1cda007e done
Copying blob 9802a2cfdb8d done
Copying blob 62583498bae6 done
Copying blob 90cfefba34d7 done
Copying config 88736fe827 done
Writing manifest to image destination
Storing signatures

685a357ad49fd2e7cd493abc6579aaa 9d2199f863b81ef7a389dfbad2d1b6219
Once the above command is successfully completed, we can access localhost:8999 in the browser. It should display the NGINX home page as shown in Figure 2.
We can check the details of all existing containers by running the command podman ps. It should have the same container ID that was created earlier.
podman@osfy:~$ podman ps
CONTAINER ID  IMAGE                           COMMAND               CREATED        STATUS            PORTS                 NAMES
685a357ad49f  docker.io/library/nginx:latest  nginx -g daemon o...  6 minutes ago  Up 6 minutes ago  0.0.0.0:8999->80/tcp  priceless_bose
You can also check the logs for NGINX containers if you need to debug anything. All you have to do is to run the command given below:
podman@osfy:~$ podman logs -l
Here, -l represents the latest container.
Now, let’s stop the container using the stop command. The output shows a running container, which is stopped using the podman stop -l command.
podman@osfy:~$ podman ps -a
CONTAINER ID  IMAGE                           COMMAND               CREATED        STATUS            PORTS                 NAMES
99a2890c1327  docker.io/library/nginx:latest  nginx -g daemon o...  9 minutes ago  Created           0.0.0.0:8080->80/tcp  upbeat_merkle
685a357ad49f  docker.io/library/nginx:latest  nginx -g daemon o...  8 minutes ago  Up 8 minutes ago  0.0.0.0:8999->80/tcp  priceless_bose

podman@osfy:~$ podman stop -l
685a357ad49fd2e7cd493abc6579aaa9d 2199f863b81ef7a389dfbad2d1b6219

podman@osfy:~$ podman ps -a
CONTAINER ID  IMAGE                           COMMAND               CREATED         STATUS                    PORTS                 NAMES
99a2890c1327  docker.io/library/nginx:latest  nginx -g daemon o...  11 minutes ago  Created                   0.0.0.0:8080->80/tcp  upbeat_merkle
685a357ad49f  docker.io/library/nginx:latest  nginx -g daemon o...  10 minutes ago  Exited (0) 3 seconds ago  0.0.0.0:8999->80/tcp  priceless_bose
We can also remove the container using the podman rm command. Here, -l represents the latest container as mentioned earlier. Once you have removed the container, the output of podman ps -a does not show any result.
podman@osfy:~$ podman rm -l
685a357ad49fd2e7cd493abc6579aaa9d2199f863b 81ef7a389dfbad2d1b6219
podman@osfy:~$ podman rm -l
99a2890c132723d18f34394e84a12bc9b3fc63e83bb cbf7c0c185cf8b84f8ae0
podman@osfy:~$ podman ps -a
CONTAINER ID  IMAGE       COMMAND     CREATED     STATUS      PORTS       NAMES
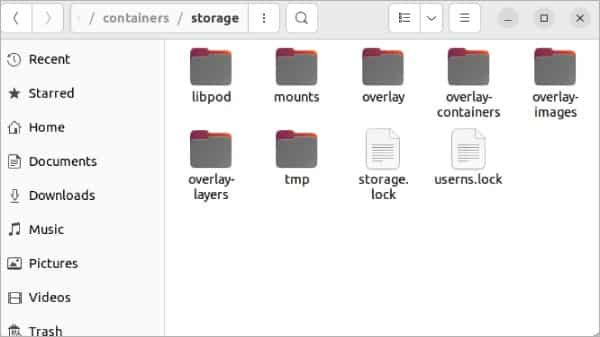
You can find all container-related information at /home/<user>/.local/share/containers/storage, as shown in Figure 3.
Podman vs Docker
We have seen how Podman works and tried a few simple commands. The table above lists the differences between the two.
Podman Desktop
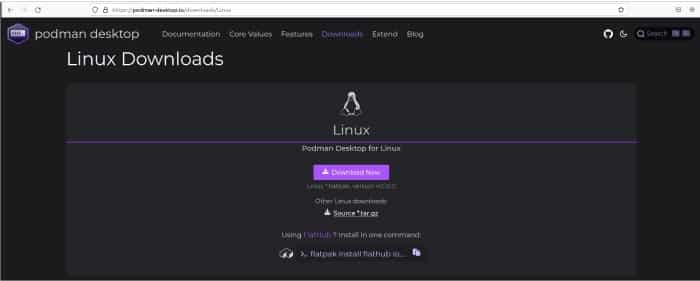
Podman Desktop is an open source GUI tool. It helps you to work with containers and Kubernetes. Visit https://podman-desktop.io/ to download the Podman Desktop installation package.
| Podman | Docker | |
| Architecture | Podman has a daemon-less architecture. | Docker uses the daemon. |
| Approach | Podman uses the rootless approach. | Docker has also added rootless mode recently to its daemon configuration. |
| Root privilege | The container does not have root privilege by default, which makes Podman more secure than Docker. | Since daemons have root privileges in Docker, it is vulnerable to attack. |
| Image creation | Podman uses the Buildah tool to create container images. | Docker is self-sufficient to create container images. |
| Tools | It requires associated tools like Buildah and Skopeo. | It is an all-in-one tool. |
| Pod support | Podman supports pods with one or more containers. | Docker does not have the concept of a pod. |
| Desktop application | Podman Desktop | Docker Desktop |
Extract the installation package into your local system and click on the Podman desktop icon.
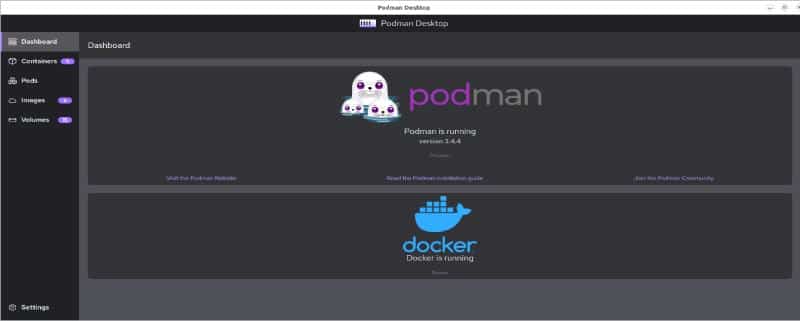
Once you do that, it will open the screen where you can see the status of Podman and Docker (Figure 5).
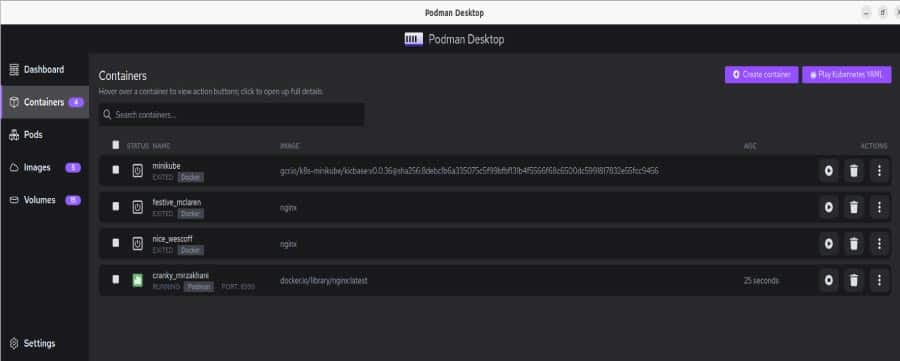
The container section will show all the available containers, as seen in Figure 6.
In this article, we have learned about Podman, its commands, Podman Desktop, and the difference between Podman and Docker. You should consider business needs and application goals as key factors while choosing the right tool. Happy learning!!


