


Want to create great looking digital art? You don’t need to buy expensive hardware and software like Maya or Photoshop. The Art of Illusion comes to your rescue.
This simple yet very powerful software designed by Peter Eastman and others offers great scripting capabilities. So guys, get ready for a digital ride that might inspire you to create great digital art. This article takes you through an easy exercise to create a simple scene called ‘Papaya in the Monastic Cell’.
Getting started
Just download the software from artofillusion.org. The authors offer Linux and Windows versions. The Linux version is as simple to install as is Windows. Once installed, fire it up. You get a simple-looking GUI, with a default camera and a light visible in the centre of the viewport as shown in Figure 1.

Don’t be misled by the simplicity. Hidden beneath is sheer wizardry. Thanks to the authors, it is not cluttered by too many icons, like other software. On the left, you’ll find the icon toolbar. Although these icons are self-explanatory, I shall offer a quick introduction. The left column toolbar icons in Figure 1, in order, are for Move, Scale, Cube, Cylinder, Polygon, Camera and Move View. The ones in next column are Rotate, Universal Manipulator, Ellipsoid, Spline Mesh, Create Curve, Create Light and Rotate View.
To the right of Figure 1, you find the property bar, which is helpful whenever you are either editing or texturing an object in the viewport. It becomes a simple shortcut to the menu items, which are, as usual, arranged at the top.
Creating the profile curves
Click the Curve tool, and start adding points to create your first profile curve. Your profile curve should correspond to the shape of half a papaya, as shown in Figure 2.

Hide your first curve by selecting it and clicking Hide Selection under the Object menu. Now go and create the second profile curve for the fruit container or bowl, as shown in Figure 3. Hide this curve in a similar fashion. Make sure you create these curves in the front viewport.

Lathing, tweaking, renaming and clearing
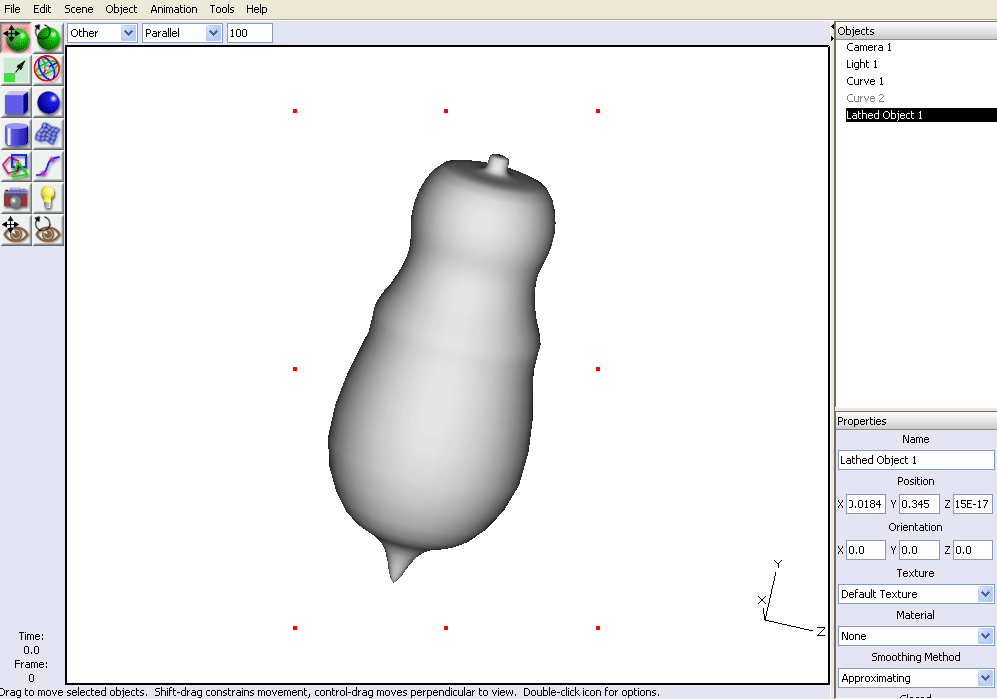
Make sure the first curve is visible by clicking Show Selection after selecting the name of the curve visible in the property bar towards the right of the viewport. Select the first curve you created for the papaya, and go to the Tools menu and click the Lathe entry. A dialogue box pops up. Accept the default settings and close the dialogue box. You have created your first object in Art of Illusion, as shown in Figure 4.

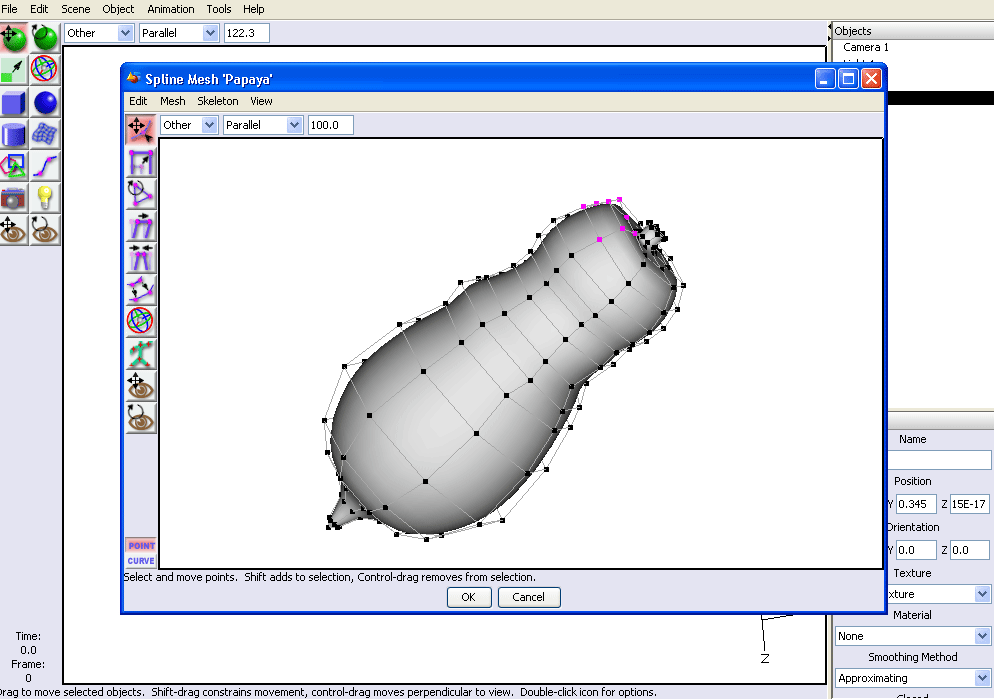
Don’t be disheartened if it doesn’t look as impressive as you wanted. That is because you haven’t textured it as yet. Have a little patience; I’ll show you how to do that soon enough. If you feel that its shape is too “regular” and therefore appears artificial, you could even tweak your papaya by double-clicking it in the front viewport itself. This brings up the mesh editor. You could move around the points to shape the papaya as you want it to appear, as shown in Figures 5, 6 and 7.
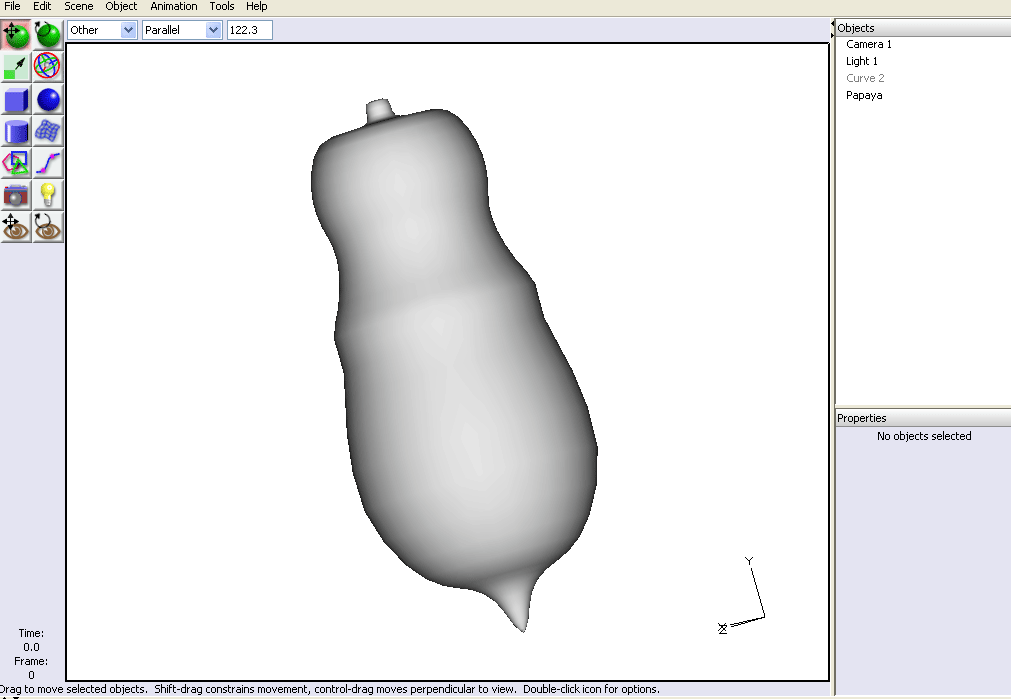
Now, you might notice that your papaya object is called lathed object 1. Right click the entry; click Rename Object, and name your object “Papaya”. One more thing might annoy you — the extra lining along the papaya, which is the profile curve you used to create the papaya. Right-click the Curve 1 entry, and choose Clear. The curve is deleted. Go ahead and hide the Papaya object before lathing the basin. Similarly, lathe the profile curve you created for the fruit basin, and rename the lathed object “Basin”, “Bowl”, or whatever suits your taste, as in Figure 8.

Creating the table
Having created the papaya and the bowl, you might feel that something is missing. The bowl will contain the papaya, but where do we place the bowl? The obvious suggestion would be a table. Yes! Go ahead and design a table to your liking. I will guide you to create the shape of a basic table, which you could refine later.
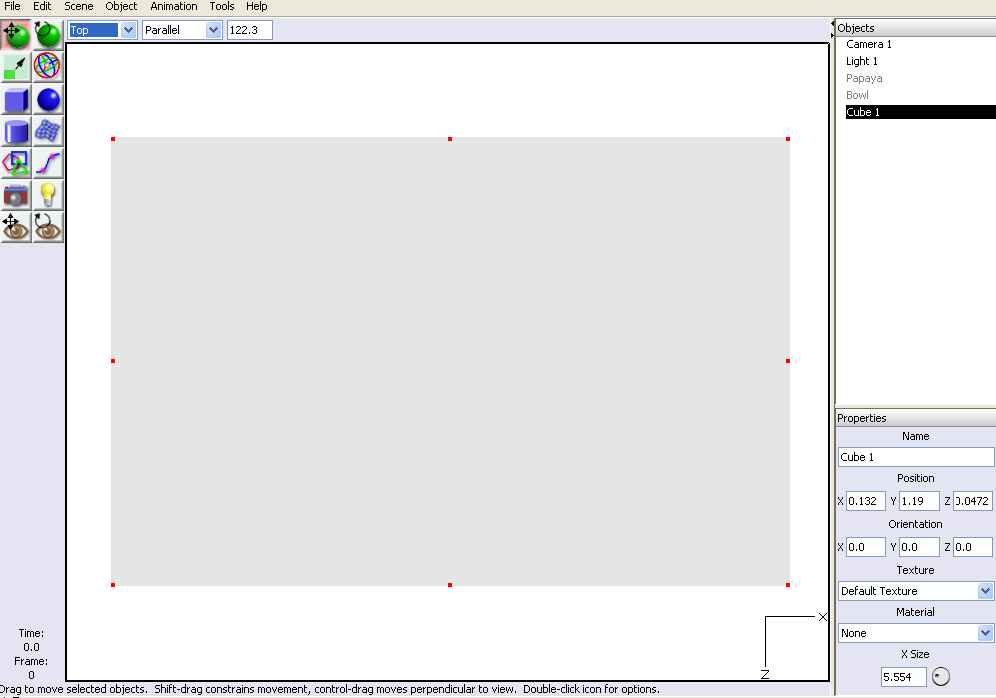
But before you design the table, it would be best to hide your papaya and bowl. Under the Object menu, click Hide Selection. Now the viewport is clear for you to design the table. First, create a default cube. Scale it down in the front view. After shifting to the top view, scale it to a rectangular shape, as shown in Figures 9 and 10.

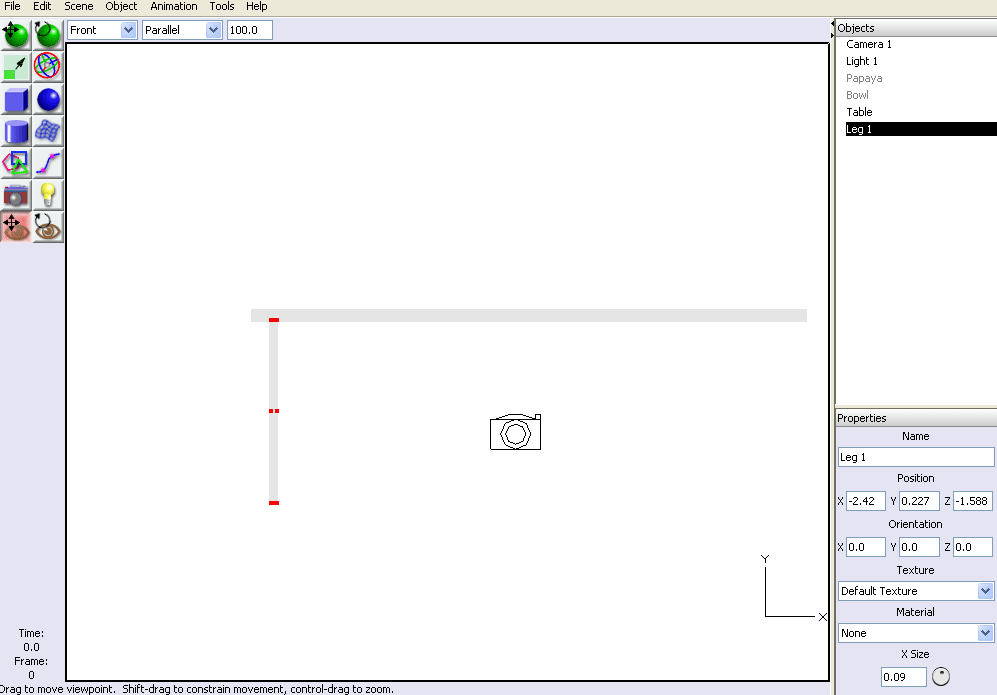
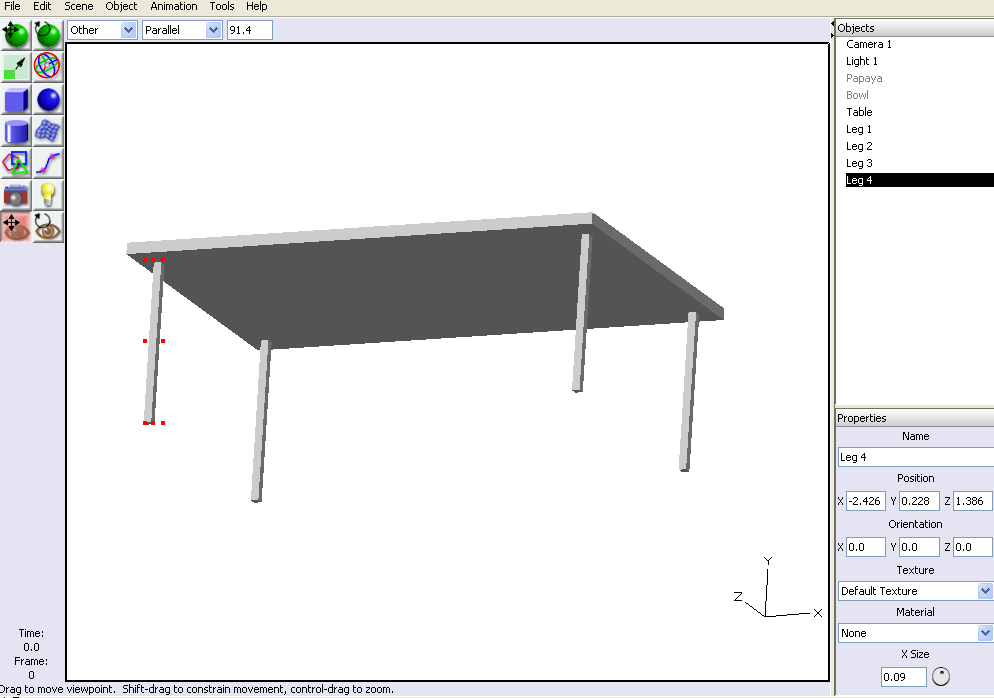
Now you have a basic table-top shape. Create another cube, scale it down uniformly to sit below the table top in the front viewport. Scale it from top to bottom to form one leg of the table. Copy it thrice to make the other three legs. Join the legs to the table top with the Boolean command of union, as shown in Figures 11, 12 and 13.
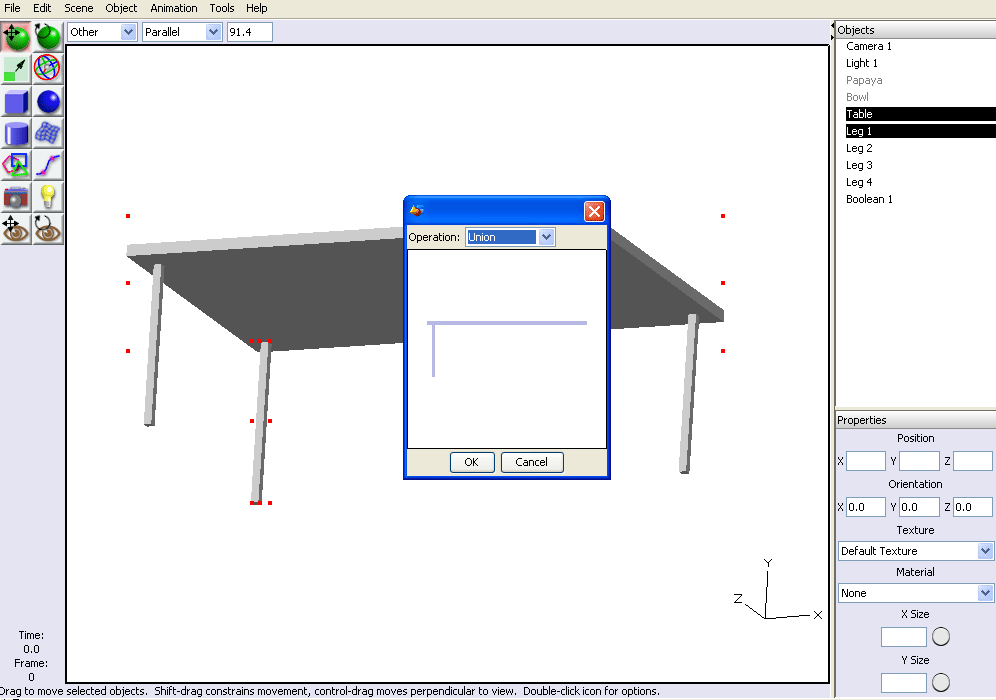
You are now done with the basic shape of the table. You could further tweak it to your liking. Now hide the table too, after having joined all the parts, and rename the object as ‘Table’.
In the next article in this series, we will continue with building the wall
Feature image courtesy: Michael Gil. Cropped and reused under the terms of CC-BY 2.0 License.


just aoleng
[…] Dr. Vivek Chauhan on May 8, 2012 in For You & Me, How-Tos, Tools / Apps · No CommentsIn Part 1, we covered what The Art of Illusion is about. We learnt how to create profile curves and tables. […]
Nice tutorial!
Perhaps you could also cover how to download and install the plugins. Then you could use the polymesh cube and all the other fun stuff that Art Of Illusion has to offer. :-)
here’s a little bit to get you started:
Info on the Scripts and Plugins Manager is here online:http://www.artofillusion.org/docs/AoIManual/scripting.html#SPManager
Get familiar with the screenshot of this tool. When you click on the “Update” tab, it will scan for plugins. Go to the Install tab and make sure you click on the little switch icons to expand the “Tree” view so you can see all the plugins to install. Select all plugins but *DEsect* by double clicking: “Look and Feel”, and “Mechanisto Layout”, (these are in the Startup section of the tree) and “One Size Fixes All” (this one is in the plugins section of the tree) Otherwise your Art Of Illusion won’t look like it does in any of the tutorials and you might feel lost.
here’s another thing you should notice: http://nik.homelinux.net/files/aoi-docking-2.html