Most of us have heard of Audacity in connection with making ringtones. But it has many more uses, such as recording live audio from a voice or from musical instruments, creating audio books, mixing music, and so on. This article gives readers a good introduction to the software.
Audacity is a free, multi-track audio editor and recorder. An open source tool for speech analysis, its interface is translated into many languages, and its source code is available from https://github.com/audacity/audacity.
Audacity has several functionalities. It is used to:
- Record live audio from voice or musical instruments
- Record audio from the system (e.g., Media Player, YouTube audio, etc)
- Create podcasts by mixing voice with background music
- Deploy audio from any external recording device (tape decks, radio, video cassette recorders, personal video recorders, DVD players, TVs, etc) to the digital format (CD, computer, portable music player, etc)
- Edit sound files with extensions like WAV, AIFF, FLAC, MP2, MP3, etc
- Apply many effects, such as removing vocals from a song, changing the pitch/speed/frequency/amplitude of the audio, generating or removing the noise, etc
- Split an audio into separate tracks
- Export audio files to iTunes
- Create audio books for kids
- Plot the spectrum and spectrogram of a sound file
Installation guide
Audacity is a cross-platform tool, available for Windows, Mac and Linux. Its latest version is Audacity 2.1.2. There are many ways to get this software:
- From the official Audacity website
- From the Ubuntu Apps Directory (for Linux)
- From the SourceForge website
After downloading the software, the installation process is very simple to follow, as directed by the installation wizard.

Getting familiar with the Audacity environment
Audacity offers various functionalities. Some of them are explored here by using the screenshots from Audacity’s official documentation website (Reference 4). Interested readers could refer to this site for more details.
The most commonly used toolbars are described below.
Transport Toolbar: This manages recording and playback.
Tools Toolbar: This is used for audio selection, volume adjustment, zooming and time-shifting.
Recording Meter Toolbar: This displays recording levels.
Edit Toolbar: This has features such as cut, copy, paste, trim audio, silence audio, undo, redo, sync-lock, zoom, etc.
Device Toolbar: This selects the audio host, recording device, recording channels and playback device.
- The Audio Host selects a specific interface, using which Audacity connects with the selected playback and recording devices. In Windows, MME is the default setting and is compatible with almost all audio devices, while on Linux the option is ALSA.
- The Recording Device can be chosen as per requirements. The internal microphone (the default recording device of your system) or the external microphone (like your headphones’ microphone) is selected when recording your own audio. Stereo Mix should be selected if you want to record the audio from your system (say, from Media Player).
- Recording Channels can either be mono, stereo or as specified by sound device drivers.
- For a mono recording device (most microphone ports), selecting ‘2 (Stereo)’ in Recording Channels copies the mono source to both channels, producing a dual mono recording.
- For a stereo device, setting Recording Channels to ‘2 (Stereo)’ ensures that any settings in the system or sound device control panels are stereo.
- In order to select the Playback Device, choose the built-in or attached sound device that you want to use for playback. In Windows, the default Playback Devices are Speakers and Headphones (IDT high definition audio codec), where IDT is the name of the sound card manufacturer.

You will observe two vertical bars to the right, which are meant for resizing the toolbar by clicking and dragging on the bars.
Mixer Toolbar: This has the following features.
Recording volume slider: Sets the recording volume (on the left side)
Playback volume slider: Sets the playback volume (on the right side)
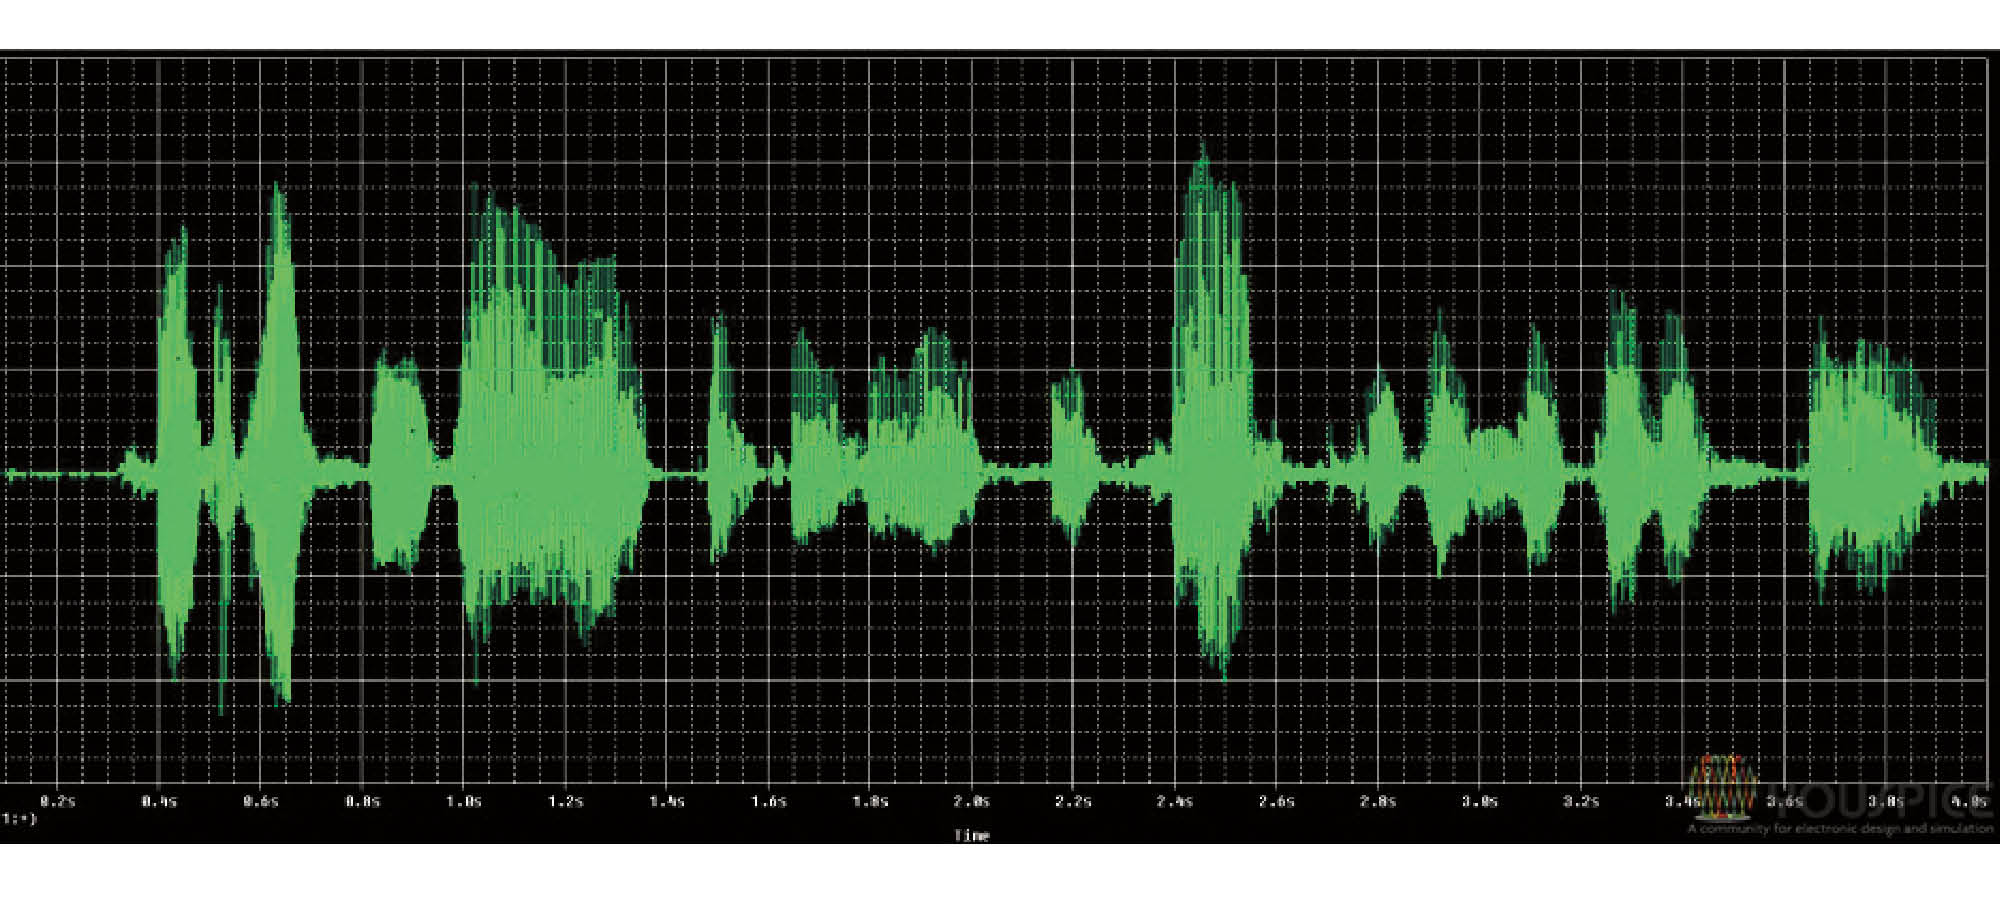
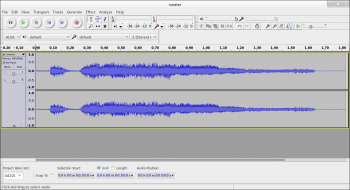
Stereo audio track: Figure 4 shows the separate components of an Audacity stereo track. The signal in the top panel and the vertical scale represent the left channel, while the signal in the bottom panel and the vertical scale represent the right channel.
By clicking on Mute in the Track Control panel, you can mute the selected track and listen to all other parallel tracks, if any. By clicking on Solo, only the selected track is played.

Getting started
Importing and playing existing files: Follow the instructions given below to import and play existing files.
- To load the files into the current project window, choose File->Import->Audio.
- Press the Play button to start playback.
- Pressing the Pause button once will pause playback, and pressing it again will resume the process.
- Press the Stop button to stop the playback.
Recording your audio: To record audio, this is what you need to do.
1) Set the recording device from the Device Toolbar:
- To record audio (your live audio, any live external musical instrument or both together), select Internal Mic (the default recording device of your system) or External Mic ( to record from your headphones’ mic, for instance).
- To record the system’s audio (e.g., a music file from Media Player, or audio from YouTube’s live video), select Stereo Mix as a Recording Device from the Device Toolbar.
2) Press the Record button to record.
3) Stop the recording using the yellow Stop button. (You can pause in between by selecting the Pause button, and clicking it again to resume.)
4) After recording the audio, you can listen to it by clicking the Play button.
5) To save the audio, choose File->Export Audio. Then save it in the desired format from the drop down list. The default extension is the ‘.wav’ format.

Editing the audio: For editing the audio, go to File->Import->Audio. If the audio is in the workspace folder of Audacity, then Audacity will offer you the option to open a separate copy of the file for editing, which is recommended.
To select a particular region for editing, click on the track and drag the shaded area with the mouse. If no audio is selected, the entire audio file in the project window is selected, by default.
Figure 5 shows the Edit Toolbar in which the Zoom buttons are highlighted. The ![]() is the ‘Zoom in’ tool, and
is the ‘Zoom in’ tool, and![]() is the ‘Zoom out’ tool.
is the ‘Zoom out’ tool.
The Selection Tool is used to zoom in to get a finer, more in-depth look at the signal. For this, choose the selection tool, then click near the desired location, and click the Zoom In button. Keep clicking the Zoom In button until you see the details.
To delete some part of the audio (like a 15-second clip), follow the steps below:
1. Stop the playback, click near the point where you want the 15-second portion to begin.
2. Zoom in until the Timeline shows 15 seconds or more before and after the cursor.
3. Holding down the Shift key, click 15 seconds to the right of the cursor.
4. Adjust the start and end of the selection with the mouse.
5. From the Edit Toolbar, select the icon ‘Trim Audio’ or press the Delete key.
6. If you have made a mistake, go to Edit->Undo.
Features of Audacity
Audacity has many exciting features. Some of them are discussed here.
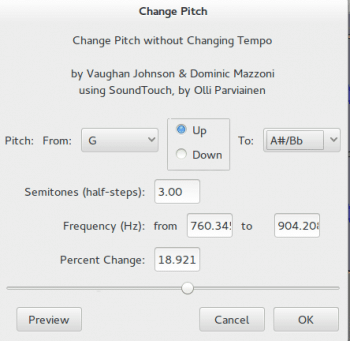
Changing the pitch: Select the entire audio (by clicking on the Track Control panel). Go to Effects->Change Pitch. Now, change the pitch from the given tone to the desired one with the help of the drop-down list. Click OK.
Low Pass Filter: This feature of Audacity allows users to keep only those frequencies that are lower than a certain cut-off frequency. It attenuates the frequencies above this threshold. It can be useful to reduce the high-pitched noise. It can also be very helpful for removing vocal parts from the song. Select the track and go to Effect->Low Pass Filter.
Alternatively, go to Effect->LS Filter. Just change the cut-off frequency and apply.
Equalisation: With the help of this effect, we can manipulate the sounds by frequency. It allows us to increase the volume of certain frequencies and to reduce others. Select the track, go to Effect->Equalization.
Let’s suppose that in the following example, we want to change the balance of high and low frequencies in the audio, to convert it in the form of a ‘Walkie-Talkie’. So from the drop-down menu at the bottom, select the option ‘Walkie-Talkie’ and click OK.
Plot the spectrogram: Select the track. From the drop-down list near the name of the track on the Track Control panel, select Spectrogram.
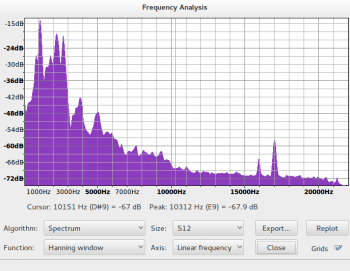
Plot the spectrum: Select the track and go to Analyze->Plot Spectrum. You can change the window for the plot from the drop-down list.
Audacity is a very useful tool for speech analysis. It is considered the richest tool among all audio analysis software. It is basically good at recording podcasts, different musical tracks, mixing them or separating them, while applying many effects. Moreover, it has the ability to import audio from various sources of recordings, and to export it in digital form.


