
IBM’s Bluemix affords developers an opportunity to build, deploy and manage custom apps. Bluemix is built on Cloud Foundry. It supports a number of programming languages as well as OpenWhisk, which allows developers to call any function without the need for resource management.
Bluemix is an open standards, cloud-based platform implemented by IBM. It has an open architecture which enables organisations to create, develop and manage their applications on the cloud. It is based on Cloud Foundry and hence can be considered as a Platform as a Service (PaaS). With Bluemix, developers need not worry about cloud configurations, but can concentrate on their applications. Cloud configurations will be done automatically by Bluemix.
Bluemix also provides a dashboard, with which developers can create, manage and view services and applications, while monitoring resource usage also.
It supports the following programming languages:
- Java
- Python
- Ruby on Rails
- PHP
- Node.js
It also supports OpenWhisk (Function as a Service), which is also an IBM product that allows developers to call any function without requiring any resource management.
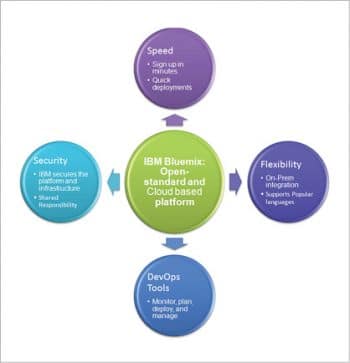
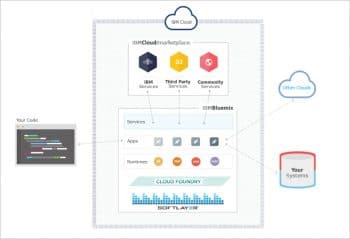
How IBM Bluemix works
Bluemix is built on top of IBM’s SoftLayer IaaS (Infrastructure as a Service). It uses Cloud Foundry as an open source PaaS. It starts by pushing code through Cloud Foundry, which plays the role of combining the code and suitable runtime environment based on the programming language in which the application is written. IBM services, third party services or community built services can be used for different functionalities. Secure connectors can be used to connect to on-premise systems and the cloud.

Creating an app in Bluemix
In this article, we will create a sample ‘Hello World’ application in IBM Bluemix by using the Liberty for Java starter pack, in just a few simple steps.
1. Go to https://console.ng.bluemix.net/registration/.
2. Confirm the Bluemix account.
3. Click on the confirmation link in the mail to complete the sign up process.
4. Give your email ID and click on Continue to log in.
5. Enter the password and click on Log in.
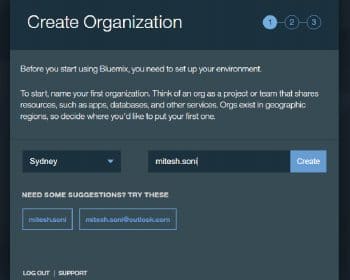
6. Set up and Environment share resources in specific regions.
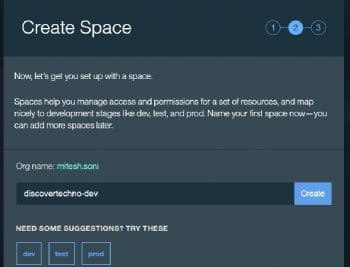
7. Create Space to manage access and roll-back in Bluemix. We can map Spaces to development stages such as dev, test, uat, pre-prod and prod.
8. Once this initial configuration is completed, click on I’m ready. Good to Go!
9. Verify the IBM Bluemix dashboard after successfully logging in, specifically sections such as Cloud Foundry Apps where 2GB is available and Virtual Server where 0 instances are available, as of now.
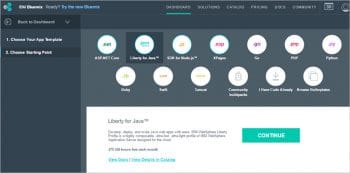
10. Click on Create app. Choose the template for app creation. In our case, we will go for a Web app.
11. How do you get started? Click on Liberty for Java, and then verify the description.
12. Click on Continue.
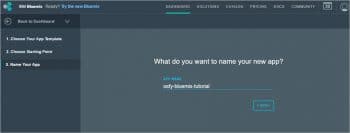
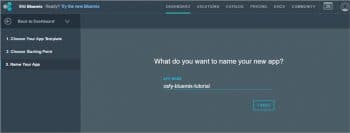
13. What do you want to name your new app? For this article, let’s use osfy-bluemix-tutorial and click on Finish.
14. It will take some time to create resources and to host an application on Bluemix.
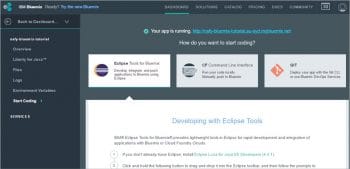
15. In a few minutes, your app will be up and running. Note the URL of the application.
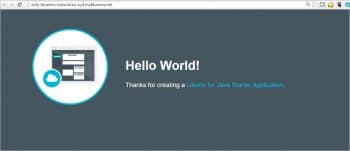
16. Visit the application’s URL http://osfy-bluemix-tutorial.au-syd.mybluemix.net/. Bingo, our first Java application is up and running on IBM Bluemix.
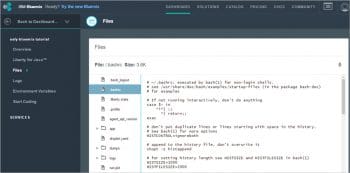
17. To verify the source code, click on Files and navigate to different files and folders in the portal.
18. The Logs section provides all the activity logs, starting from the application’s creation.
19. The Environment Variables section provides details on all the environment variables of VCAP_Services as well as those that are user defined.
20. To verify the application’s consumption of resources, go to the Liberty for Java section.
21. The Overview section of each application contains details regarding resources, the application’s health, and activity logs, by default.
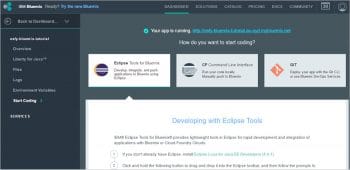
22. Open Eclipse, go to the Help menu and click on Eclipse Marketplace.
23. Find IBM Eclipse tools for Bluemix and click on Install.
24. Confirm the selected features and install them in Eclipse.
25. Download the application starter code. Import it into Eclipse by clicking on File Menu, select Import Existing Projects into Workspace and start modifying the existing code.
Why IBM Bluemix?
Here are some compelling reasons to use IBM Bluemix:
- Supports multiple languages and platforms
- Free trial
1. Minimal registration process
2. No credit card required
3. 30-days trial period – with quotas of 2GB of runtime, 20 services, 500 routes
4. Unlimited access to standard support
5. No production use limitations - Pay only for the use of each runtime and service
- Quick set-up – hence faster time to market
- Continuous delivery of new features
- Secure integration with on-premise resources
- Use cases
1. Web applications and mobile back-ends
2. APIs and on-premise integration - DevOps services are available as SaaS on the cloud and support continuous delivery of:
1. Web IDE
2. SCM
3. Agile planning
4. Delivery pipeline service


