


In a separate article in this issue of OSFY, we have discussed Kubernetes, Helm and its usage. In this article, we will take a look at how you can create your own Helm Chart that can help you simplify the application deployment process.
Helm Charts have a number of advantages. They remove complexity from Kubernetes applications and ease the process of distributing these.
It is easy to reproduce the given environment of Kubernetes applications with them, and they simplify deployments.
This article considers that you have a fair understanding about the following, and that these are already set up in your system:
- Kubernetes
- Helm
- Kubectl
Creating Helm Chart
You can create Helm Chart using the command todo (Figure 1).
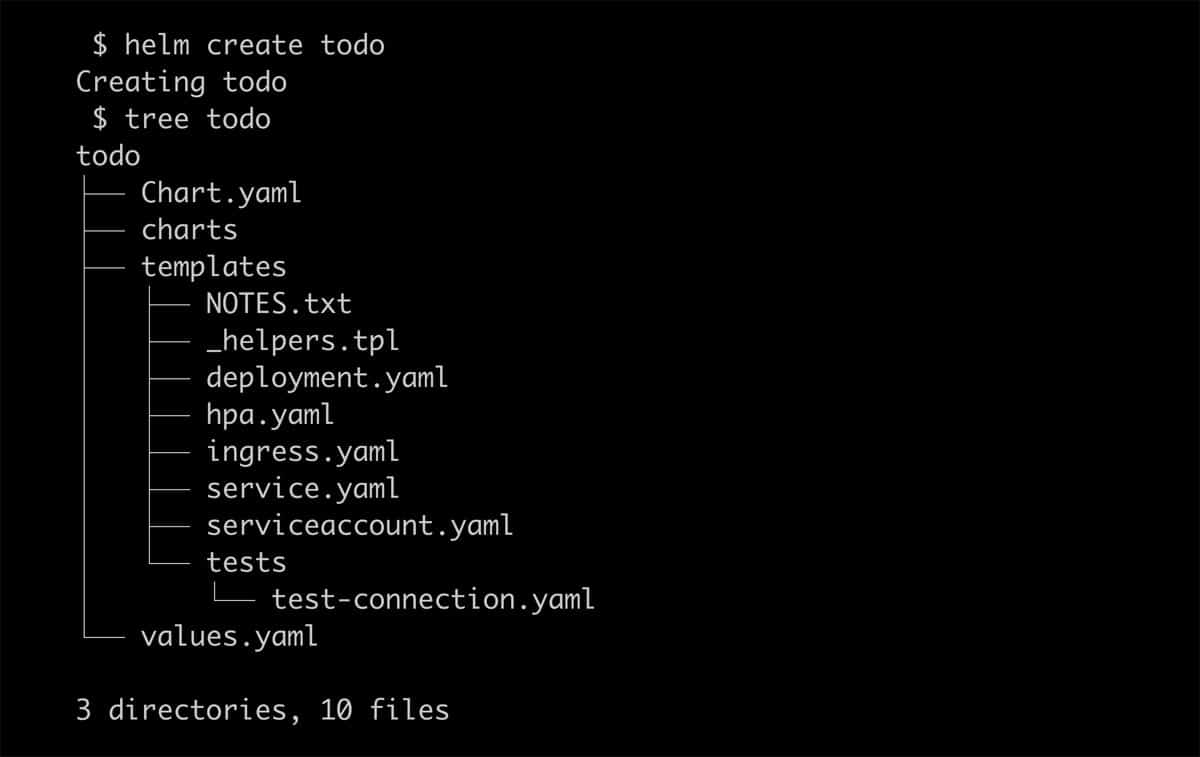
After this command, you will see a new directory structure created with the given name. This directory contains files required for your Helm Chart, which are as follows:
- charts/
- Chart.yml
- templates/
- values.yml
Chart.yml contains all metadata about the Helm Chart like name, version, description, dependencies, and other important information. templates is an important directory which holds all YAML definitions about Deployment, Services and other Kubernetes objects. Helm uses Golang’s template rendering engine to generate the given Kubernetes configuration files. values.yml contains the default values for the given Helm Chart.
If you notice, there are several variables identified. The values file is derived from this configuration file.
Deploying the Chart
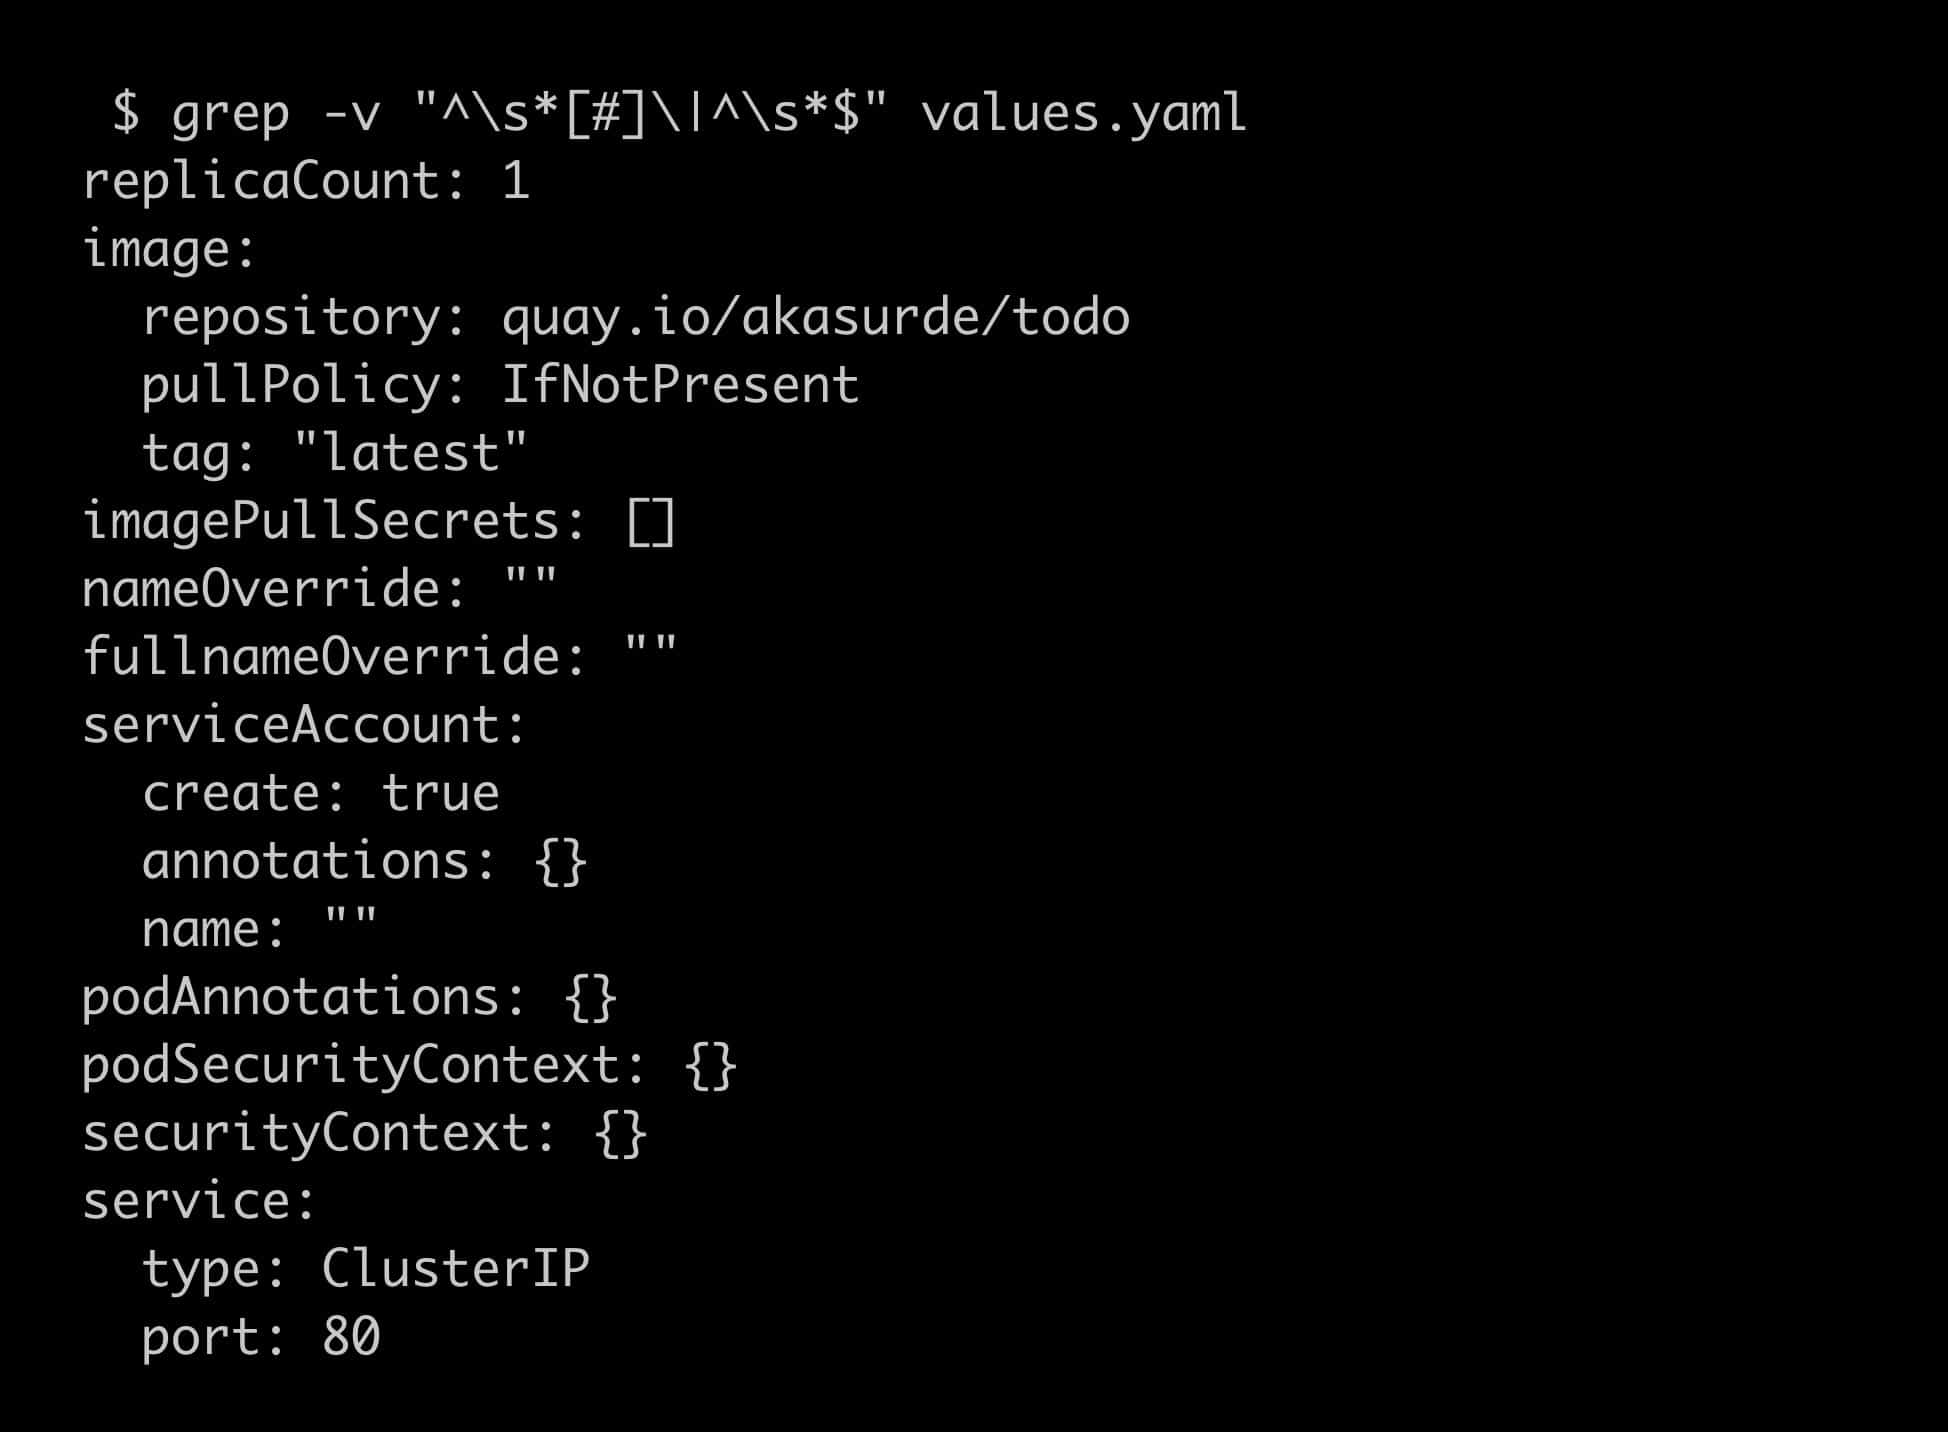
Let us now edit the values.yml file, as shown in Figure 2.
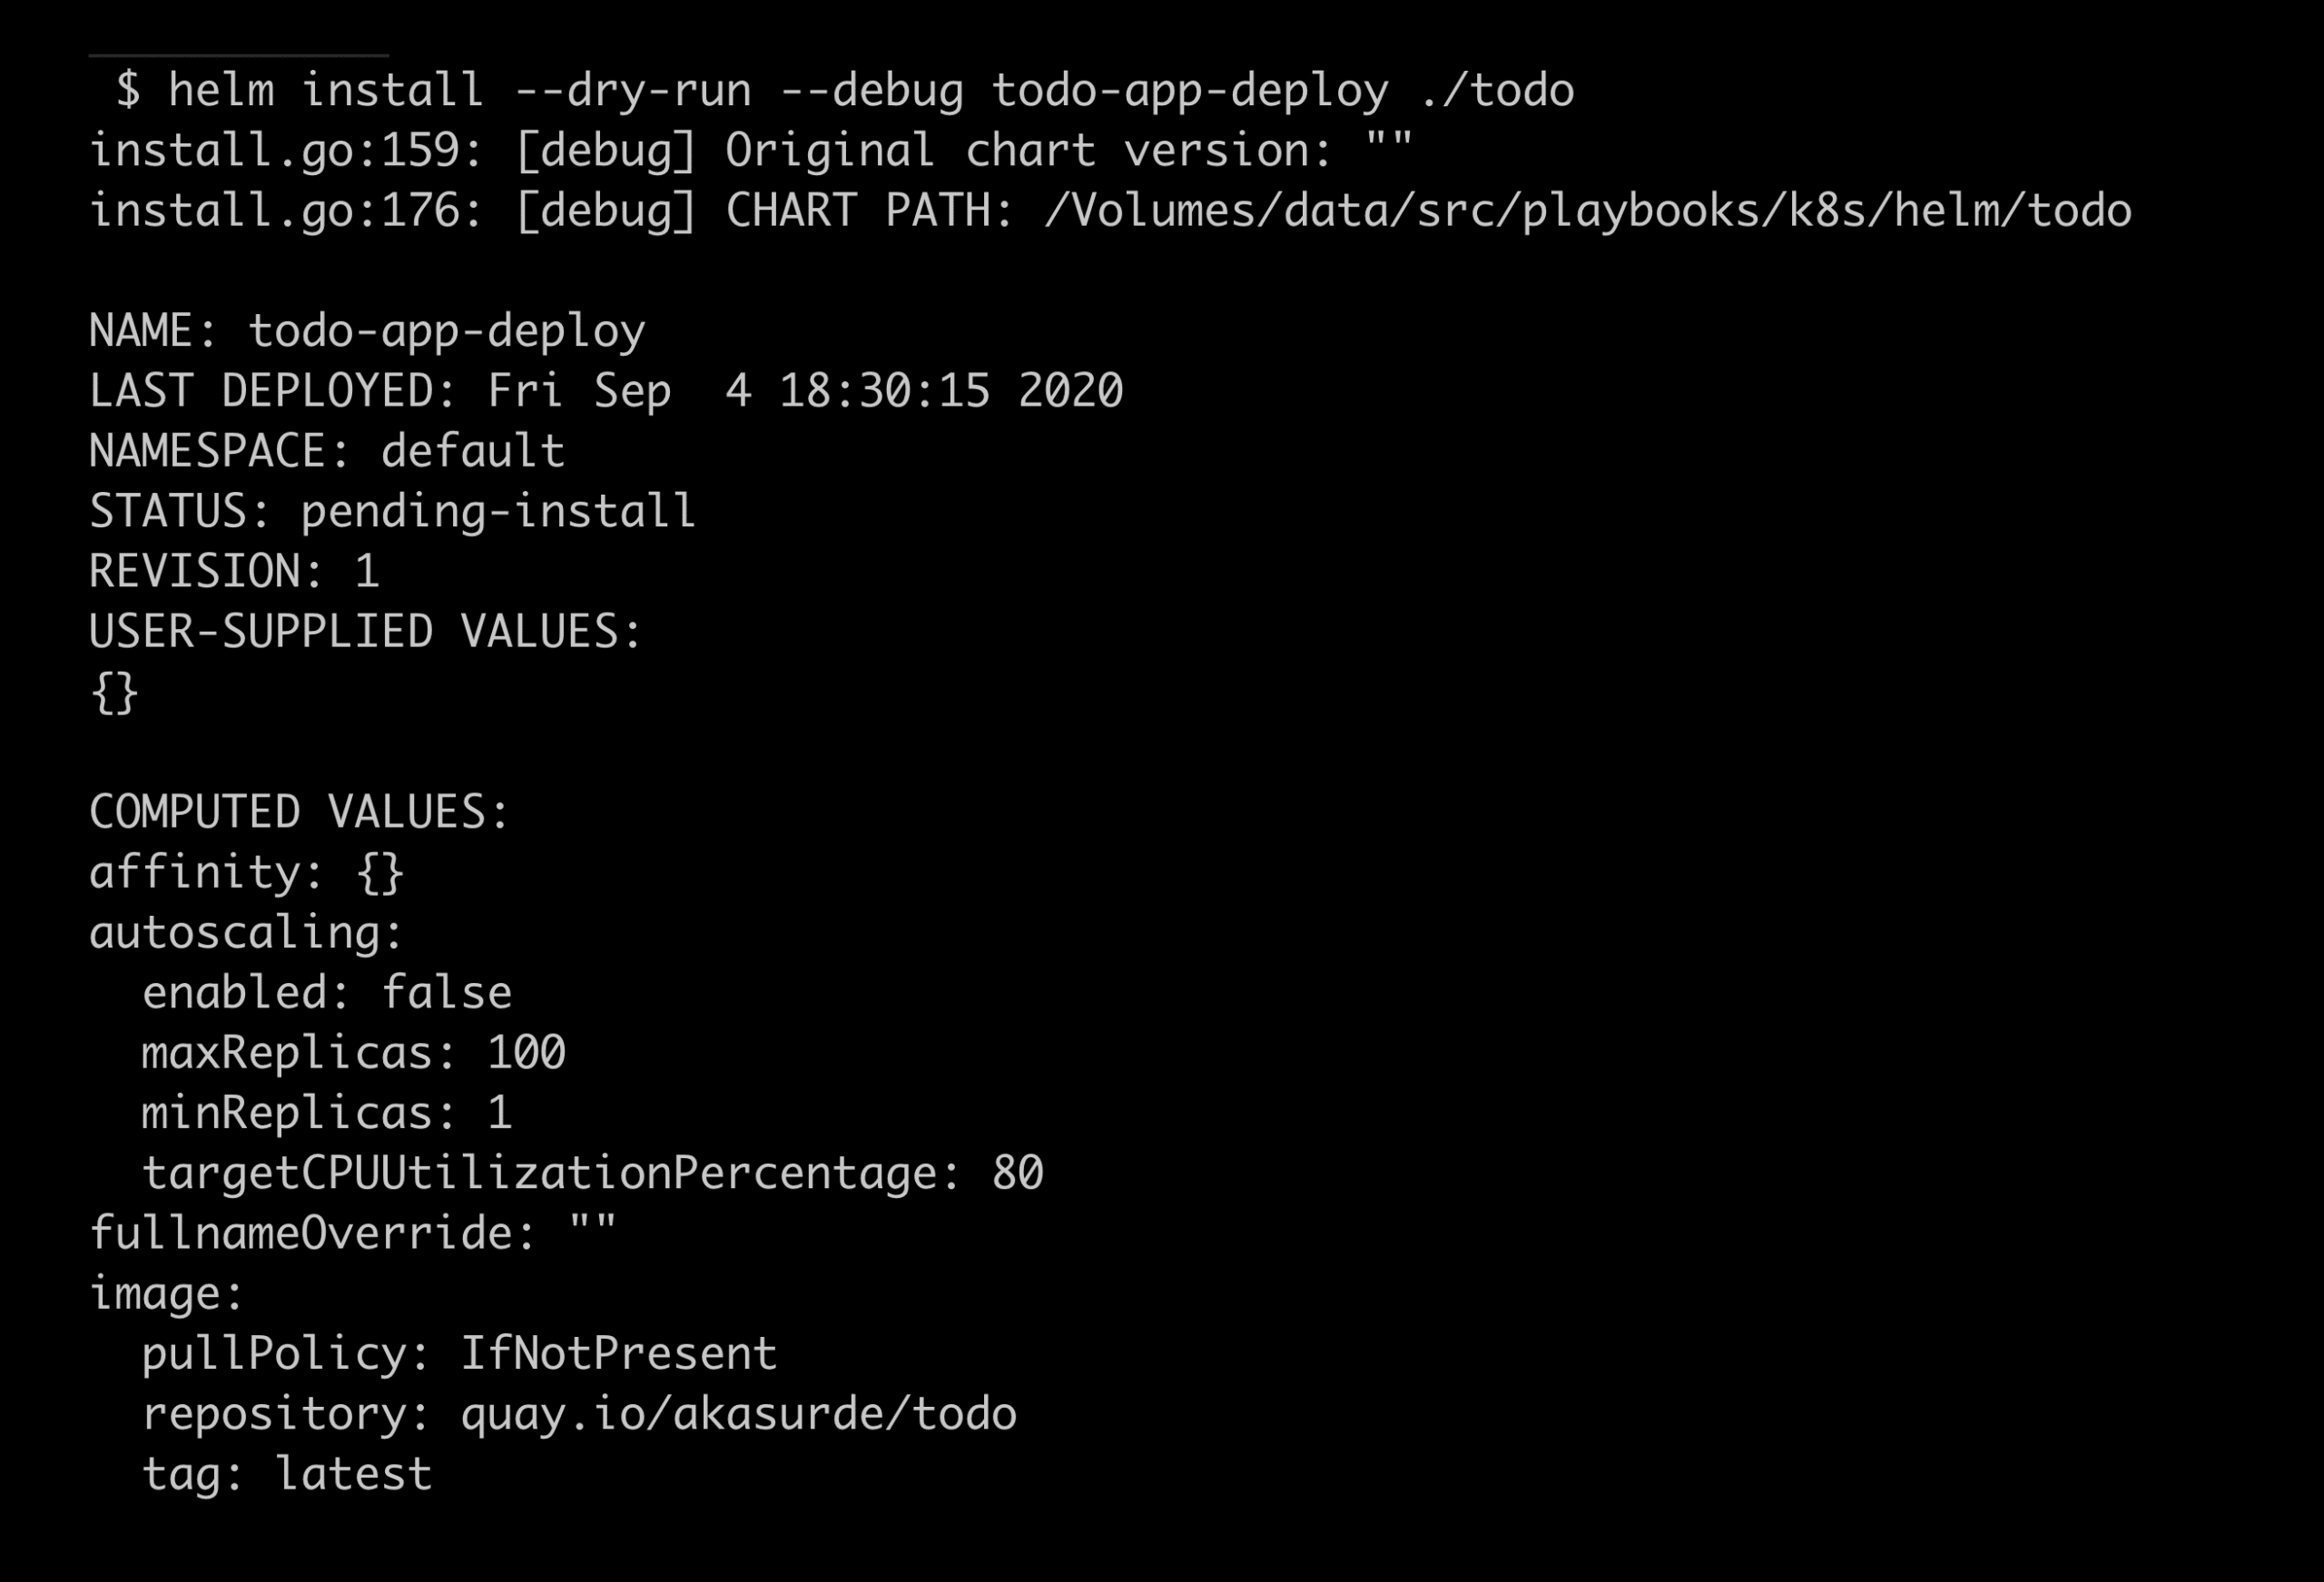
Before proceeding to actual deployment, we can use –dry-run to debug and inspect the actual deployment (see Figure 3).
After inspection and verifying the deployment, you can deploy Chart, as shown in Figure 4.

Follow the instructions provided at the end of the command (see Figure 5).
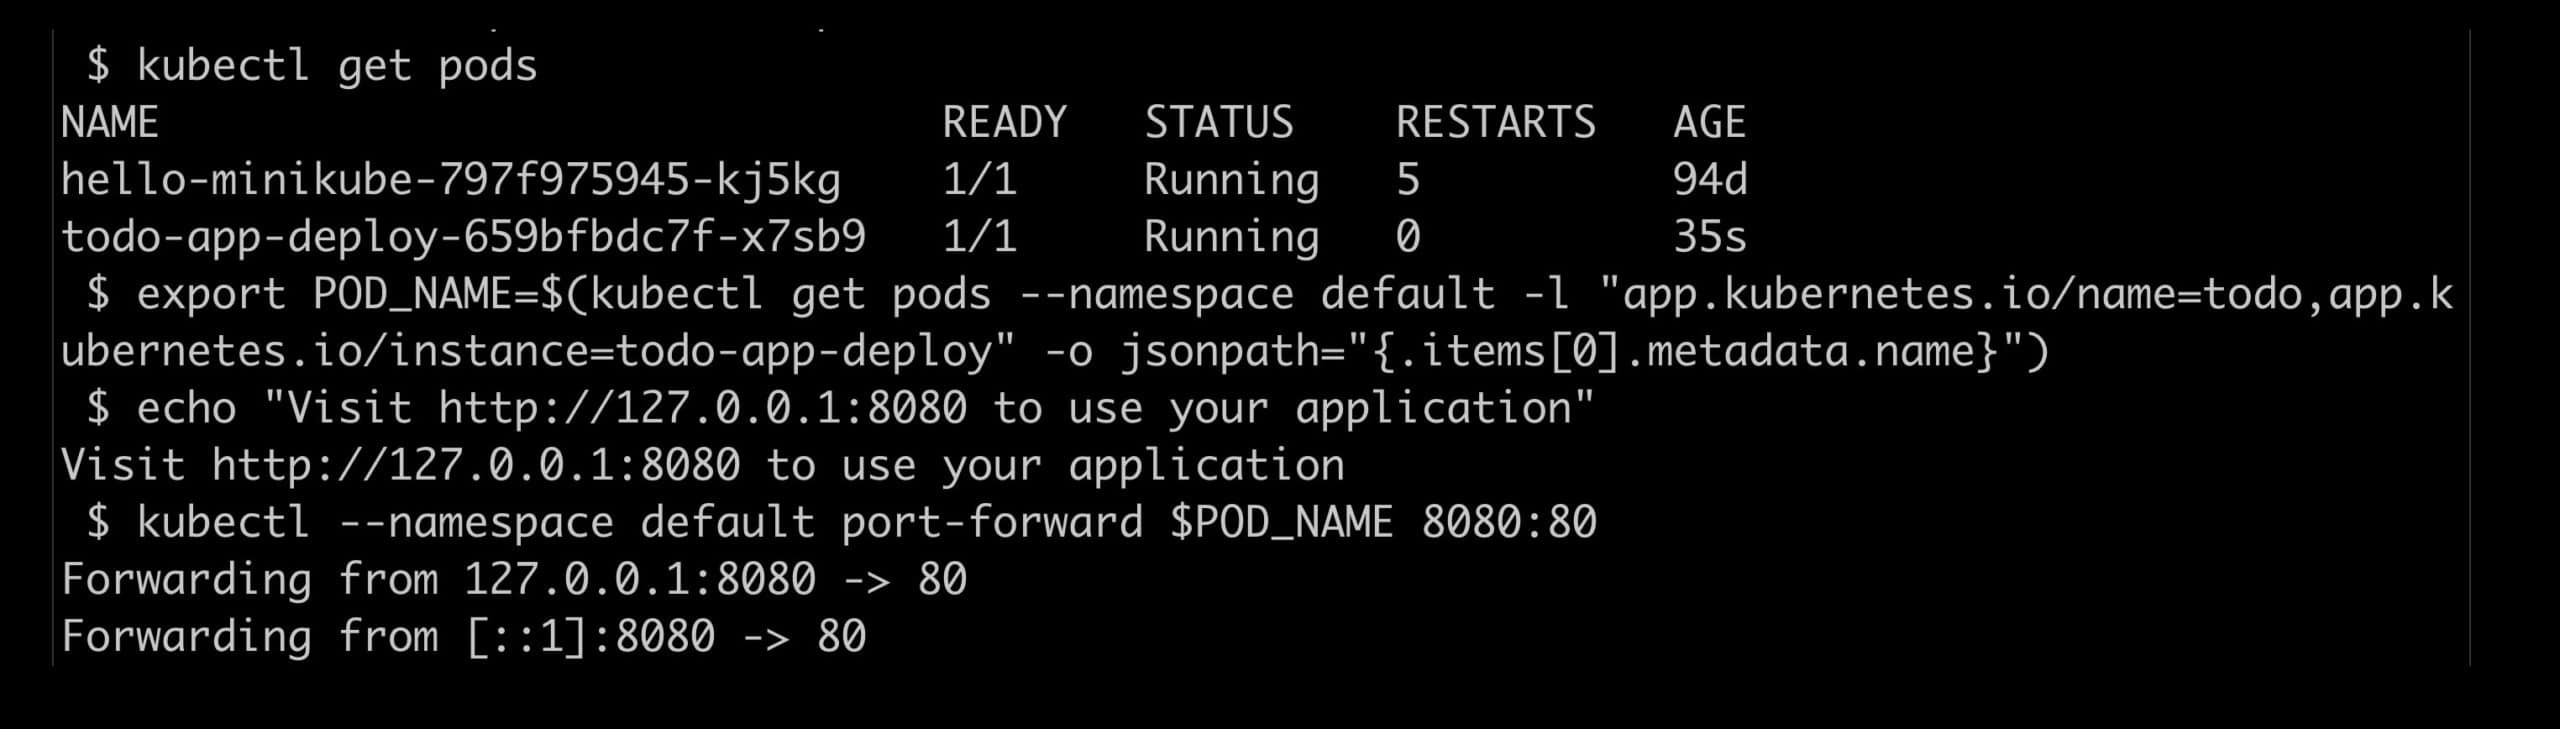
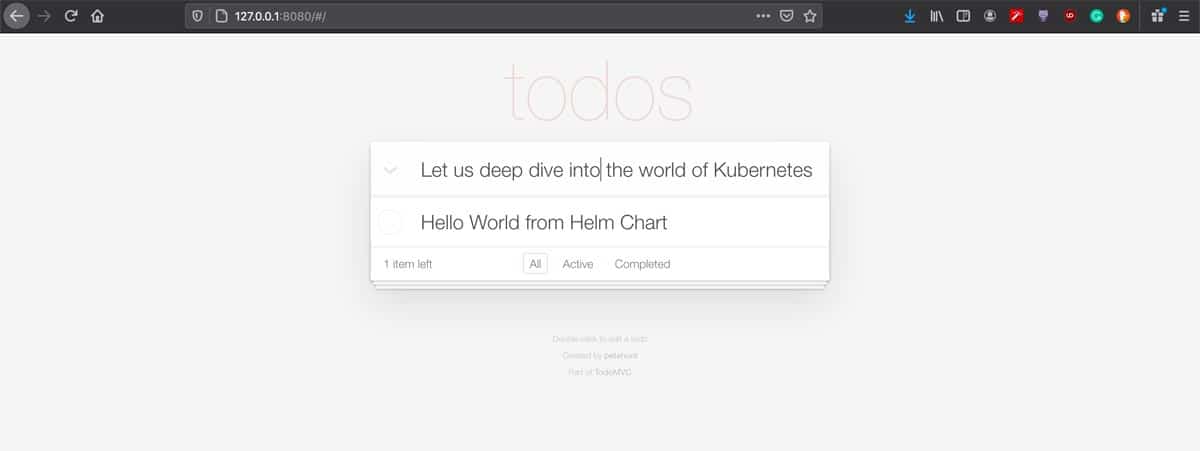
If you visit http://127.0.0.1:8080, you can see the todo application.
Let us understand the basics behind this. This application is a todo application written in React from http://todomvc.com/, containerised and hosted at https://quay.io/repository/akasurde/todo.
This container image value is specified in your values.yml as a repository, and tagged in the image section. The pod is also exposed to port 8080 using the todo/templates/service.yaml file under the templates directory.
Packaging Chart
So far, we have been dealing with the unpackaged Chart. In order to distribute it to the users or the team, you can use the package sub-command.
$ helm package ./todo
Successfully packaged chart and saved it to:
/data/helm/todo-0.1.0.tgz
You can now distribute this tarball to your team or users. Users can install this tarball as:
$ helm install todo-app-latest todo-0.1.0.tgz
In the next article on Helm, we will see how you can setup your own private Helm Chart repository to distribute Helm Chart.


