Ubuntu has a large and growing variety of flavours. Ubuntu Studio is a useful Ubuntu derivative targeted at multimedia artists. If you’re a professional, or need applications to create/edit images, video and audio, then this is your perfect companion.
There’s no denying the fact that most users prefer to perform their multimedia tasks using Windows. This article does not preach about how FOSS apps are better than closed-source apps like Adobe Photoshop, or even Windows Movie Maker. Instead, I hope to enlighten those who were unaware that they can use free and open source alternatives to do the same work they use proprietary Windows apps for.
Ubuntu Studio is bundled with a large number of applications, which are useful for multimedia-based project work.
- Graphics: There are image-editing tools like the GIMP (GNU Image Manipulation Program), which is a great alternative to Adobe Photoshop. For vector graphics editing, there is Inkscape. Other graphics tools provided include F-Spot (an image organiser), XSane (a graphical scanning frontend to SANE, which stands for “scanner access now easy”. It uses the SANE-library to talk to scanners), and Hugin (a panorama photo stitcher).
- Video: A collection of video applications are provided, including Freemix, Kino, xjadeo, Stopmotion and a subtitle editor.
- Audio: A wide range of audio production tools are present, like, JACK audio tools, Beast, Muse, Audacity and so on.
Installation
The system requirements for Ubuntu Studio are the same as for Ubuntu. However, it is recommended that you have enough memory and a good processor, if you intend to do intensive multimedia work like video rendering, multi-track audio recording, etc.
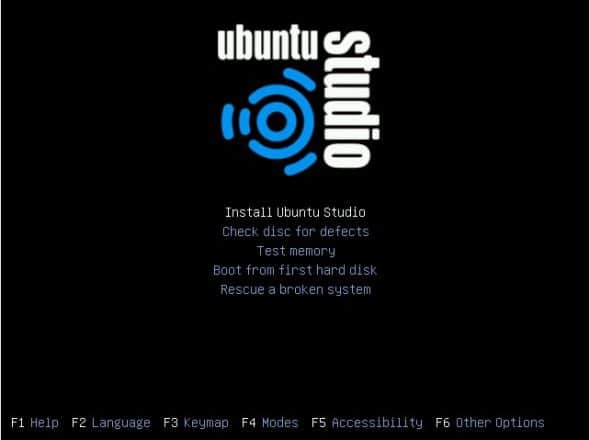
Ubuntu Studio has to be installed from the alternate DVD image (as it is around 1.8 GB, which is too big for a CD). It has no graphical point-and-click installation feature, but uses a text-based installer.
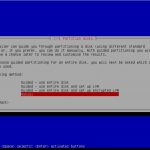
It’s not very difficult, fairly self-explanatory and quite easy to understand and proceed with installation. After selecting your region, time zone, keyboard layout, etc, the installation begins. The partitioning tool (Figure 2) will assist you to set up your partitions; you must at least select a root partition and swap space. Generally, swap partitions are optional, but as multimedia-intensive work uses up a lot of resources, it is recommended to use one.
Installation takes quite a while to complete, compared to Ubuntu. This is mainly due to a large number of applications being installed. Figure 3 shows the installation in progress.
It is a good idea to configure your network when prompted, mainly because Ubuntu Studio doesn’t ship NetworkManager by default — unlike Ubuntu. The reason apparently is that it might interfere with audio processing. So, to get Internet access working, you should ideally configure the network when prompted. Later, it’s easy to install and use Network Manager to manage your network connections.
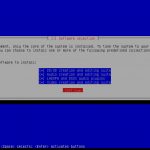
Another crucial step is to select the applications to install after the base system has been installed, which you can do as per your needs. Figure 4 above shows the available ‘bundles’ for various purposes.
After the installation is complete, it asks you to install the GRUB bootloader. Choose to install it to MBR, then reboot into your new Ubuntu Studio install.

The differences between 10.04 and 10.10
- The file
/etc/security/limits.confhas now been removed, since it’s no longer required by the JACK Audio connection kit, which writes its own configuration in the file/etc/security/limits.d/audio.conf. - PiTiVi: The default movie editor of 10.04 has been removed in this release.
- The Ardour mute bug from the previous version has been fixed.
- Other major software upgrades have been done.
64 Studio vs. Ubuntu Studio
64 Studio is a Debian GNU/Linux-based operating system that serves the same purpose as Ubuntu Studio. However, since it’s based on Debian, the applications are sometimes outdated. Although 64 Studio is the more stable option, Ubuntu Studio has more updated software packages available. 64 Studio’s release cycle is also unpredictable (the last stable release was two years ago). In contrast, Ubuntu Studio is released twice a year, like Ubuntu.
The pros of Ubuntu Studio
- It is an official Ubuntu derivative. It is also supported in the official forums.
- It has wide-ranging out-of-the-box ‘bundles’ of multimedia applications for easy installation, which helps users get started quickly.
- It has a real-time kernel, which is an asset for audio/video work.
- A set of custom themes are included, which are absent in the default Ubuntu install.
- It can be easily transformed into an Ubuntu install, by adding or removing applications, and with minimum tweaking.
- It is very economical for struggling artists, universities and schools.
The cons
- It does not include wireless support or Network Manager in the default installation, but these can be installed manually. To do this, open a terminal and run the following command:
sudo apt-get install network-managernetwork-manager-gnome- Next, edit the file
/etc/network/interfacesand comment out (insert a#at the beginning of) any line having the wordeth0. Save and close it; then reboot. - It also doesn’t install the famous Me Menu of Ubuntu, but that package can also be found using Synaptic, if you want it.
- It focuses mainly on multimedia use, and doesn’t include Evolution Mail and Open Office, which are present by default in Ubuntu.
- The lack of a live CD/DVD feature, and a graphical installer, can be troublesome for new users.
- The default desktop looks odd and incomplete. It leaves you without even a bottom panel, which is present in all GNOME-based desktops.
Getting back the vanilla Ubuntu
If you prefer the look and feel of the vanilla Ubuntu, then you can easily transform your current Studio desktop into Ubuntu 10.10. Just go to System –> Administration –> Synaptic Package Manager and search for ubuntustudio-desktop. Right-click on it, and select it for complete removal. Next, search for ubuntu-desktop. Check the box to select it for install. Click Apply to complete the operations; then log out, or reboot your machine.
One might argue about the usefulness of Ubuntu Studio, stating that there is no need for such a derivative. Yes, it’s true that you can, in fact, install all the applications you want in your default Ubuntu install. However, Ubuntu Studio is targeted at audiences who need to use multimedia applications on a regular basis, and may want to skip the pain of manually installing such apps — not to forget the fact that they also need to search for these apps, if they don’t know the names beforehand. Ubuntu Studio provides a ready-to-use operating system that is fine-tuned for multimedia usage, and can be tweaked as you like.

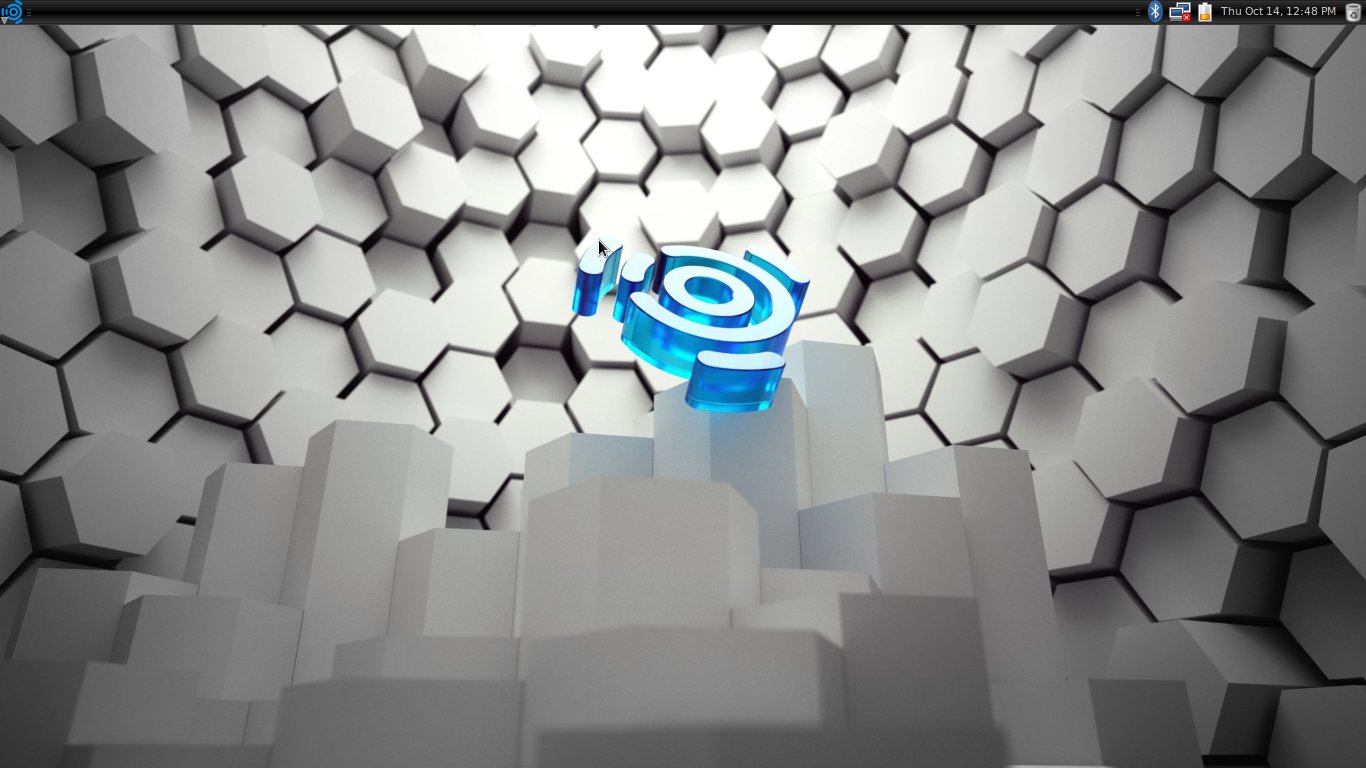
Figure 6 shows my current Ubuntu Studio 10.10 desktop, which has cairo-dock and the Me Menu installed — don’t you think it looks brilliant? Give it a try, and I’m sure you will fall in love with it!


