On October 10, 2010, Canonical released the latest avatar of Ubuntu, 10.10, codenamed “Maverick Meerkat”. The desktop version of its last release, Ubuntu 10.04 LTS, will be supported for three years and the server version for five. The 10.10 release is more about improving core applications, and there are lots of visible improvements.
A more polished and efficient Ubiquity installer
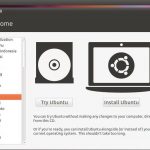
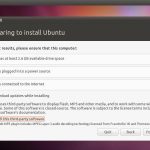
With the best installer ever, installation has become much easier and more efficient than previous releases. The greatest fear of every user migrating to a *NIX platform is the struggle for third-party drivers, dependency hell and proprietary audio codecs, but the Ubuntu installer took care of everything from the beginning (see Figure 2).
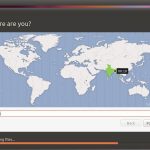
Once you select a destination partition, the installer begins copying files in the background (see Figure 3) while you fill in the time zone, user information, and other details. Pity no one thought this way earlier — it’s done in almost no time. In my case, it took almost 12 minutes on my three year-old Dell Optiplex 330 (Pentium dual-core 1.6 GHz, 2 GB DDR2 RAM, 160 GB HDD). Booting into the live environment took a mere 59 seconds — really amazing.
A facelift to the Software Centre
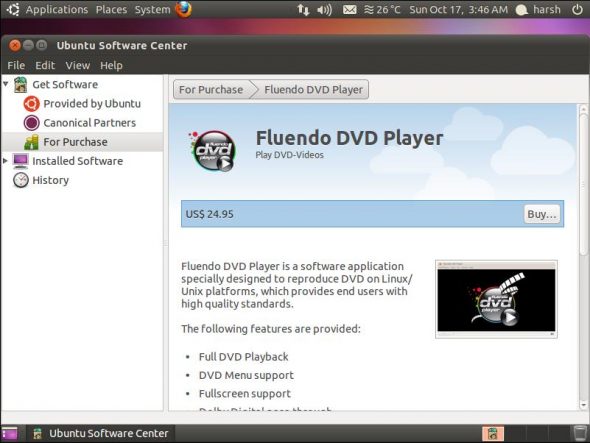
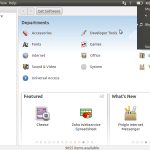
The Software Centre has improved a lot, and is now pretty close to a dream. It easily handles installation of downloaded packages and software from Ubuntu repositories, and also supports adding third party repositories like Google Chrome, Dropbox, etc. The interface got a great facelift, and now offers smarter categorisation and search features. Another noticeable improvement is that it now offers paid software too. Currently, it offers Fluendo DVD Player for purchase, with more to come.
Streaming Ubuntu One music to your smartphone
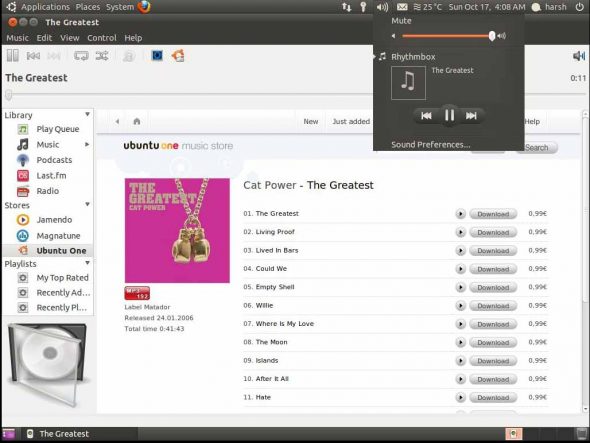
Ubuntu’s been inching ever closer to this goal with every release. Ubuntu One is well stocked with DRM-free music. You can buy from the Ubuntu One music store, and it’s instantly backed up to your Ubuntu One space for later download to your desktop — or you can stream directly to your smartphone, using an iPhone or Android app. The basic Ubuntu One plan provides 2 GB of free space for syncing and backing up your pictures, bookmarks, contacts and music. I would recommend this to everyone.
Setting up Ubuntu One is a piece of cake — you can create an account right from your desktop. Open up the Ubuntu One preferences from the Me Menu and the single sign-on dialogue box will prompt you to sign up for a new account, or log in with an existing account. Fill in your email address and preferred password twice, and type the Captcha code. Your given email address will be sent as activation code, and you are good to go. Now log in with your account and press Connect, add your devices, and start syncing!
Debuting the Ubuntu font family
Another visible improvement is the new default (custom-built) Ubuntu font family, which is focused on screen readability and also features support for the new Indian Rupee symbol, making Ubuntu 10.10 the first OS to ship with this feature. It is designed by renowned font foundry Dalton Maag.

A system tray on steroids
The improvements extend to the system tray, which is more usable compared to past releases. Now you can control (the default) Rhythmbox music player from the volume control applet, receive social networking messages, and set your online chat status right from the system tray. It also displays the temperature and weather status when connected to the Internet.
Evolution, Empathy and Gwibber get tighter integration
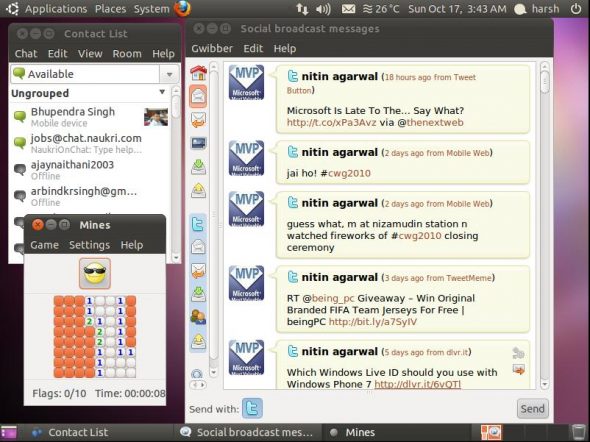
Though most of our time is spent with Web browsers these days, Ubuntu’s tighter integration of mail, chat and social networking into desktop apps will force you to switch back to desktop apps. The mail icon in the system tray is one location for all your notifications from Evolution, Empathy and Gwibber.
Other improvements
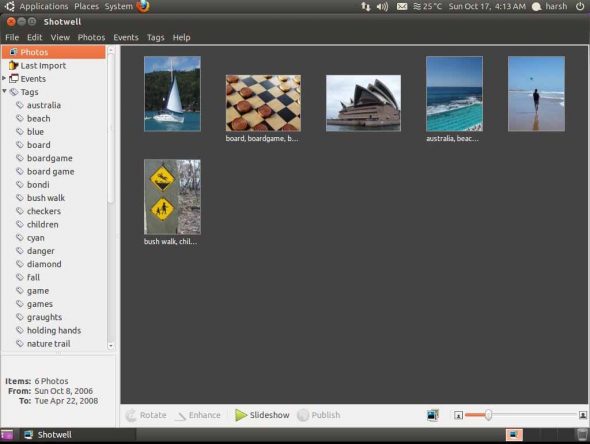
There are some noticeable improvements in Update Manager too — now it also displays short descriptions of the updates. F-Spot is replaced by Shotwell as the default photo manager for organizing and making changes to photos; it has better camera and storage device detection, and the interface is very light. And, of course, many software packages have been updated to newer stable versions, such as GNOME 2.32 and Evolution 2.30.
Ubuntu netbook edition
Canonical’s also released the netbook edition of Ubuntu 10.10. I took it for a trial run on my Samsung N148 netbook, and it recognised Bluetooth, Wi-Fi, the touch-pad and the Web-cam without any struggle. The new Unity interface is very innovative and neat, and saves screen real estate. It comes with a dock-style bar on the left with common applications, and a standard panel across the top. Click app icons in the dock to start them; a caret sign appears on the left side of icons whose applications are currently running, and there’s a caret sign on the right side of the app icon which is currently active. You can drag-and-drop to rearrange icons, and can remove an icon by dragging it off the side-bar. To quit a program, right-click and select Quit from the menu.

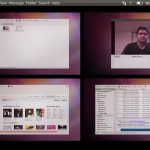
If you click the Ubuntu button at the top left corner of the screen, you’ll be presented with an iPad-like home screen, with high-resolution icons for your favourite destinations. Another great eye candy worth mentioning is the inclusion of the Workspaces option to switch between virtual desktops. You can access this feature by clicking on the purple Workspaces icon from the side-bar. Evolution also performs in a special mode that’s more suited for the small screen sizes of netbooks. Beneath it are all the good enhancements of the stable Ubuntu 10.10 desktop edition. The global app menu is another nifty feature added in this release.
Experiencing Unity on your desktop
If the description above is interesting, or you’re bored with the default GNOME, you can add Unity to your desktop without reinstalling. Add the Ubuntu netbook edition Personal Package Archive, open the terminal, and run sudo add-apt-repository ppa:canonical-dx-team/une. Your system will fetch the keys for the PPA (to verify that the downloaded packages are not compromised). Update your package list with sudo apt-get update. Fire up the Ubuntu Software Centre, go to Get software –> Ubuntu netbook edition, search for Unity interface for UNE and hit Install. It will download the packages and install — Voilà! Unity is here. To start using it, log out and log in again.
Askubuntu
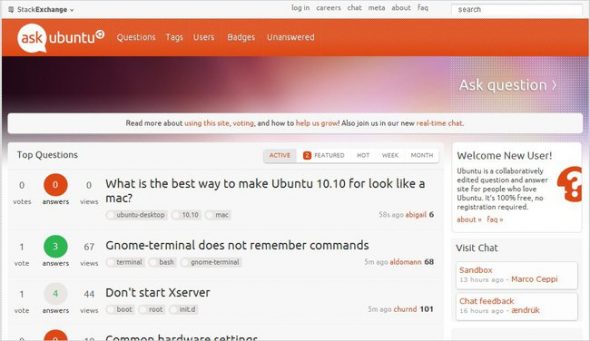
Askubuntu.com was launched as the first official Stack Exchange Q&A site for the Ubuntu community. Anyone can ask questions about Ubuntu’s current and past releases, and get answers from the community. The site is well-built and easily searchable.
I took the plunge, and have been using the current release as my primary OS on my desktop and netbook for almost a week. I am very satisfied with the new improvements and eye candy; they really compete with the Mac OS X desktop appearance. For those who are still using past releases, don’t wait any longer — take the plunge! Ubuntu 10.04 LTS users may want to hold off until Ubuntu 11.04, though.
Tweaking Ubuntu 10.10
Warning: The tweaks described below could make your Ubuntu install unstable, or cause problems. Try them at your own risk.
Enable Compiz Fusion
Compiz Fusion provides desktop effects like the 3D Cube and wobbly windows. If Compiz isn’t automatically enabled on your system, you may need to install the ‘official’/proprietary drivers for your graphics card. In most cases, Ubuntu detects that such 3D drivers are available (you see a circuit board icon in the system tray) and you can follow the prompts to enable the driver. If Ubuntu fails to detect it, you can manually run the Hardware Drivers tool from the System –> Administration menu.
Tweaking Ubuntu made easy
Ubuntu Tweak is a nifty tool that you can install by running sudo add-apt-repository ppa:tualatrix/ppa to add the PPA, then search for the package in Software Centre and install it. If you can’t live without Chromium, VLC and Wine, when you run ubuntu-tweak, sync the application centre for the first time, and you can then install the apps with just a few clicks!
System tray jazz
Jazz up your system tray with freely available indicators for apps. Ubuntu’s indicator applet project aims to make panel application entries look neat — so neat, in fact, that there are hundreds of attractive and useful indicator applets available, from screenshot and system load monitoring tools, to workspace switchers and USB ejectors. Start Googling!
Unclutter Nautilus with Nautilus-elementary
Nautilus-elementary is a slimmed-down version of the default file browser. It has many great features, such as “cover-flow”-like browsing view, a toolbar editor, a built-in terminal, the ability to hide the “main menu”, and a zoom slider. Run sudo add-apt-repository ppa: am-monkeyd/nautilus-elementary-ppa to add the PPA; update the package list and replace Nautilus with sudo apt-get update && sudo apt-get dist-upgrade.
Here comes the hot Macbuntu
Ubuntu is getting nearer to Mac-like functionality and appearance, but for those who want the whole cake now, Macbuntu is here to give you the complete look and feel. This is my favourite tweak. You can download it from here, or can run the following commands in a terminal:
wget https://downloads.sourceforge.net/project/macbuntu/macbuntu-10.10/v2.3/Macbuntu-10.10.tar.gz -O /tmp/Macbuntu-10.10.tar.gz
tar xzvf /tmp/Macbuntu-10.10.tar.gz -C /tmp
cd /tmp/Macbuntu-10.10/
./install.sh
After Macbuntu finishes setting everything up, restart your computer, and enjoy the new Mac OS X appearance of Ubuntu. To uninstall Macbuntu, just run the following code:
cd /tmp/Macbuntu-10.10/
./uninstall.sh
Conquer the command line the easy way
Download this cool and handy Ubuntu command reference wallpaper and set it as your desktop wallpaper. Now looking up arcane commands is just a Show Desktop button click away!




how did you installed VGA for samsung n148 on ubuntu?