


Big Data is the current buzz word in the world of computing. Typically, for computer enthusiasts with just a single desktop, experimenting with Big Data poses a problem since running a distributed data program requires many computers. But now, Big Data can be run on a single desktop.
I read about Apache Spark in a news article titled Run programs up to 100x faster than Hadoop MapReduce, and I wanted to explore it. Spark applications can be written in Python. The trouble was that I hadnt even got down to trying Hadoop MapReduce, in spite of wanting to do so for years.
If all you have is a desktop, how do you experiment and learn systems that are inherently distributed? You cant get an insight into them while using a single machine.
Fortunately, even mid-range desktops now come with a quad-core and 8 GB of RAM. So, you can run at least a few virtual machines. Many tools, e.g., VirtualBox, are very good and easy to use. But are they enough?
The scope
Spark is a
fast and general engine for large-scale data processing (http://spark.apache.org). It allows you to build parallel applications. It can access the data from various sources, particularly, existing Hadoop data. It can run on the YARN cluster manager of Hadoop 2. So, you may want to understand and set up a Hadoop data source and, possibly, a YARN cluster manager.
You need to set up a cluster of virtual machines on which the master and slave instances of Spark will run. Then set up a HDFS cluster of virtual machines for Hadoop data. There will be a NameNode to manage the file system metadata and DataNodes that will store the actual data.
You may need to play around with the number of virtual machines in order to avoid manually creating each virtual machine that opens a separate window on the desktop display. Its preferable to manage the machines from a single environment, conveniently.
That brings us to the need to create a local cloud on the desktop. OpenStack is a popular, open source option and Red Hat offers an open source distribution (http://openstack.redhat.com).
The RDO distribution of OpenStack will be included in the repositories of Fedora 21. You can add an additional repository for installing it on Fedora 20.
A bare bones cloud image is available from Fedoras download site. You can also build your own spin using or expanding the kick-start for a cloud image, fedora-x86_64-cloud.ks, a part of the fedora-kickstarts package.
The plan
The process of exploring Big Data on a desktop needs to be broken up into smaller steps, with each step built on top of the previous step. Hopefully, it will run reasonably well on a quad-core desktop with 8 GB RAM to give you an understanding of the additional technology and the programming involved.
The current exploration will be on Fedora because my desktop is Fedora 20. Fedora offers an OpenStack distribution and it will be difficult to experiment on multiple distributions simultaneously.
The first step will be to create a local cloud.
Installing OpenStack
You could use a virtual machine to minimise the risk to your desktop environment. A useful utility is appliance-creator, which is a part of the appliance-tools package. You can use the kick-start file fedora-x86_64-cloud. ks, with a couple of changes in fedora-cloud-base.ks, to allow signing in as the root user. By default, the image requires cloud-init to create an account fedora and inject ssh credentials for password-less logging in (see https://www.technovelty.org/linux/running-cloud-images-locally.html as an alternate solution). You need to increase the size of the disk and SELinux should be permissive or disabled.
timezone --utc Asia/Kolkata
selinux --disabled
#rootpw --lock --iscrypted locked
rootpw some-password
part / --size 8192 --fstype ext4
#passwd -l root
You will need to make sure that the virtualisation packages are installed (https://fedoraproject.org/wiki/Getting_started_with_virtualization). Just do the following:
# yum install @virtualization
Install the image created by appliance-creator using virt-manager. You will probably need 3 GB of memory to successfully install OpenStack.
Now you are ready to follow the RDO quick start instructions (http://openstack.redhat.com/Quickstart).
The following commands are fairly quick:
# yum install -y http://rdo.fedorapeople.org/rdo-release.rpm
# yum install -y openstack-packstack
The packstack command makes it simple to install OpenStack and the dependencies. It uses Puppet. However, the packstack command may take a long time, depending on the network and download speeds (I usually find it better to add &country=us,ca to Fedora and update repositories for the Indian environment).
# packstack --allinone
You may find that the above command fails to run the remote script after setting up the ssh keys. If so, you need to set up authorised keys.
# cat /root/.ssh/id_rsa.pub >> /root/.ssh/authorized_keys
The first time Packstack is run, it creates an answer file with a name like packstack-answers-X-Y.txt. You will need to reuse the same answers in case you have to rerun Packstack.
# packstack answer-file packstack-answers-X-Y.txt
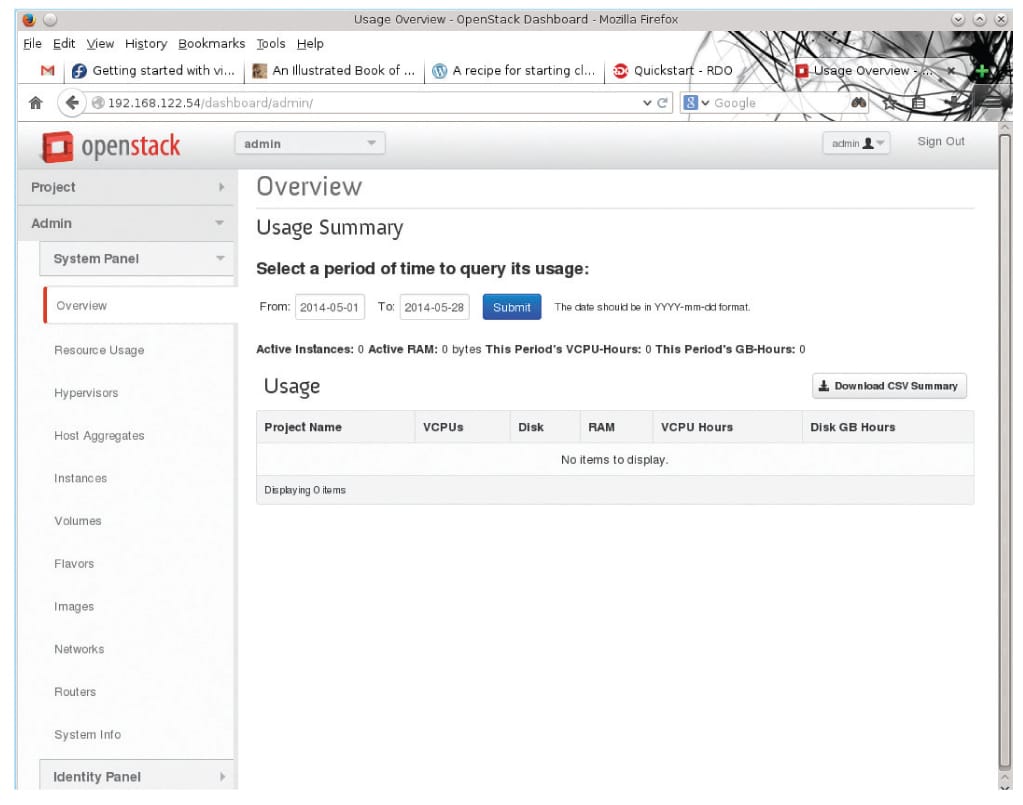
After Packstack completes successfully, the local cloud is ready. You can browse the site http://$VM-IP-ADDRESS/dashboard.
Some things to think about
What do you do with the local cloud you have set up? How do you create and manage the virtual machines that you need?


