


![]()
One of the most revolutionary things that happened in computing in recent times has been the invention of the Raspberry Pi, as it has brought the computer within everyone’s reach. As a fallout, there has been a coding revolution. This article is a primer for coding on a Raspberry Pi.
Raspberry Pi is a low-cost computing platform. The goal of the Raspberry Pi Foundation is to make computing available to everyone globally to help them to learn programming. Since its initial release in 2012, the Raspberry Pi has seen several enhancements in terms of the amount of RAM, CPU power, peripheral support, and support for networking protocols; yet, it has managed to hold on to its original US$ 35 price tag (about ₹ 2400).
The latest version, Raspberry Pi 3, was announced in February 2016. It comes with a 1.2GHz 64-bit quad-core ARMv8 CPU, 1GB RAM, built-in wireless/Bluetooth support and much more. This amount of computing power is more than sufficient to run your applications and to program them using a variety of programming tools/environments. In this article, let’s get started with programming on the Raspberry Pi using one of the most popular languages in the world, Python.
Why Raspberry Pi and Python?
The Raspberry Pi has been nothing short of a revolution in introducing millions of people across the world to computing and being one of the drivers behind introducing computer programming to everyone. It has powerful enough hardware to get started with programming and the US$ 35 price tag is hard to beat.
The makers of Raspberry Pi have also paid special attention to ensuring that barriers to getting started are minimal. The recommended Linux distribution for Raspberry Pi, Raspbian, comes bundled with multiple programming languages and IDEs so that you are ready to go from the time you power on the mini development board.
Python, on the other hand, is one of the most popular languages in the world and has been around for more than two decades. It is heavily used in academic environments and is a widely supported platform in modern applications, especially utilities, and desktop and Web applications. Python is highly recommended as a language that is easy for newcomers to program. With its easy-to-read syntax, the introduction is gentle and the overall experience much better for a newbie.
The latest version of the Raspbian OS comes bundled with both Python 3.3 and Python 2.x tools. Python 3.x is the latest version of the Python language and is recommended by the Raspberry Pi Foundation too.
What you can do with Raspberry Pi and Python
The combination of Raspberry Pi and Python can be used for multiple purposes. Some of the popular items include:
- Learning how to program with Python
- Connecting your Raspberry Pi to multiple sensors and receiving data from them or control hardware—for example, home automation, environment monitoring via temperature sensors, etc.
- Using your Raspberry Pi as a Web server with the program written in Python
- Writing various utilities in Python and using your Pi as a server for monitoring and tracking multiple applications, services, etc.
These are just some of the things that you can do. You have the full power to convert your ideas to reality using Raspberry Pi along with Python.
The Python IDLE shell and command line
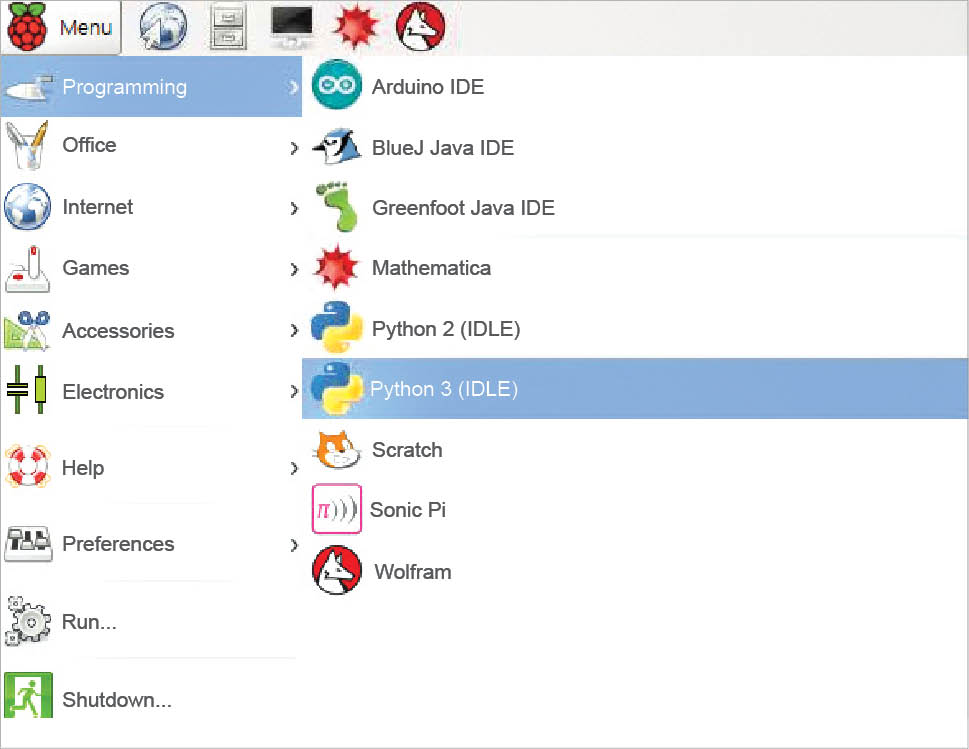
You can use Python from both an IDE (Integrated Development Environment) and from the terminal, depending on your comfort level. Python comes with a simple IDE called IDLE. Both the Python 2 and 3 IDLE are available, and since this article is focused on Python 3.x, we will look specifically at Python 3 IDLE.
Figure 2 shows that Python 3 IDLE is available and you can launch the IDE by clicking on it.
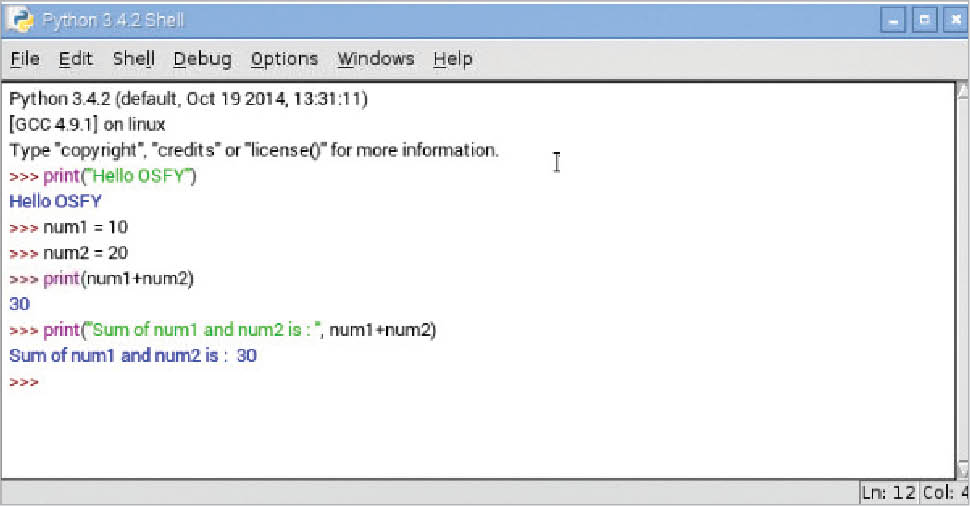
This will bring up the Python shell as shown in Figure 3. The shell is an REPL (Read Eval Print Loop) that allows you to interactively try out the Python language, including taking inputs from the user.
In the Python shell (Figure 3), you can see multiple Python statements that have been tried out, including the print method, assigning variables and using the addition operator (+).
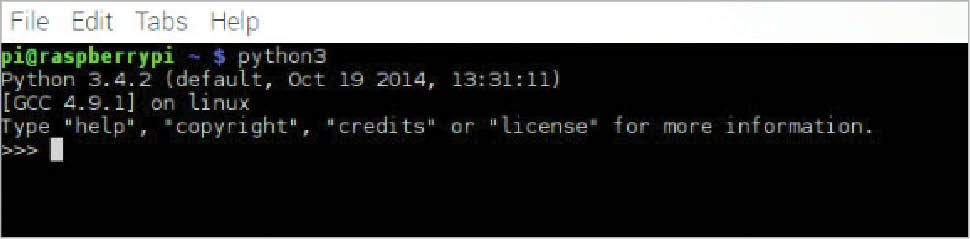
On the other hand, if you wish to use the Python shell from the terminal, you can do so by opening up a new terminal and then typing ‘python3’, as shown in Figure 4.
Updating Python packages
Python is known for its strong community and the packages that are available to perform various types of functionalities. Since this is outside the core language, you need to install these packages in your local development environment.
There are multiple Python packages that are made available in the Raspbian archives. And one of the recommended ways of installing these packages is via the standard apt-get commands as shown below:
sudo apt-get update
sudo apt-get install <python-package-name>
But not all packages are made available in the Raspbian archives and, in that case, it is advisable that you use the standard Python Pip package management system. For example, there is a Python requests package that makes it easy for Python applications to handle HTTP call functionality. We can install this package using the following command:
$ pip3 install requests
If you would like to see the current versions of the packages being managed by Pip, you can use the commands shown below. For instance, to check on the requests package that we have just installed in the previous step, use the following commands:
$ pip show requests
---
Name: requests
Version: 2.4.3
Location: /usr/lib/python3/dist-packages
Requires:
Writing a Python application
Python is a popular language for writing various utilities because of its simplicity and powerful packages. We shall write one such program to show you how you can write a simple Python application to get the current scores for all live cricket matches happening around the globe.
The steps for writing this program are as follows:
1) We will use the public API provided by cricapi.com.
2) The API endpoint at http://cricapi.com/api/cricket will give us a JSON response for all the current live matches, along with their scores.
3) We will then print out all the live matches happening, along with their scores.
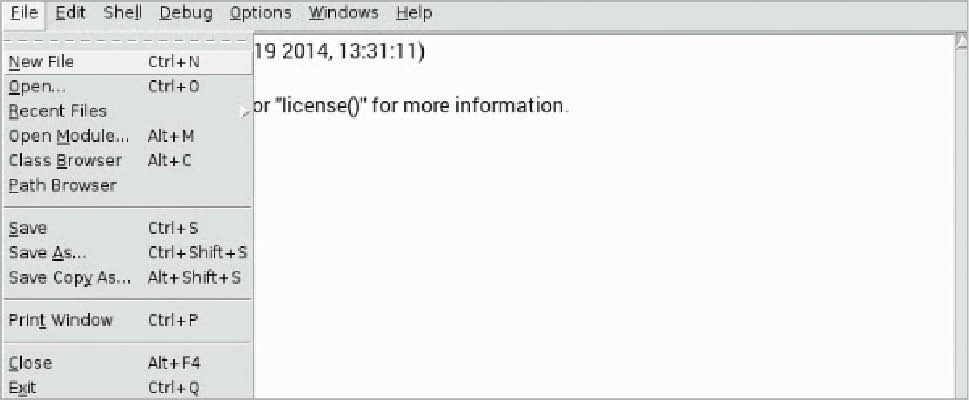
We can write this program in any editor provided on Raspberry Pi, like vi and nano. At the same time, we can also use the IDLE shell to write our program. We will do just that. Make sure that IDLE 3 is launched and from the shell’s main menu, click on File → New File (Ctrl + N).
This will open up an editor in which we can type out our program, as shown below:
import requests
import html

r = requests.get(“http://cricapi.com/api/cricket”)
if r.status_code == 200:
currentMatches = r.json()[“data”]
for match in currentMatches:
print(html.unescape(match[“title”]))
else:
print(“Error in retrieving the current cricket matches”)
Notice the following points about the program code:
1. We are using the requests and HTML package. So ensure that you have used Pip to install the packages.
2. We invoke the get method from the requests package, which makes an HTTP GET call to the cricket API. You can paste the URL http://cricapi.com/api/cricket in any browser to see the JSON data that is returned.
3. If the HTTP response returned is 200, which means OK, then we are using the in-built JSON decoder available in the requests library to extract the data element, which is the root element.
4. We finally iterate through all the records, i.e., matches that are currently happening and then print out the title attribute, which contains the team names and the scores.
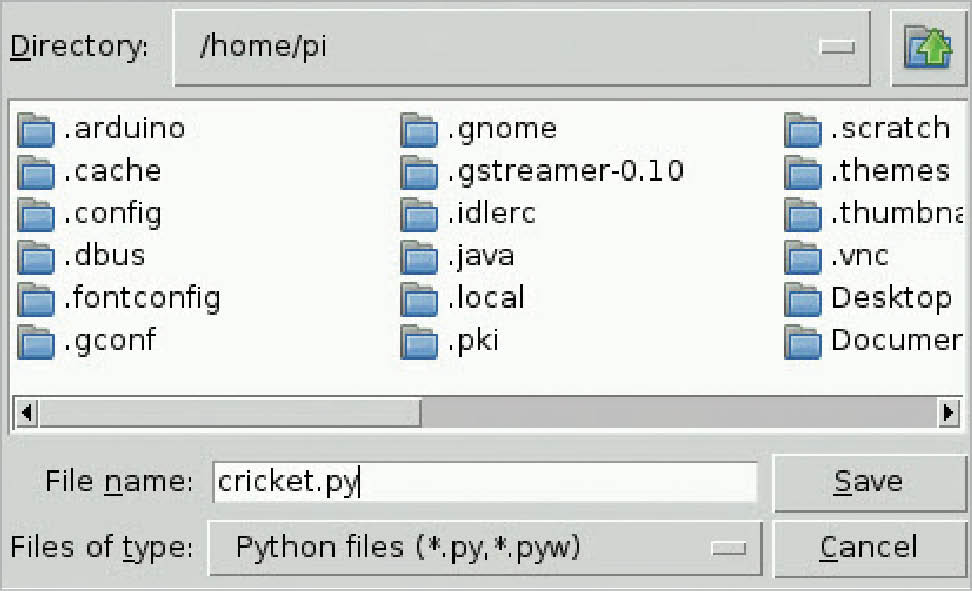
To run the program from IDLE, you can simply press F5. This will prompt you to save the file and you can save it with a name of your choice. We choose cricket.py and it is saved in the /home/pi folder.
The program will then be executed in the Python IDLE shell and you will see the output with the list of matches.
Another way of running the application is from the terminal. Simply launch the terminal and go to the /home/pi folder where you saved the cricket.py file. Next, execute the application using the Python 3 interpreter as shown below:
$ python3 cricket.py
England 297/10 &  414/5 * v Pakistan 400/10
Essex 358/10 &  163/4 * v Sussex 448/10
Hampshire 548/6  v Lancashire 310/4 *
Leicestershire 380/10 &  109/5 * v Derbyshire 362/10
Middlesex 293/10  v Surrey 415/10 &  234/6 *
Australia A 181/1 * v South Africa A 304/10
Zimbabwe v New Zealand 436/4 *
South Africa Emerging Players v Sri Lanka Development Emerging Team 129/2 *
Northern Knights v North-West Warriors
Western Storm v Surrey Stars
Guyana Amazon Warriors v Jamaica Tallawahs
GPIO programming
The Raspberry Pi is often used in conjunction with other hardware to create interesting electronic projects. The Pi 3 comes with 40 GPIO pins that you can use to interface with various hardware devices—for both receiving data from them or for writing data to them. This way, we can write applications to both read and also to control devices, i.e., turn them on and off, etc.
To program the GPIO pins on Raspberry Pi with Python, there is a Raspberry Pi GPIO Python library that is made available. The following command is used to install the GPIO library for Python 3:
sudo apt-get install python3-rpi.gpio
Once the library is installed, we can use it in a simple Python application, the quintessential LED blinking program as shown below (remember to launch the IDLE shell or the Python shell at the terminal with sudo privileges). This assumes that you have connected a breadboard, LED, resistor to the Raspberry Pi GPIO and the LED is being driven via pin 18.
import RPi.GPIO as GPIO
import time
GPIO.setmode(GPIO.BCM)  # set board mode to Broadcom
GPIO.setup(18, GPIO.OUT)  # set up pin 18

while True:
GPIO.output(18, 1)  # turn on pin 18
time.delay(1) #delay for 1 seconds
GPIO.output(18,0)  #turn off pin 18


[…] as that! For a deeper tutorial to get you familiar with coding on the Pi, take a look at this full Python […]
You should wait a second after turning off the led too :-)
Traceback (most recent call last): File “”, line 3, in time.delay(1), AttributeError: module ‘time’ has no attribute ‘delay’.