

This article is a ‘how to’ on installing Docker on the Ubuntu operating system and then deploying a Java app.
Docker is a platform that helps you build, test, and deploy applications quickly, which makes development efforts efficient. It provides UIs, CLIs, APIs and security features that are very useful to make standardised components called containers. Containers have all the resources to run an application such as libraries, system tools, code, and runtime. Docker is very useful as it gives a way to quickly deploy applications into any environment. In this article we will deploy a popular Java based application in Docker. But before we do that, we will install Docker in the Ubuntu operating system.
To do that, make sure you have the following:
| Ubuntu versions | Architectures |
| Ubuntu Kinetic 22.10 Ubuntu Jammy 22.04 (LTS) Ubuntu Focal 20.04 (LTS) Ubuntu Bionic 18.04 (LTS) |
x86_64 (or amd64) armhf arm64 s390x |
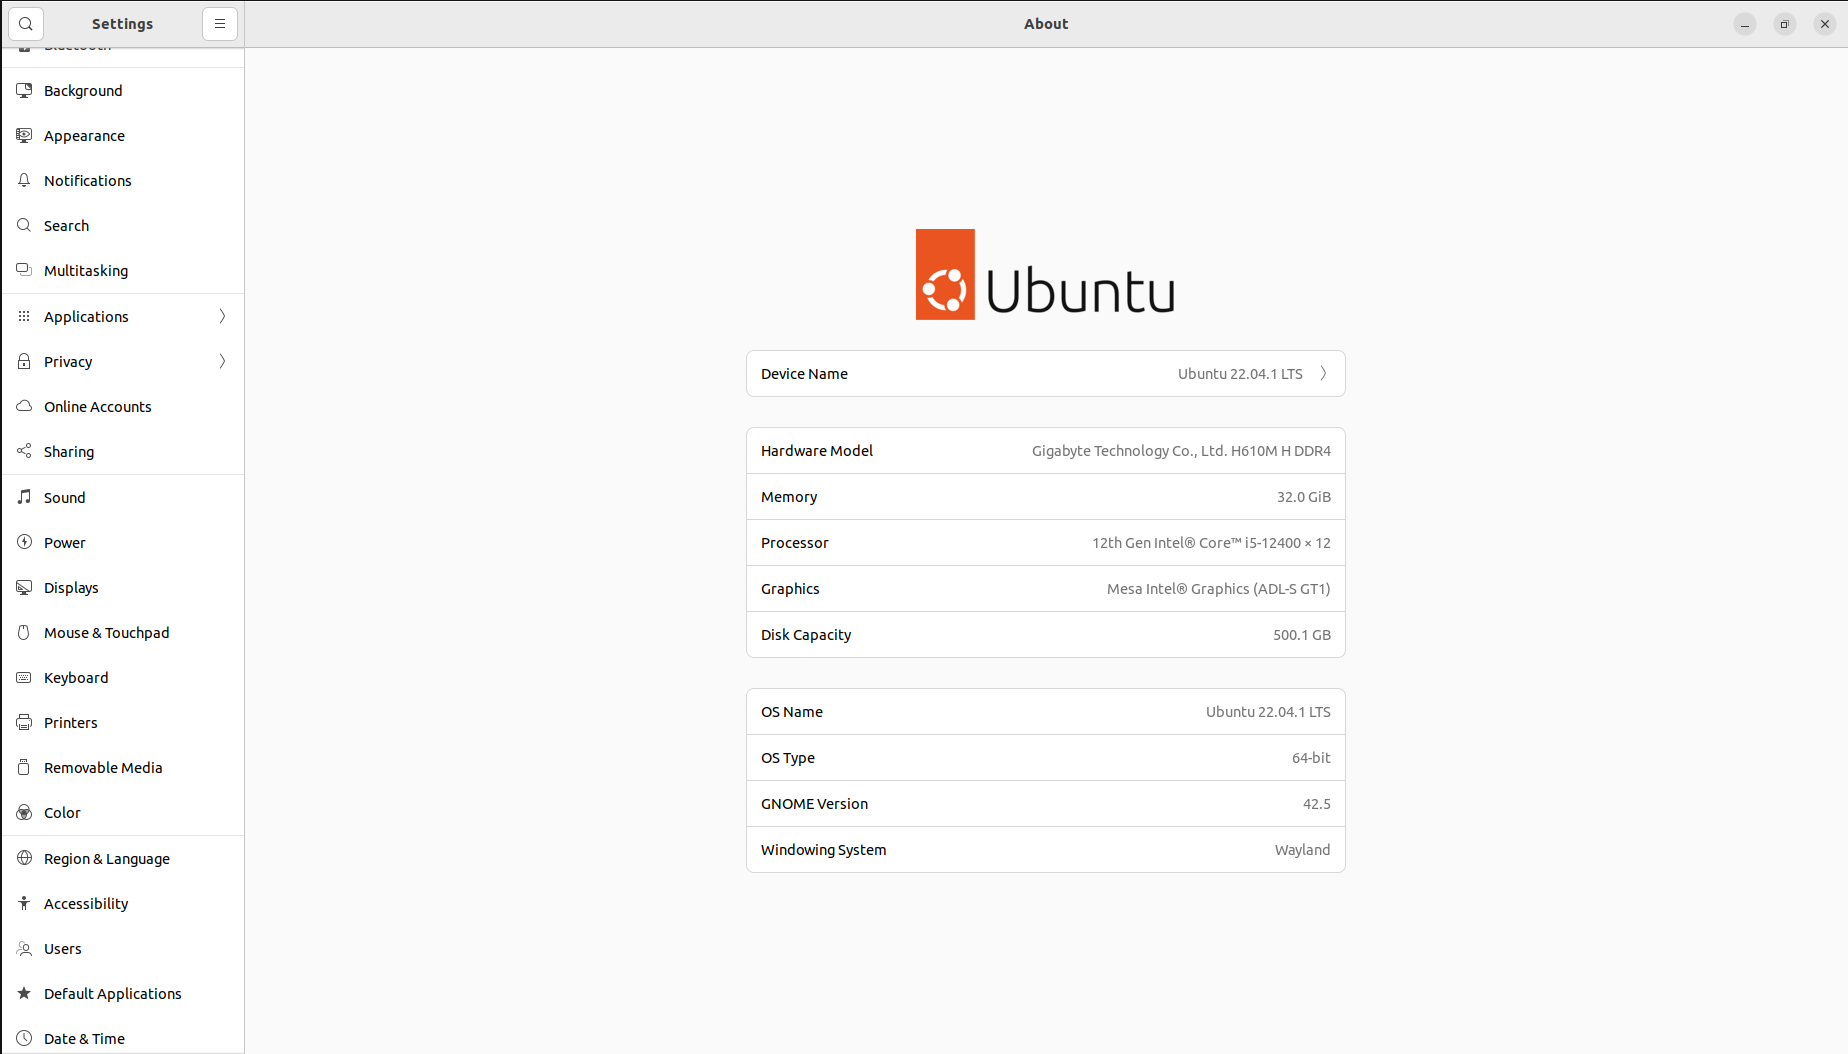
Now go to Settings and click on the About tab to verify the Ubuntu version (Figure 1).
Docker installation on Ubuntu 22.04.1 LTS
First, update the apt package index and install packages using the following command:
osfy@ubuntu-22-04-1-lts:~/Desktop$ sudo apt-get update

[sudo] password for osfy:
Ign:1 https://pkg.jenkins.io/debian-stable binary/ InRelease
Hit:2 https://pkg.jenkins.io/debian-stable binary/ Release
Hit:3 https://dl.yarnpkg.com/debian stable InRelease
Hit:4 https://dl.google.com/linux/chrome/deb stable InRelease
Hit:5 http://in.archive.ubuntu.com/ubuntu jammy InRelease
Get:8 http://in.archive.ubuntu.com/ubuntu jammy-updates InRelease [114 kB]
Get:6 https://packages.cloud.google.com/apt kubernetes-xenial InRelease [9,383 B]
Get:9 http://security.ubuntu.com/ubuntu jammy-security InRelease [110 kB]
Hit:10 https://ppa.launchpadcontent.net/deadsnakes/ppa/ubuntu jammy InRelease
Get:11 http://in.archive.ubuntu.com/ubuntu jammy-backports InRelease [99.8 kB]
Hit:12 https://deb.nodesource.com/node_18.x jammy InRelease
Get:13 https://ppa.launchpadcontent.net/openshot.developers/libopenshot-daily/ubuntu jammy InRelease [17.6 kB]
Get:14 http://in.archive.ubuntu.com/ubuntu jammy-updates/main i386 Packages [385 kB]
Get:15 http://in.archive.ubuntu.com/ubuntu jammy-updates/main amd64 Packages [736 kB]
.
Get:28 http://in.archive.ubuntu.com/ubuntu jammy-backports/universe Translation-en [9,460 B] Get:29 http://in.archive.ubuntu.com/ubuntu jammy-backports/universe amd64 DEP-11 Metadata [11.7 kB]
.
Fetched 3,548 kB in 6s (585 kB/s)
Reading package lists... Done
W: https://dl.yarnpkg.com/debian/dists/stable/InRelease: Key is stored in legacy trusted.gpg keyring (/etc/apt/trusted.gpg), see the DEPRECATION section in apt-key(8) for details.
Next, we will install the packages:
osfy@ubuntu-22-04-1-lts:~/Desktop$ sudo apt-get install ca-certificates curl gnupg lsb-release
Now add Docker’s official GPG key:
osfy@ubuntu-22-04-1-lts:~/Desktop$ sudo mkdir -p /etc/apt/keyrings
osfy@ubuntu-22-04-1-lts:~/Desktop$ curl -fsSL https://download.docker.com/linux/ubuntu/gpg | sudo gpg --dearmor -o /etc/apt/keyrings/docker.gpg
File ‘/etc/apt/keyrings/docker.gpg’ exists. Overwrite? (y/N) Y
After this, set up the repository:
osfy@ubuntu-22-04-1-lts:~/Desktop$ echo “deb [arch=$(dpkg --print-architecture) signed-by=/etc/apt/keyrings/docker.gpg] https://download.docker.com/linux/ubuntu $(lsb_release -cs) stable” | sudo tee /etc/apt/sources.list.d/docker.list > /dev/null
osfy@ubuntu-22-04-1-lts:~/Desktop$
Next, let’s update the apt package index:
osfy@ubuntu-22-04-1-lts:~/Desktop$ sudo apt-get update
It is now time to install the latest version of Docker in Ubuntu 22.04.1 LTS:
osfy@ubuntu-22-04-1-lts:~/Desktop$ sudo apt-get install docker-ce docker-ce-cli containerd.io docker-compose-plugin
Let’s verify the Docker version using the sudo docker version command:
osfy@ubuntu-22-04-1-lts:~/Desktop$ sudo docker version

Client: Docker Engine - Community
Version: 20.10.21
API version: 1.41
Go version: go1.18.7
Git commit: baeda1f
Built: Tue Oct 25 18:01:58 2022
OS/Arch: linux/amd64
Context: default
Experimental: true

Server: Docker Engine - Community
Engine:
Version: 20.10.21
API version: 1.41 (minimum version 1.12)
Go version: go1.18.7
Git commit: 3056208
Built: Tue Oct 25 17:59:49 2022
OS/Arch: linux/amd64
Experimental: false
containerd:
Version: 1.6.10
GitCommit: 770bd0108c32f3fb5c73ae1264f7e503fe7b2661
runc:
Version: 1.1.4
GitCommit: v1.1.4-0-g5fd4c4d
docker-init:
Version: 0.19.0
GitCommit: de40ad0
Now let’s verify the status of the Docker service:
osfy@ubuntu-22-04-1-lts:~/Desktop$ service docker status
× docker.service - Docker Application Container Engine
Loaded: loaded (/lib/systemd/system/docker.service; enabled; vendor preset: enabled)
Active: failed (Result: exit-code) since Thu 2022-12-01 00:05:56 IST; 26s ago
TriggeredBy: × docker.socket
Docs: https://docs.docker.com
Process: 51801 ExecStart=/usr/bin/dockerd -H fd:// --containerd=/run/containerd/containerd.sock (code=exited, status=1/FAILURE)
Main PID: 51801 (code=exited, status=1/FAILURE)
CPU: 206ms
Since the status of the Docker service is not successful, stop the service and start again:
osfy@ubuntu-22-04-1-lts:~/Desktop$ systemctl stop docker.service
osfy@ubuntu-22-04-1-lts:~/Desktop$ systemctl start docker.service
osfy@ubuntu-22-04-1-lts:~/Desktop$ systemctl status docker.service
● docker.service - Docker Application Container Engine
Loaded: loaded (/lib/systemd/system/docker.service; enabled; vendor preset: enabled)
Active: active (running) since Thu 2022-12-01 00:07:13 IST; 3s ago
TriggeredBy: ● docker.socket
Docs: https://docs.docker.com
Main PID: 51913 (dockerd)
Tasks: 17
Memory: 26.5M
CPU: 894ms
CGroup: /system.slice/docker.service
└─51913 /usr/bin/dockerd -H fd:// --containerd=/run/containerd/containerd.sock
We now have Docker installed and running successfully on Ubuntu 22.04.1 LTS. So let’s verify the number of Docker images available. We already have minikube installed and configured; so one image is available. You may find this list empty in your case.
osfy@ubuntu-22-04-1-lts:~/Desktop$ sudo docker images
REPOSITORY TAG IMAGE ID CREATED SIZE
gcr.io/k8s-minikube/kicbase v0.0.35 7fb60d0ea30e 8 weeks ago 1.12GB

Verify the number of Docker containers available. You may find this list empty in your case.

osfy@ubuntu-22-04-1-lts:~/Desktop$ sudo docker ps -a

CONTAINER ID IMAGE COMMAND CREATED STATUS PORTS NAMES
bddcebbb9e3e gcr.io/k8s-minikube/kicbase:v0.0.35 “/usr/local/bin/entr…” 7 weeks ago Exited (137) 6 days ago minikube
Let’s verify Docker installation by running a container. Run nginx in the Docker container using the docker run command. In case the image is not available locally, it will be downloaded.
osfy@ubuntu-22-04-1-lts:~/Desktop$ sudo docker run -d -p 9999:80 nginx

Unable to find image ‘nginx:latest’ locally
latest: Pulling from library/nginx
a603fa5e3b41: Pull complete
c39e1cda007e: Pull complete
90cfefba34d7: Pull complete
a38226fb7aba: Pull complete
62583498bae6: Pull complete
9802a2cfdb8d: Pull complete
Digest: sha256:e209ac2f37c70c1e0e9873a5f7231e91dcd83fdf11 78d8ed36c2ec09974210ba
Status: Downloaded newer image for nginx:latest

a23fc125bbca2650c6b9a2a15787dfe9312b97a01c2894b7bed0 5453870339d2
Now, verify the Docker images and run containers again. We can find nginx images and containers in a list that was not available earlier.
osfy@ubuntu-22-04-1-lts:~/Desktop$ sudo docker images

REPOSITORY TAG IMAGE ID CREATED SIZE
nginx latest 88736fe82739 2 weeks ago 142MB

gcr.io/k8s-minikube/kicbase v0.0.35 7fb60d0ea30e 8 weeks ago 1.12GB

osfy@ubuntu-22-04-1-lts:~/Desktop$ sudo docker ps -a

CONTAINER ID IMAGE COMMAND CREATED STATUS PORTS NAMES
a23fc125bbca nginx “/docker-entrypoint.…” 8 seconds ago Up 6 seconds 0.0.0.0:9999->80/tcp, :::9999->80/tcp festive_mclaren
bddcebbb9e3e gcr.io/k8s-minikube/kicbase:v0.0.35 “/usr/local/bin/entr…” 7 weeks ago Exited (137) 6 days ago
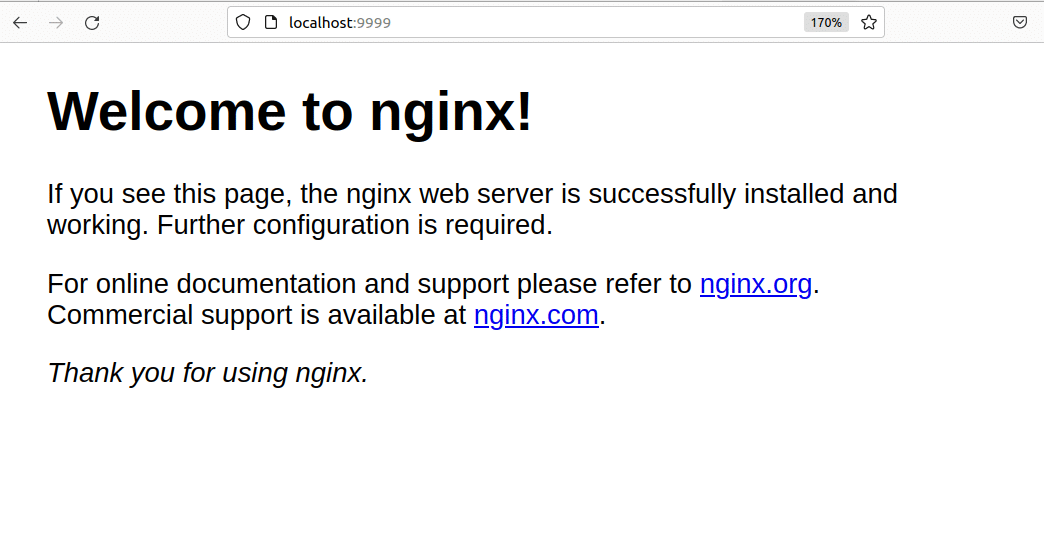
Visit http://localhost:9999/ and you will find the nginx ‘Welcome’ page.
We have successfully verified Docker installation. We must now do Java and Maven verification.
Java and Maven installation
We need Java and Maven to build a package file for a sample application that we are going to run in a Docker container. Install Java and Maven in Ubuntu OS. Once that’s done successfully, verify the Java version using the java –version command:
osfy@ubuntu-22-04-1-lts:~/Desktop$ java -version

openjdk version “11.0.17” 2022-10-18
OpenJDK Runtime Environment (build 11.0.17+8-post-Ubuntu-1ubuntu222.04)
OpenJDK 64-Bit Server VM (build 11.0.17+8-post-Ubuntu-1ubuntu222.04, mixed mode, sharing)
Verify the Maven version using the mvn -version command:
osfy@ubuntu-22-04-1-lts:~/Desktop$ mvn –version

Apache Maven 3.6.3
Maven home: /usr/share/maven
Java version: 11.0.17, vendor: Ubuntu, runtime: /usr/lib/jvm/java-11-openjdk-amd64
Default locale: en_IN, platform encoding: UTF-8
OS name: “linux”, version: “5.15.0-53-generic”, arch: “amd64”, family: “unix”
We are going to use PetClinic as a sample application. PetClinic is a Spring Boot application built using Maven or Gradle. In this article we will build a JAR file and run it from the Docker container. You can visit https://github.com/spring-projects/spring-petclinic to know more.
Copy the GitHub repository URL from the above URL and use the git clone command to clone it locally.
osfy@ubuntu-22-04-1-lts:~/Desktop$ git clone https://github.com/spring-projects/spring-petclinic.git

Cloning into ‘spring-petclinic’...
remote: Enumerating objects: 9424, done.
remote: Total 9424 (delta 0), reused 0 (delta 0), pack-reused 9424
Receiving objects: 100% (9424/9424), 7.64 MiB | 1.55 MiB/s, done.
Resolving deltas: 100% (3567/3567), done.
Once source code is available, go to the root of the project using the change directory command as given below, and execute the ./mvnw package command to create a JAR file. It will try to download multiple dependencies and hence will take some time to complete execution.
osfy@ubuntu-22-04-1-lts:~/Desktop$ cd spring-petclinic
osfy@ubuntu-22-04-1-lts:~/Desktop/spring-petclinic$ ./mvnw package
Warning: JAVA_HOME environment variable is not set.
[INFO] Scanning for projects...
Downloading from spring-snapshots: https://repo.spring.io/snapshot/org/springframework/boot/spring-boot-starter-parent/2.7.3/spring-boot-starter-parent-2.7.3.pom
Downloading from spring-milestones: https://repo.spring.io/milestone/org/springframework/boot/spring-boot-starter-parent/2.7.3/spring-boot-starter-parent-2.7.3.pom
Downloading from central: https://repo.maven.apache.org/maven2/org/springframework/boot/spring-boot-starter-parent/2.7.3/spring-boot-starter-parent-2.7.3.pom
.
.
.
Downloaded from central: https://repo.maven.apache.org/maven2/org/springframework/session/spring-session-bom/2021.2.0/spring-session-bom-2021.2.0.pom (3.1 kB at 6.0 kB/s)
[INFO]
[INFO] ------------< org.springframework.samples:spring-petclinic >------------
[INFO] Building petclinic 2.7.3
[INFO] -------------------[ jar ]--------------------------
Downloading from spring-snapshots: https://repo.spring.io/snapshot/org/springframe

Downloaded from central: https://repo.maven.apache.org/maven2/org/codehaus/plexus/plexus-io/3.2.0/plexus-io-3.2.0.jar (76 kB at 28 kB/s)

Downloaded from central: https://repo.maven.apache.org/maven2/org/codehaus/plexus/plexus-archiver/4.2.7/plexus-archiver-4.2.7.jar (195 kB at 69 kB/s)

Downloaded from central: https://repo.maven.apache.org/maven2/org/apache/commons/commons-compress/1.20/commons-compress-1.20.jar (632 kB at 218 kB/s)

Downloaded from central: https://repo.maven.apache.org/maven2/org/tukaani/xz/1.9/xz-1.9.jar (116 kB at 36 kB/s)

Downloaded from central: https://repo.maven.apache.org/maven2/org/codehaus/plexus/plexus-utils/3.3.1/plexus-utils-3.3.1.jar (262 kB at 70 kB/s)

[INFO] Building jar: /home/osfy/Desktop/spring-petclinic/target/spring-petclinic-2.7.3.jar
[INFO]
[INFO] --- spring-boot-maven-plugin:2.7.3:repackage (repackage) @ spring-petclinic ---
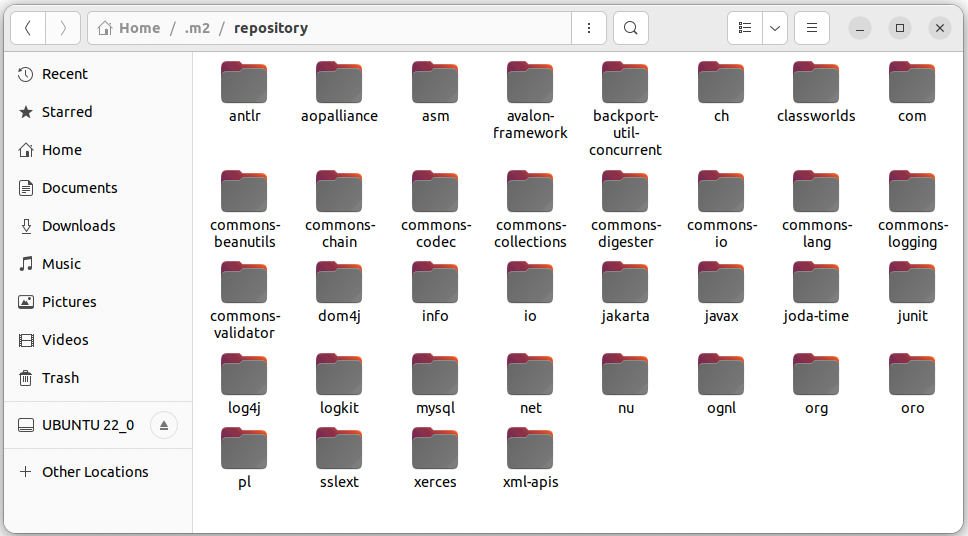
Check the .m2 folder available in the Home directory. It will have all the dependencies downloaded in the mvn package execution, as seen in Figure 3.
Observe the logs of Maven command execution where it says Building jar: /home/osfy/Desktop/spring-petclinic/target/spring-petclinic-2.7.3.jar.
Now, we have a JAR file ready. The next step is to create a Docker image that contains the JAR file and runtime environment.
So, what is a Dockerfile? Well, it’s nothing but the text document that provides build instructions to build the image with your application package.
FROM openjdk:11
MAINTAINER osfy
COPY target/spring-petclinic-2.7.3.jar app.jar
ENTRYPOINT [“java”,”-jar”,”/app.jar”]
Let’s understand the above steps.
- FROM command: Uses the base image (openjdk:11) for subsequent instructions in Dockerfile.
- COPY command: Copies a file to the container.
- ENTRYPOINT command: Specifies entry point and manipulates the environment.
Place the Dockerfile in the project root directory. Now it is time to build a Docker image.
Building a Docker image and running a container
Execute the:
sudo docker image build -t petclinic:latest
…command from the project root directory. The output of the command will be similar to what’s given below:
osfy@ubuntu-22-04-1-lts:~/Desktop/spring-petclinic$ sudo docker image build -t petclinic:latest .
[sudo] password for osfy:
Sending build context to Docker daemon 66.47MB
Step 1/4 : FROM openjdk:11
11: Pulling from library/openjdk
001c52e26ad5: Pull complete
d9d4b9b6e964: Pull complete
2068746827ec: Pull complete
9daef329d350: Pull complete
d85151f15b66: Pull complete
66223a710990: Pull complete
db38d58ec8ab: Pull complete
Digest: sha256:99bac5bf83633e3c7399aed725c8415e7b569b54e03e4599e580fc9cdb7c21ab
Status: Downloaded newer image for openjdk:11
---> 47a932d998b7

Step 2/4 : MAINTAINER osfy
---> Running in 782da3d9a384
Removing intermediate container 782da3d9a384
---> 8f17dd1a4292
Step 3/4 : COPY target/spring-petclinic-2.7.3.jar app.jar
---> e3acf3fc14f7
Step 4/4 : ENTRYPOINT [“java”,”-jar”,”/app.jar”]
---> Running in df55cf2cbbca
Removing intermediate container df55cf2cbbca
---> 28440427e82c
Successfully built 28440427e82c
Successfully tagged petclinic:latest
Now verify that the ptclinic image is available while you execute the docker images command:
osfy@ubuntu-22-04-1-lts:~/Desktop/spring-petclinic$ sudo docker images
REPOSITORY TAG IMAGE ID CREATED SIZE
petclinic latest 28440427e82c About a minute ago 707MB
nginx latest 88736fe82739 2 weeks ago 142MB
gcr.io/k8s-minikube/kicbase v0.0.35 7fb60d0ea30e 8 weeks ago 1.12GB
openjdk 11 47a932d998b7 4 months ago 654MB
Execute docker run command to create a container from the PetClinic image.
osfy@ubuntu-22-04-1-lts:~/Desktop$ sudo docker run -d -p 8888:8080 petclinic:latest
b3915b15b7ea8fa94288ea132ec548dee0 488bed412ebe541c39ad13291ce157
Check the available container and its status using docker ps -a command:
osfy@ubuntu-22-04-1-lts:~/Desktop$ sudo docker ps -a
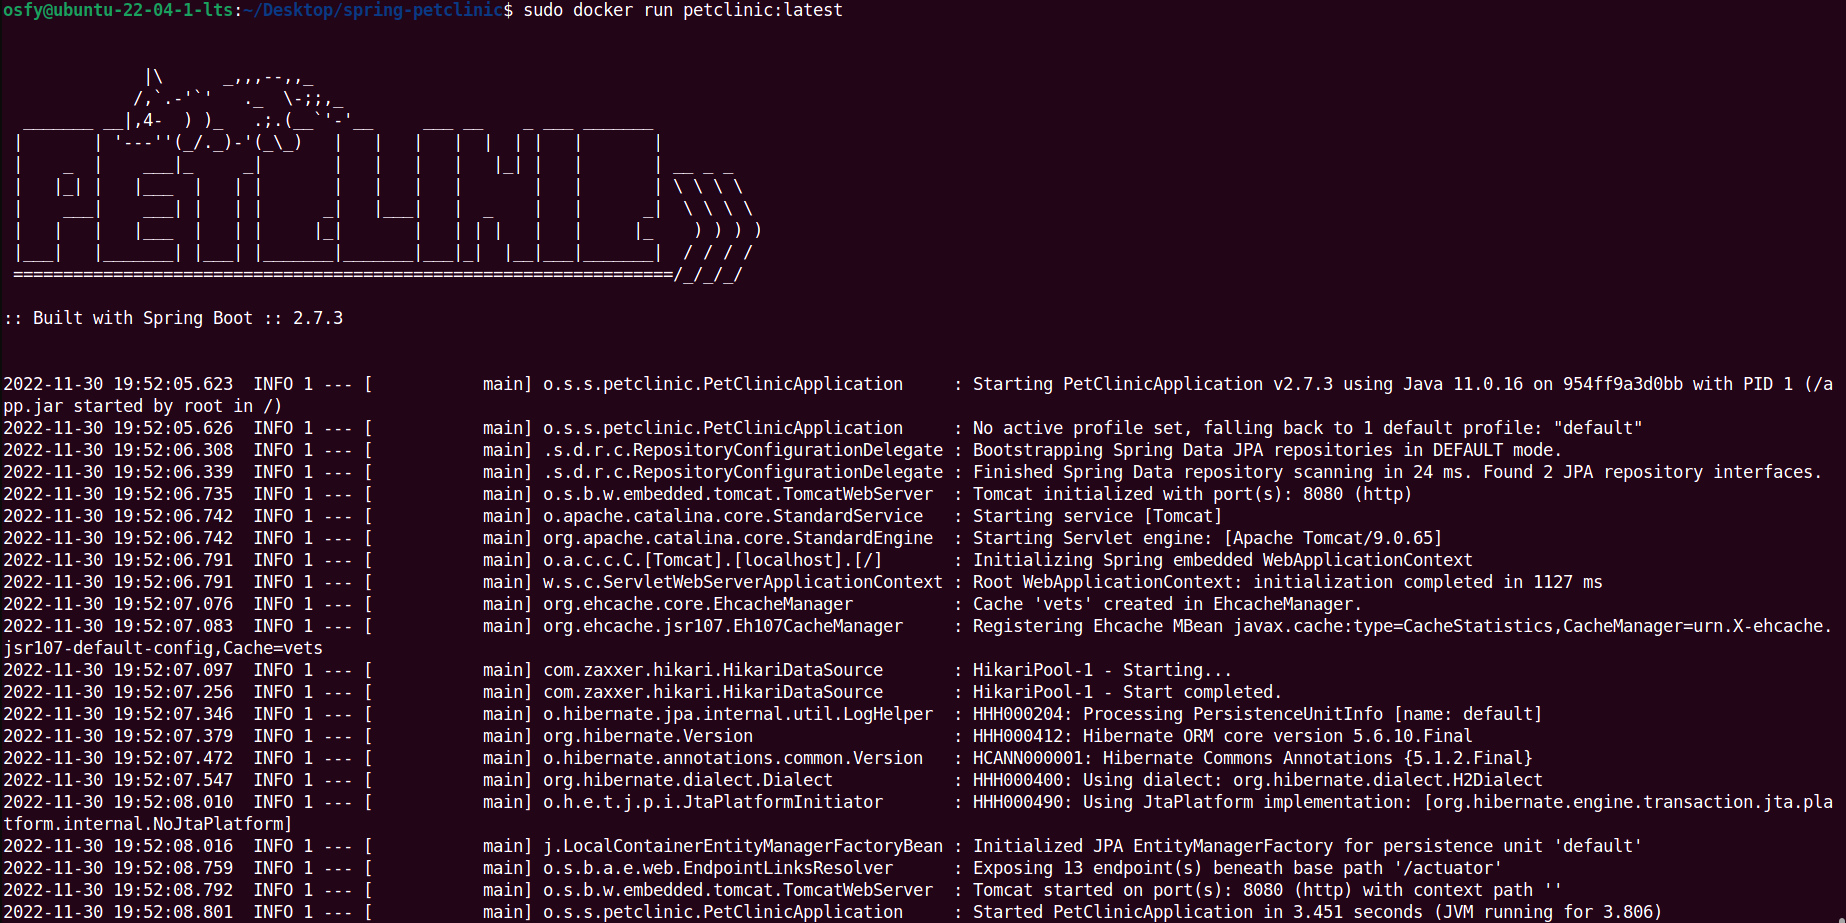
You can see the logs of the Docker container, as shown in Figure 4.
Visit the localhost:8888 in the browser and you can see that our sample application is ready (Figure 5).

Click on the other Menu item available on the page to verify application data.
That’s it! We have completed a sample application deployment in a Docker container successfully.


