


A well-developed Web app ensures a great user experience. Web application testing is itself dependent on several time tested procedures such as continuous testing, which is a best practice for automating the application’s life cycle management.
Continuous testing or CT is one of the most significant DevOps practices for the end-to-end automation of application life cycle management. It is essential to integrate automated tests into application life cycle management early, to test quickly and in a timely manner, and to repeat the test execution process efficiently. However, test automation is the elephant in the room for many organisations. Let us try to understand the different types of testing, with some related diagrams for simplicity.
The main objective of Web application testing is to give end users an experience that is devoid of defects or issues. The testing process also verifies whether the application has been created according to the requirements specified by the customer and whether or not the end user will be happy after using the application. Testing not only ensures better applications but also provides insights into the quality level or efficiency of the development process.
There are many different types of testing and each of these can be sub-categorised as well. However, in this article, we will restrict ourselves to understanding the three main types of Web application testing.
- Functional testing
- Load testing
- Security testing
Functional testing
This helps to verify the functional requirements of an application. Usually, this starts off as a manual effort to understand the requirements and scope of the app, and subsequently, is automated to match with the Agile development and DevOps practices. Functional testing focuses on results.
Shown below is the basic sequence of functional testing:
- We first need to understand the requirements/features of an application.
- We need to identify inputs for our function test execution.
- We need to get the expected results with the test inputs we have selected. We then have to execute a functional test case and save the outcome.
- We need to compare selected test input values with the outcome of the functional test.
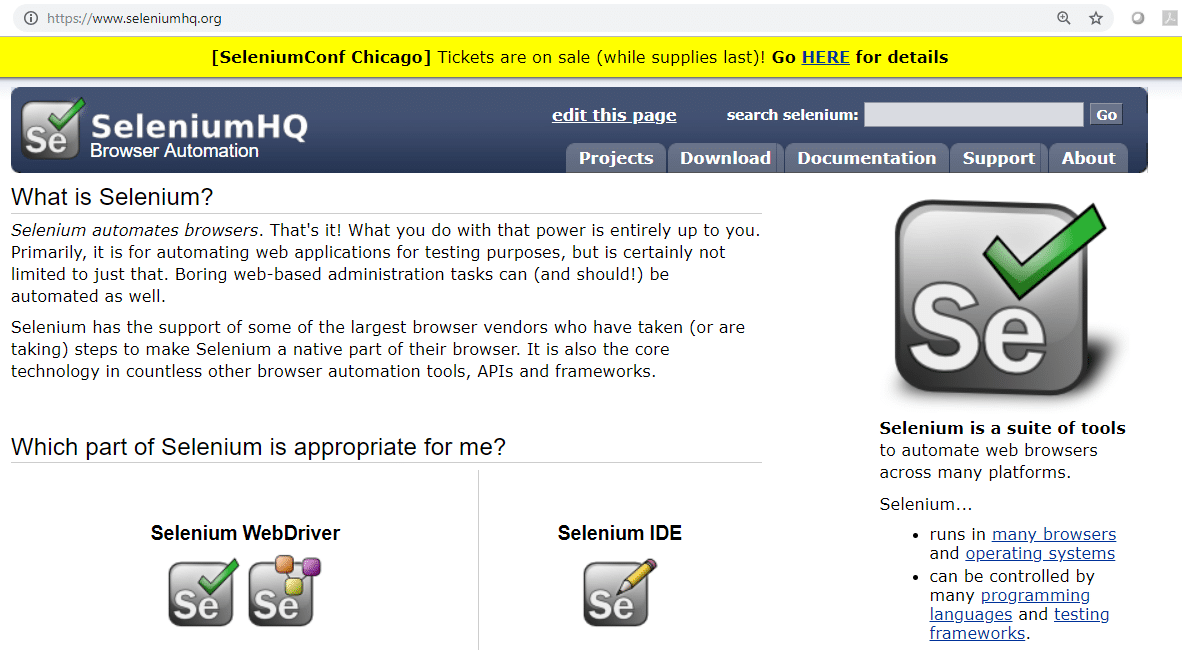
Let’s now understand functional testing using Selenium.
|
Name |
Selenium |
|
Objective |
Functional testing for Web applications |
|
Licence |
Apache Licence 2.0 |
|
Stable release |
3.14.0 |
|
Website |
https://www.seleniumhq.org/ |
|
Supported operating systems |
Cross-platform |
|
Written in |
Java |
|
Support for integration with continuous integration tools |
Selenium test cases can be written in Java and can be easily integrated with CI tools such as Jenkins as a Maven based project. Selenium tests can also be written in Scala, C#, Groovy, Perl, PHP, Python and Ruby. |
So let’s look at an example of how Selenium is used for sample functional tests.
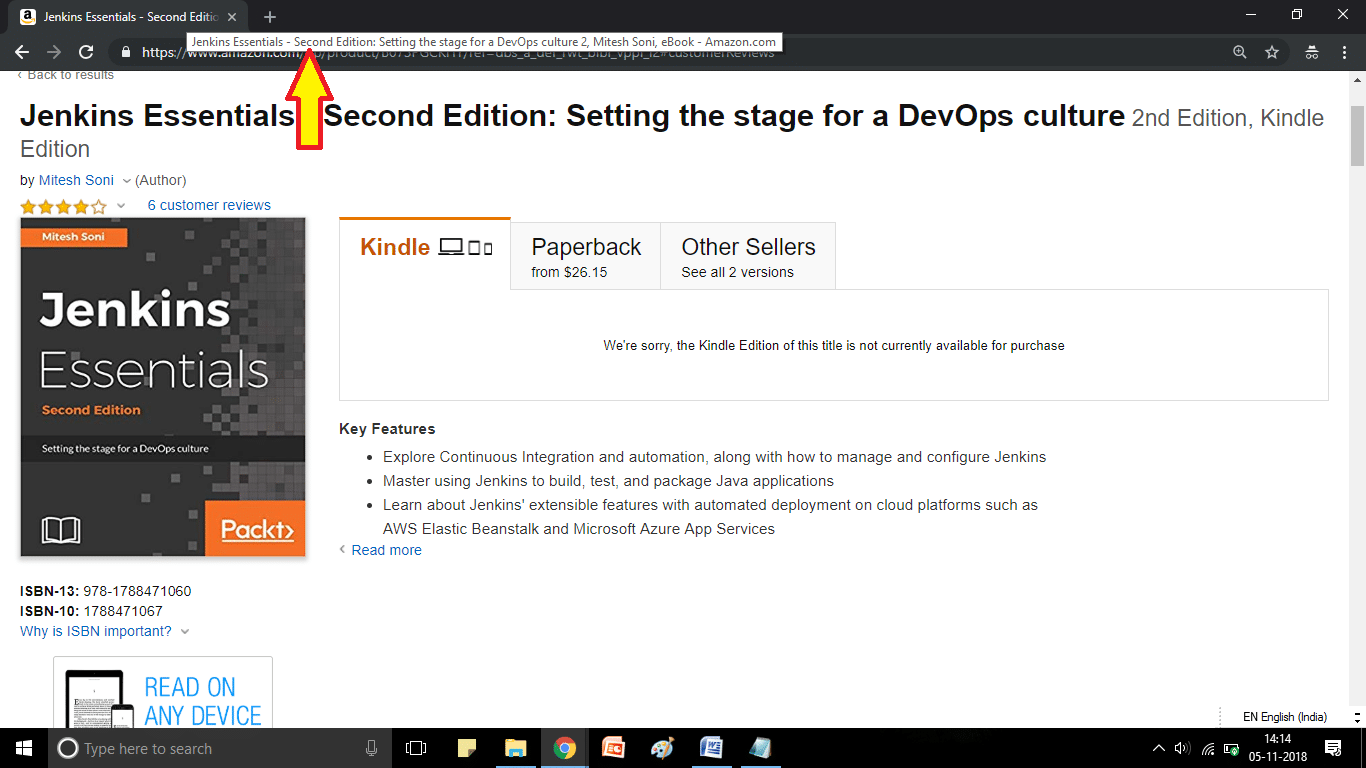
- The title of the page must contain specific text or a sub-heading available in the book page available in Amazon (as shown in Figure 2).
- We need to identify the input for the function test we are going to execute.
- We need to check whether the specific Web page https://www.amazon.com/gp/product/B073PGCKHY has a specific header set or not.
- Here we know the input for our functional test—URL of a Web page and header string; so we have our test input data available.
- We need to get the expected results with the test we have selected. Execute the functional test case and save the outcome.
- Eclipse is the IDE.
- Go to the Eclipse marketplace. Install the Maven Integration for Eclipse plugin.
- Create a Maven project.
- Install Maven properly. If Maven is behind a proxy server, configure the proxy details in conf.xml, available in the M2_HOME directory.
- Add Maven, Selenium, TestNG and JUnit dependencies to POM.XML.
- Install the TestNG plugin and write the TestNG class using the Eclipse IDE.
- Right-click on the test file, and click on TestNG to convert to TestNG. This will create a testing.xml file that has details about the test suite. Next, right-click on Project and click on Run Configurations. Then right-click on TestNG and click on New. Provide the project name and select testing.xml in the suite.
- Create the TestNG class under the test folder. Select the location, suite name, and class name:
<?xml version=”1.0” encoding=”UTF-8”?>

<!DOCTYPE suite SYSTEM “http://testng.org/testng-1.0.dtd”>

<suite name=”Suite”>

<test name=”Test”>

<classes>

<class name=”example.SampleTest”/>

</classes>

</test><!-- Test -->

</suite><!-- Suite -->
- Download the driver for a specific Web browser.
- Get the driver instance driver.get (http://localhost:8090/petclinic/).
- Get the Title of the page String title = driver.getTitle();
We need to compare the selected test input values with the outcome of the functional test that we’ve executed.
- Assert.assertTrue(title.contains(“Second Edition: Setting the stage for a DevOps culture”))
The main advantage of functional test automation is that we can integrate it in the DevOps pipeline to avoid any manual intervention. Hundred per cent test coverage may not be feasible at present, but even 50 per cent automated functional tests can save a lot of effort and time. Additionally, over time, the team’s confidence in automated functional tests will go up, which can change the culture of an organisation. Teams may soon go beyond 50 per cent coverage as DevOps related activities mature over time.
Automated functional tests play a vital role in shortening the time to market in DevOps (continuous testing). Such testing also makes a huge difference to the quality of products, over time.
Load testing
Load testing is all about verifying the capacity of an application to serve users’ demands in a specific interval of time. In load testing, typically, the usage of a Web application is measured by simulating multiple users. The application is accessed concurrently by creating threads.
Apache JMeter is an open source project and a pure Java application. It is used for Web application load tests. It helps to analyse and measure performance.
|
Name |
Apache JMeter |
|
Objective |
Load testing tool to analyse and measure the performance of Web applications |
|
Licence |
Apache Licence 2.0 |
|
Stable release |
5.0 |
|
Website |
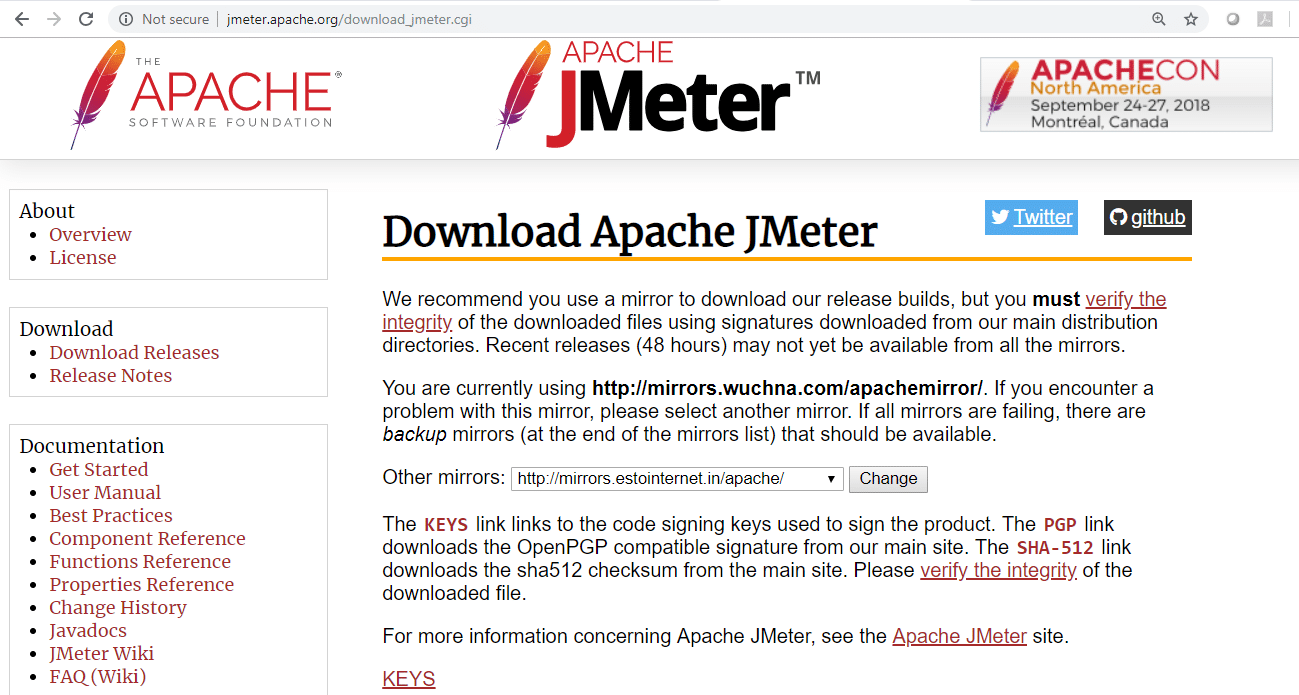
https://jmeter.apache.org/ |
|
Supported operating systems |
Windows, Linux, Mac |
|
Written in |
Java |
|
Support for integration with continuous integration tools |
Commands can be easily integrated with CI tools such as Jenkins |
Download Apache JMeter from http://jmeter.apache.org/download_jmeter.cgi.
Extract the files and go to the bin directory. Execute jmeter.bat or jmeter.sh.
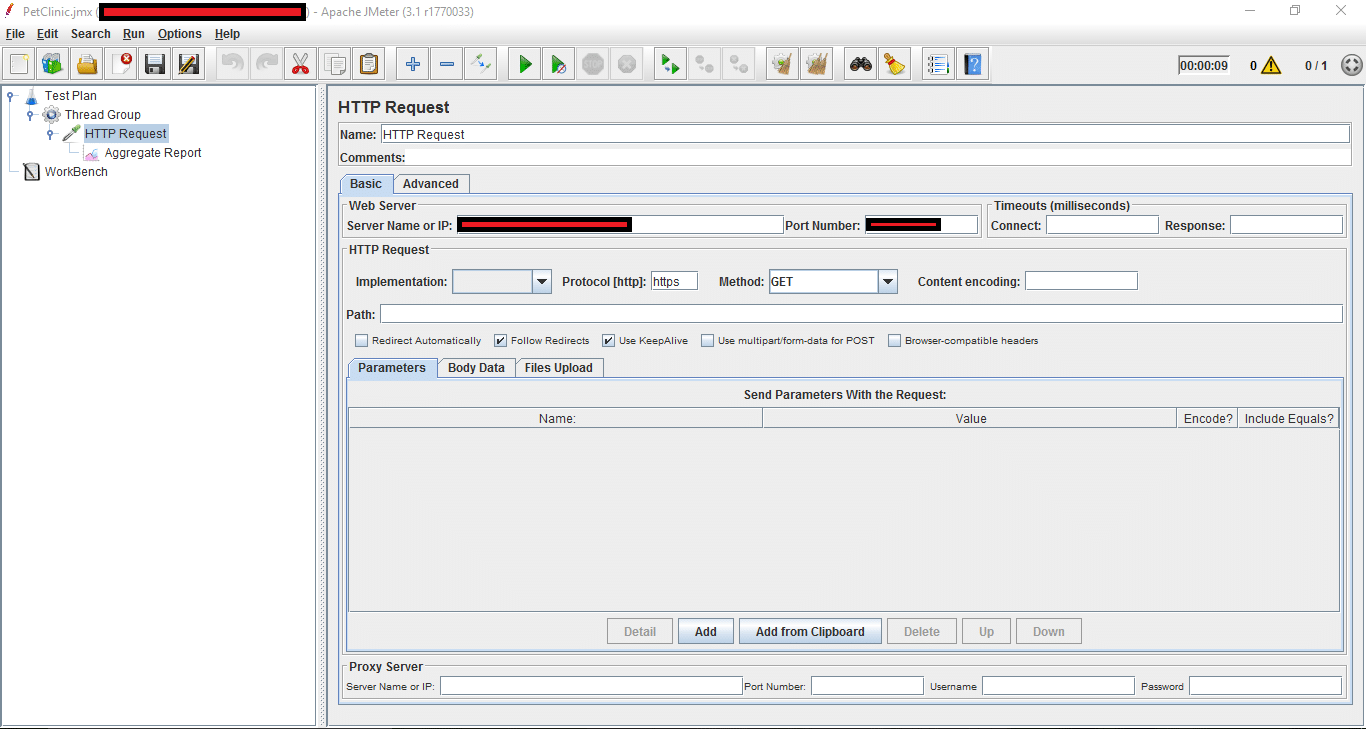
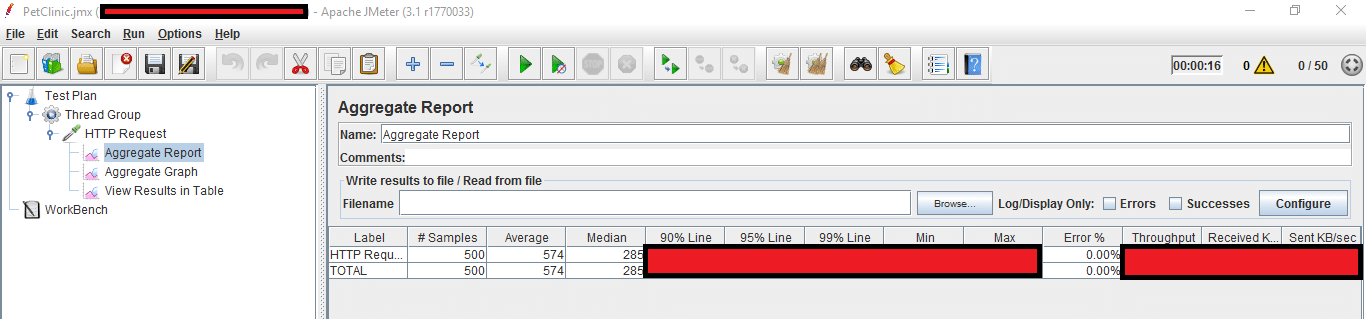
- Open the Apache JMeter console. Create a test plan. Right-click on the test plan and click on Add. Select Threads (Users).
- Next, select Thread Group and give it a name. In Properties, enter the number of threads, the ramp-up period and the loop count. Right-click on Thread Group. Click on Add > Sampler > HTTP Request. In HTTP Request, provide the server name or IP. Give the port number where your Web server is running.
- Select the Get method and provide a path to the load test using Apache JMeter.
- Verify the results.
Security testing
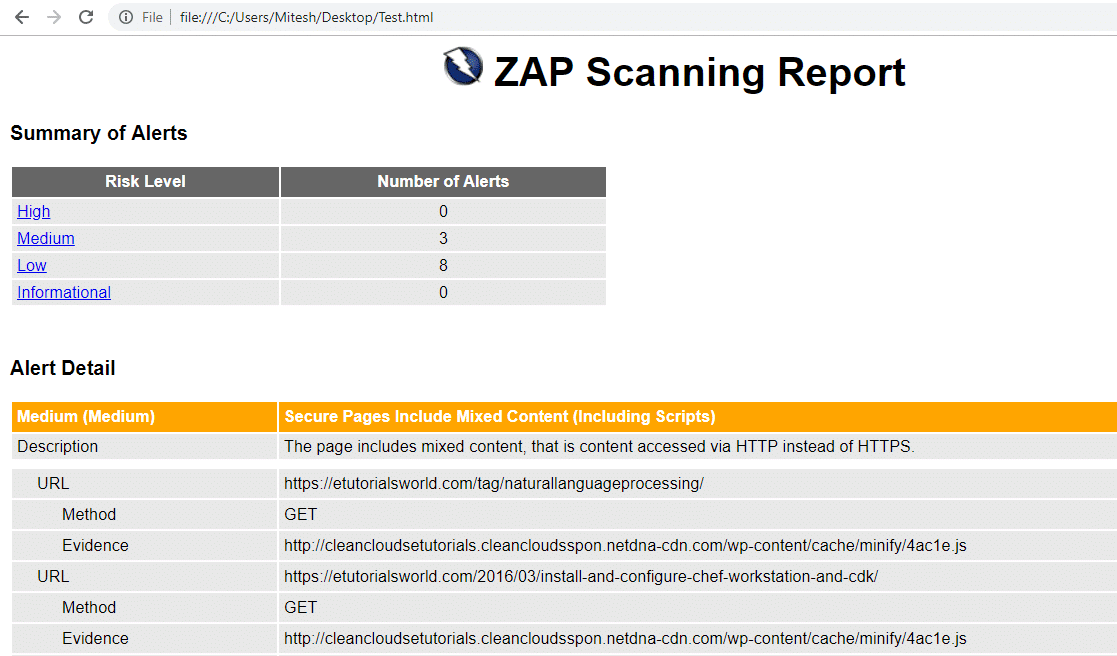
Security testing is useful to find vulnerabilities in the application to protect user information and manage functionality while keeping integrity intact. There are many types of security testing—vulnerability scanning, security scanning, penetration testing, risk assessment, and so on. We will discuss the OWASP ZAP tool in this article.
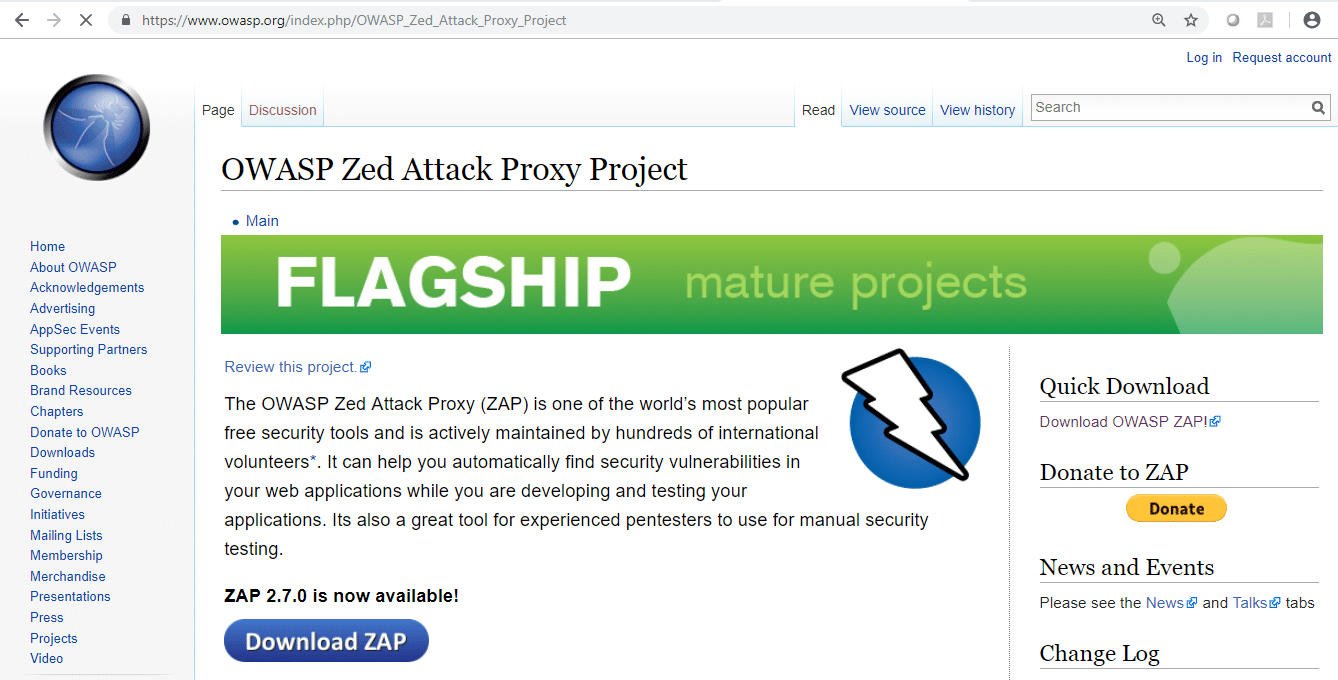
OWASP Zed Attack Proxy (ZAP) is an open source Web application security scanner. Zed Attack Proxy (ZAP) is an open source penetration testing tool. It is managed under the Open Web Application Security Project (OWASP). Essentially, ZAP works as man-in-the-middle proxy.
|
Name |
OWASP ZAP |
|
Objective |
Web application security scanner, penetration testing tool |
|
Licence |
Apache Licence |
|
Stable release |
02/07/00 |
|
Website |
https://www.owasp.org/index.php/OWASP_Zed_Attack_Proxy_Project |
|
Supported operating systems |
Windows, Linux, Mac |
|
Written in |
Java |
|
Support for integration with continuous integration tools |
Plugin is available to integrate ZAP with CI tools such as Jenkins |
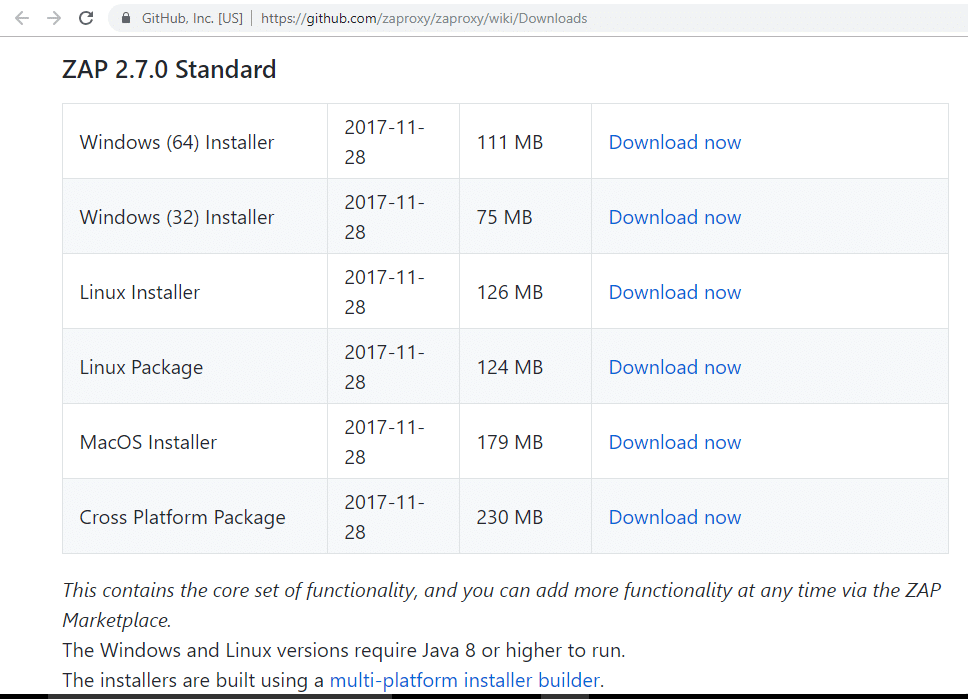
Go to https://github.com/zaproxy/zaproxy/wiki/Downloads.
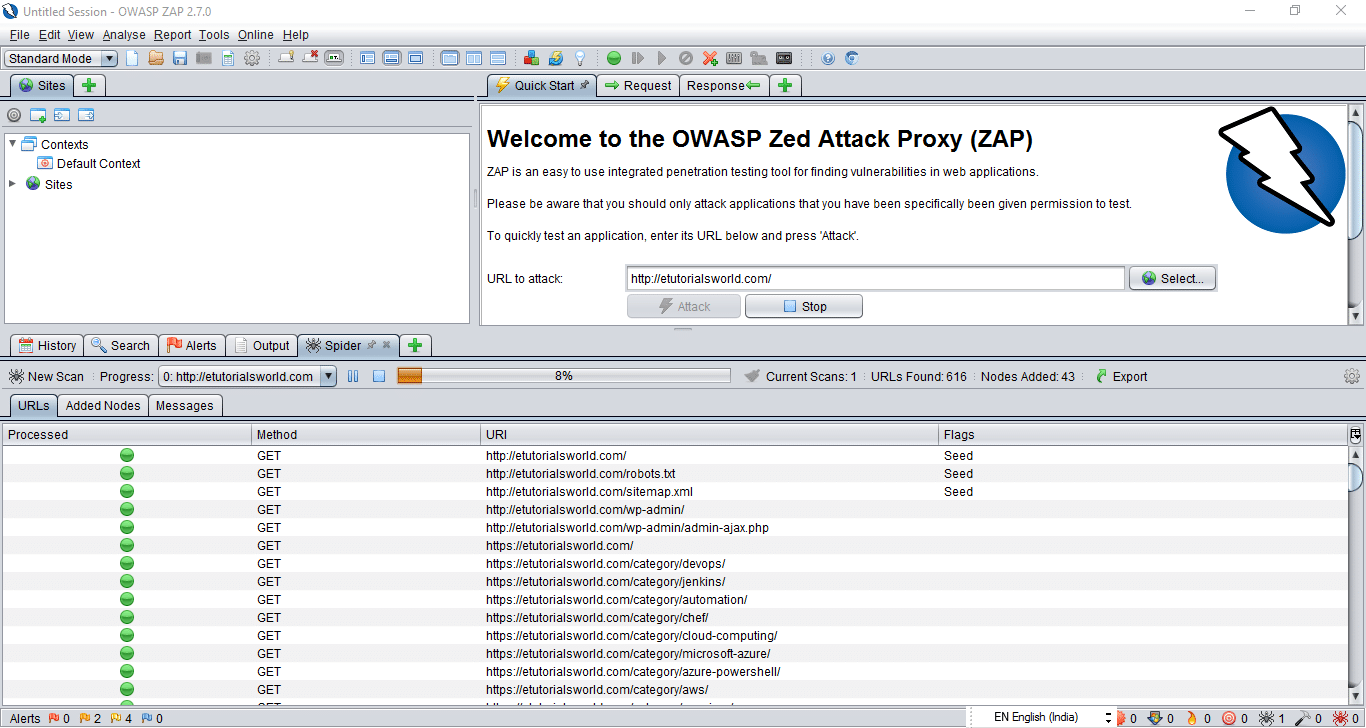
Enter the URL to quickly test an application and click on Attack!
To generate a report after a quick test, click on the Report menu and select Generate HTML Report. Save the report.
Automation in testing is a good practice to adopt in the beginning of an application’s life cycle. Unit testing can be easily done using modern IDEs. Open source function testing, even with 40-50 per cent coverage, is very helpful.


