


Mobile apps are a craze nowadays and one that works both on iOS and Android can be made very easily, given the right tools. In this article, two young tech enthusiasts explain how they built an app which works both on iOS and Android in just two days, using Flutter. Doing it by conventional methods would have been tedious, but with Flutter it was a breeze.
There’s an app for everything these days. People come up with new ideas everyday but few of these actually make it in the market place. Let’s imagine that you are developing an app that is going to be the next big thing. You spend hundreds of hours to build a beautiful material UI, with fluid transitions and animations that look very pretty. You make a solid impression with your friends who test your app. Now it’s time to go face the real world. Your app makes it to the Google PlayStore.
You quickly realise that you are missing out on a big audience. Apple users have found your app cool, but they can just see it and not get it. You now have to make a different version for iPhone. That shouldn’t take long, right? Unfortunately, it isn’t that simple. Porting from a completely different software ecosystem is hard and will double the development time. Maintaining it would be a nightmare. A patch needs to be applied to both the versions. You either need to be a really good Android and iPhone developer, or you need to get someone who can help you do it.
What if you had a way to write code just once, and it automatically became available for both iOS and Android?
Enter Flutter – the gateway to creating better and faster apps.
Flutter is an open source software development kit that has been built to solve this very problem. Flutter applications are written in Dart, which was brewed at home at Google. “But why Dart?” The Flutter team researched dozens of languages and finally ended up with Dart, finding it the perfect match for designing the UI, using the same principles as Flutter. Dart is the real reason why developers love Flutter.
Dart is object-oriented, easy to look at and has AOT (Ahead of Time) and JIT (Just in Time) compilation capabilities. Dart makes it super easy to create smooth animations at 60 FPS.
With it, users can easily design the layout with Flutter without needing to use something like XML or JSX. Just one language to stick to! And it’s a cakewalk to get used to the language.
Flutter introduces a neat feature called ‘hot reloading’, which uses Dart’s JIT capabilities to test new changes to the app instantly while preserving the state at the same time! Simply put – when you find a bug while testing your app, you can immediately edit the code and on the press of a button, the change is live, instantly! You don’t have to recompile this yourself or start from a different state. It’s in the same place, with your new changes. How cool is that?
Now coming back to Flutter
Flutter was initially released in May 2017, making it a very young project. It is used to develop applications for Android, iOS and Google Fuchsia. Flutter helps in building better looking UIs rapidly and easily. To understand how it works, let us take an example. We’ll talk about a real application which we deployed within just two days, for both iOS and Android.
If you haven’t downloaded and installed the SDK yet, head to https://flutter.io/ and install Flutter on your machine. The Flutter docs are great resources to figure out how to get it installed and running on your machine.
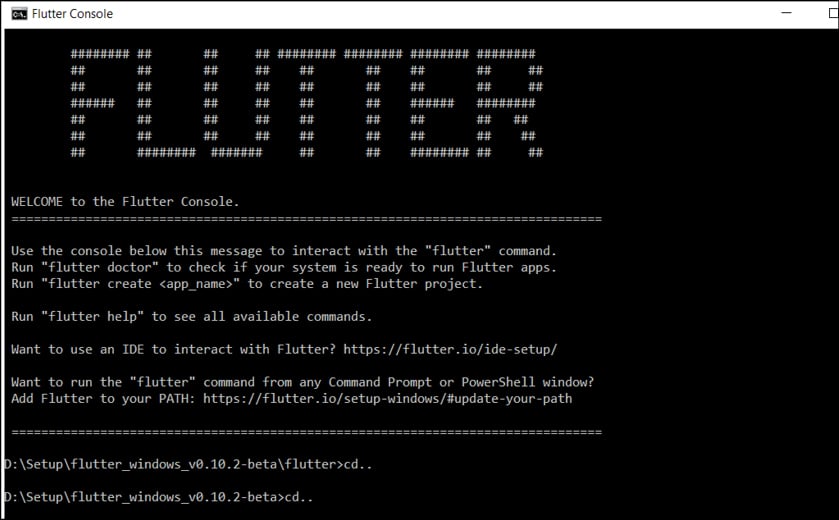
When you are done installing, let’s get down to brass tacks. We start off by opening the console.
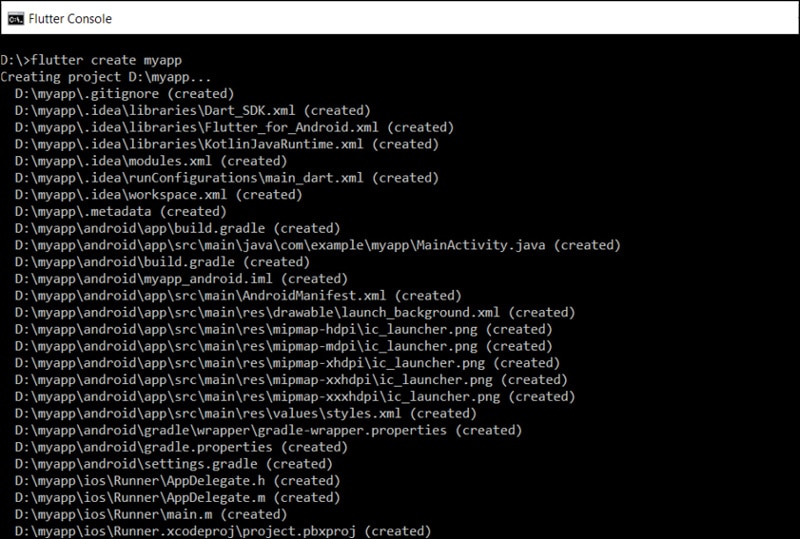
First, create a new project:
flutter create
The above command creates an application folder in the specified directory. Next, we run the app as follows:
flutter run
Now we can move to the application in the file directory – lib/main.dart, where the Dart code is, and begin editing it there.
import ‘package:flutter/material.dart’;

import ‘Home.dart’;

void main(){

runApp(MaterialApp(

title: ‘LockSmith’,

home: Home(),

));

}
In here, we import the required package for Flutter – flutter/material.dart. Also, Home.dart, which contains the code to the app’s HomePage, directs you to Home() in Home.dart. So we start off with the Home class, our default view:
class Home extends StatelessWidget {

// This widget is the root of your application.

@override

Widget build(BuildContext context)
This is a StatelessWidget that we will make use of when we don’t need to manage any form of internal state – for example, in the case of the icon, text and raised buttons.
Now we add some more components in a container widget:
Widget titleSection = Container(

padding: const EdgeInsets.all(32.0),

child: Row(

children: [

Expanded(

child: Column(

crossAxisAlignment: CrossAxisAlignment.start,

children: [

Container(

padding: const EdgeInsets.only(bottom: 8.0),

child: Text(

‘Welcome to LockSmith App’,

style: TextStyle(

fontWeight: FontWeight.bold,

),

),

),

Text(

‘Bringing your doorbell to your phone’,

style: TextStyle(

color: Colors.grey[500],

),

),

],

),

),

],

),

)
To add buttons in different columns, we use the Column class by calling a function called buildButtonColumn.
Column buildButtonColumn(IconData icon, String label){

Color color = Theme.of(context).primaryColor;

return Column(

mainAxisSize: MainAxisSize.min,

mainAxisAlignment: MainAxisAlignment.center,

children:[

Icon(icon, color: color),

Container(

margin: const EdgeInsets.only(top: 8.0),

child: Text(

label,

style: TextStyle(

fontSize: 12.0,

fontWeight: FontWeight.w400,

color: color,

),

),

),

],

);

}

Similarly, we create another function that lets us build raised buttons in columns, so that we can inject the icons, the labels and the function callback directly to that button:
RaisedButton buildRaisedButton(IconData icon, String label, Function func) {

return RaisedButton(

child:

buildButtonColumn(icon, label ),

onPressed: () {

func();

}

);

}
Now we create the columns of buttons in a button section to be included in the list view.
Widget buttonSection = Container(

child: Row(

mainAxisAlignment: MainAxisAlignment.spaceEvenly,

children: [

buildRaisedButton(Icons.videocam, LiveStream.label , () => launchURLNow()),

buildRaisedButton(Icons.lock_open, Doorlock.label, () => pressBtn(LoginPage())),

buildRaisedButton(Icons.settings, SettingScreen.label, () => pressBtn(SettingScreen())),

],

),

);
Finally, we return the overall widget object, which is a material app.
return MaterialApp(

title: ‘LockSmith App’,

theme: ThemeData(

primarySwatch: Colors.indigo,

),

home: Scaffold(

appBar: AppBar(

title: Text(‘LockSmith - Test Mode’),

),

body: ListView(

children: [

titleSection,

buttonSection,

],

),

),

)
This example app is used for controlling a building’s entrance and livestreaming the video feed from it. So, it has three options – Livestream, Toggling the door lock, and Settings.
We have created the buttons for the same, as shown in Figure 3.
Subsequently, we create functionalities for these buttons using different classes in different Dart files, e.g., the Toggle Lock option. If we click this button, it takes us to the LoginPage() as shown in the Home.dart file.
class LoginPage extends StatefulWidget {

static String label = “Enter Credentials”;

@override

_LoginPageState createState() => _LoginPageState();

}

class _LoginPageState extends State<LoginPage> {

// Login page code goes here

}
We have used a StatefulWidget here. These widgets are dynamic, and allow us to create widgets that can change their content dynamically over time. They don’t have to depend upon the static states which are passed during their instantiation.

These widgets can change due to user input, any form of response or from another form of state change. And ta-dah! We have an app right here.
Although the app works internally in a rather complex fashion, that’s because we need it to. Business rules will dictate the internal complexity of the app, but getting to a point where the app is usable is very easy with Flutter.
And the same app works for iOS and Android!
With a little effort, arriving at a serious app with Flutter will take much less time than it would in the conventional way. So, what are you going to use Flutter for? We are excited to see what you build with it
Acknowledgement
The authors wish to place on record their special thanks to Prof. Asish K. Dalai and Prof. Sibi Chakkaravarthy of the Department of Computer Science and Engineering, Vellore Institute of Technology, for their extended support.


