

Node-RED adds to the benefits of Node.js. This article shows how to install and use it on the popular open source operating system Ubuntu.
Node-RED is a hardware device wiring tool that uses programming. Different nodes of devices, hardware and other APIs can be wired together in a browser based tool using Node-RED. It has become very important software in the field of IoT as it connects APIs, hardware devices and online services in new and interesting ways. This lightweight tool has been built on Node.js because of the amazing non-blocking and event-driven model it provides. It can be said that Node-RED basically acts as a controller for IoT devices. Hence, it is advisable for people interested in IoT to learn more about this software.
The first step is to install Node.js, since Node-RED is developed on it. We do that by using the following command, as shown in Figure 1.
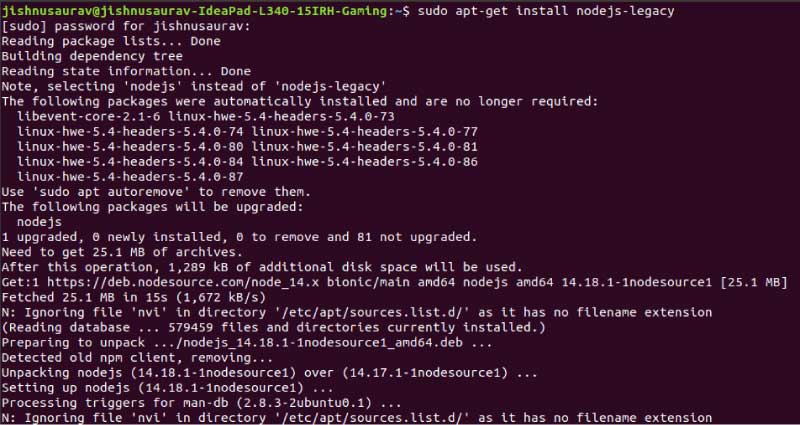
sudo apt-get install nodejs-legacy
Next, to check if our installation has taken place properly, we use the following command, as shown in Figure 2.

Node -v
Now, we need to install NPM (node package manager).
sudo apt-get install npm
To check the installation, use the following command:
npm -v
The next step is to install a helping utility called node-red-admin, using the following function, as shown in Figure 3.
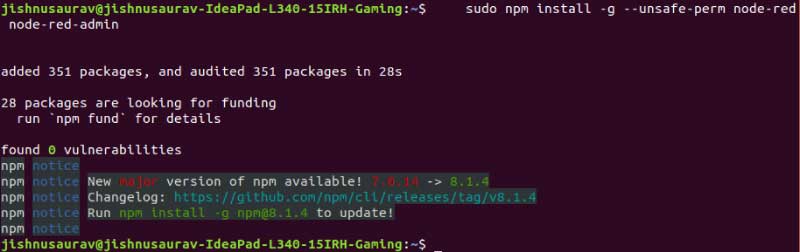
sudo npm install -g --unsafe-perm node-red node-red-admin
We now need to allow one of our firewall ports. Since 1880 is a comparatively less used port, let us proceed using the following command:
sudo ufw allow 1880
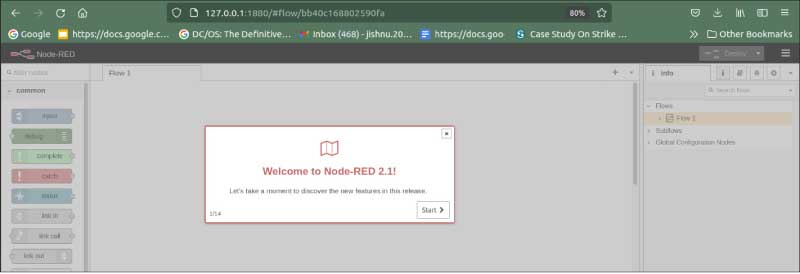
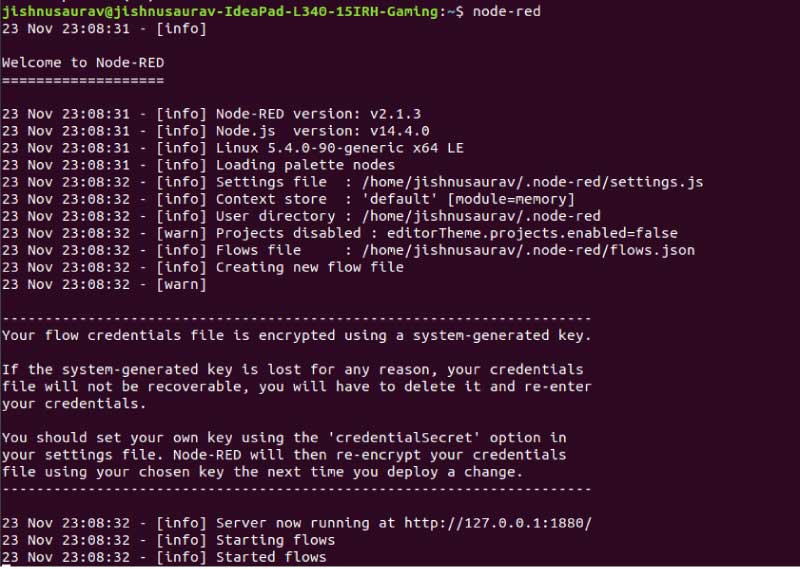
Finally, we can start Node-RED by just entering it on the terminal, as shown in Figure 4. There will now be a link out, which probably is http://127.0.0.1:1880/. We can now use Node-RED in the browser, as shown in Figure 4.
A small script needs to be added to start Node-RED automatically on startup. Use the following command for that:
sudo nano /etc/systemd/system/node-red.service
Once the editor of the .service file opens up, enter the following script, as shown in Figure 5.
[Unit]
Description=Node-RED
After=syslog.target network.target

[Service]
ExecStart=/usr/local/bin/node-red-pi --max-old-space-size=128 -v
Restart=on-failure
KillSignal=SIGINT

# log output to syslog as ‘node-red’
SyslogIdentifier=node-red
StandardOutput=syslog

# non-root user to run as
WorkingDirectory=/home/sammy/
User=sammy
Group=sammy

[Install]
WantedBy=multi-user.target
To check if our Node-RED is still working properly, we can use the following command:
sudo systemctl start node-red
If there are no errors, it means that everything has been set up perfectly.
The final step is to provide at least some basic security to our machine, for which we need to run the following command:
node-red-admin hash-pw
This generates a hash value that you need to copy and keep.
Enter the following command to add the script, and then enter your password:
nano ~/.node-red/settings.js
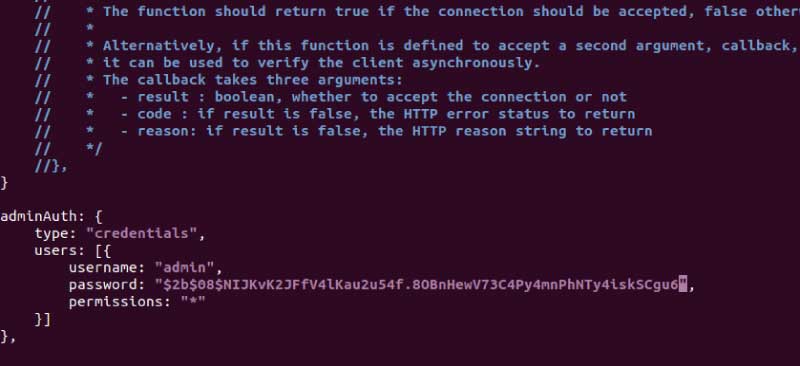
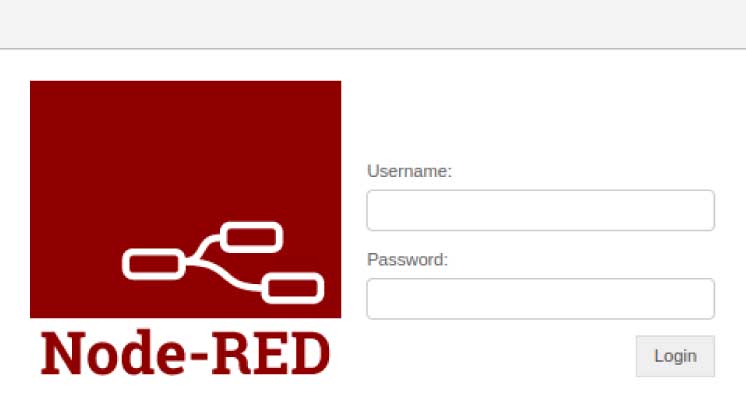
Next, add the script shown in Figure 6 to secure your system. In this script, replace ‘passwd’ by the hash value. Our installation is now complete. If we go to our local host, it will ask for a password. Once the password is entered, we can use the tool normally as per our needs, as shown in Figure 7.
If you have liked this short tutorial, do try it out to connect your hardware devices.


