


OWASP ZAP is an open source penetration testing tool, which is used to perform dynamic application security testing. Let’s learn more about it and find out how to use it.
Dynamic application security testing (DAST) focuses on finding security vulnerabilities in a running application and simulating attacks on it. DAST differs from static application security testing or SAST. The latter focuses on analysing the source code of an application to identify bugs, security vulnerabilities and code smells. The objective of SAST is to identify these issues early in the software development life cycle before they are identified and exploited in the production environment. SAST usually analyses an application’s source code, configuration files, infrastructure configuration and build scripts to identify potential bugs and vulnerabilities. We don’t need to execute the code to analyse it in SAST.
DAST analyses the behaviour of the deployed application. It finds vulnerabilities and potential risks. DAST tools usually automate the process of simulating attacks such as SQL injection and cross-site scripting (XSS) attacks. DAST is a significant tool for development teams looking to improve the security of applications. We can automate the process of identifying security vulnerabilities in a running application by integrating it in the CI/CD pipeline.
Overview of OWASP ZAP
In software security testing, we assess and verify a system against security risks and vulnerabilities. System security testing can be categorised in the following way:
- Vulnerability assessment, where scanning and analysing of security risks are performed
- Penetration testing, where simulated malicious attackers attack the system and analyse it
Runtime testing, where the end user performs security testing - Code review, where the review and analysis of the system take place to find vulnerabilities
Open Web Application Security Project’s (OWASP)Zed Attack Proxy (ZAP) is a flexible, extensible and open source penetration testing tool, also known as a ‘man-in-the-middle proxy’. ZAP can intercept and inspect messages sent between a browser and the web application, and perform other operations as well. It is designed to help developers and security professionals identify vulnerabilities in web applications and web services. It can find common web application security issues such as cross-site scripting (XSS), SQL injection, and cross-site request forgery (CSRF). OWASP ZAP also supports plugins that can be used to extend its functionality. Its ease of use, a large user base, user-friendly interface and configurability help to meet the specific needs of projects in business units. Given below is a brief description of this tool.
| Initial release | 2014 |
| Stable release | 2.12.0 |
| Written in | Java |
| License | Apache License 2.0 |
| Website | https://owasp.org/www-project-zap/ |
| GitHub repository | https://github.com/zaproxy/zaproxy |
| Features |
|
| Risk categories |
|
| How is it useful in implementing DevOps practices? | Penetration testing |
| Can we integrate it with Pipeline as Code? | Yes |
| Is a commercial flavour available? | N/A |
| ZAP Docker image scan | Docker stable image can be obtained using docker pull owasp/zap2docker-stable:
zap-baseline.py -t <target> [options]
zap-full-scan.py -t <target> [options]
zap-api-scan.py -t <target> -f <format> [options] |
OWASP ZAP offers several benefits for web application security testing:
- It is an open source tool.
- It has a user-friendly interface that makes it easy to perform security testing on web applications and microservices.
- It covers a range of scanning capabilities such as active scanning, passive scanning, and spidering.
- OWASP ZAP can be integrated into continuous integration and continuous delivery (CI/CD) pipelines.
- It has an active community of users and contributors for continuous improvement and innovation.
OWASP ZAP Desktop is a graphical user interface (GUI) for the OWASP ZAP security testing tool. It provides an easy-to-use and user-friendly interface for executing security tests on web applications and microservices.
The ZAP Desktop provides many of the same features and functionality as the command-line version of OWASP ZAP such as the ability to perform automated and manual security tests. Additionally, it offers visual representation of the test results and an easy-to-use interface.
Running the web application in a minikube cluster
Some of the prerequisites for installing minikube on an Ubuntu operating system are:
| Containers or virtual machine managers | Architecture |
|
|
To install the latest minikube stable release on Ubuntu 22.04.1 LTS, execute the following commands:
osfy@ubuntu:~/Desktop$ curl -LO https://storage.googleapis.com/minikube/releases/latest/minikube_latest_amd64.deb
  % Total    % Received % Xferd  Average Speed   Time    Time     Time  Current
        Dload  Upload   Total   Spent    Left  Speed
100 26.1M  100 26.1M    0     0  1430k      0  0:00:18  0:00:18 --:--:-- 1231k

osfy@ubuntu:~/Desktop$ sudo dpkg -i minikube_latest_amd64.deb

Selecting previously unselected package minikube.
(Reading database ... 204624 files and directories currently installed.)
Preparing to unpack minikube_latest_amd64.deb ...
Unpacking minikube (1.28.0-0) ...
Setting up minikube (1.28.0-0) ...
Start your minikube cluster using the minikube start command. If you face any issues, stop the cluster, delete it and execute the minikube start command again. The next step is to verify Java and Maven installation, create a Docker image, and deploy the Docker image using Kubernetes YAML in the minikube cluster.
Next, install Java and Maven in Ubuntu OS. Once installation is completed successfully, verify the Java version using the java –version command.
osfy@ubuntu:~/Desktop$ java -version

openjdk version “11.0.17” 2022-10-18
OpenJDK Runtime Environment (build 11.0.17+8-post-Ubuntu-1ubuntu222.04)
OpenJDK 64-Bit Server VM (build 11.0.17+8-post-Ubuntu-1ubuntu222.04, mixed mode, sharing)
Now, verify the Maven version using the mvn -version command:
osfy@ubuntu:~/Desktop$ mvn –version

Apache Maven 3.6.3
Maven home: /usr/share/maven
Java version: 11.0.17, vendor: Ubuntu, runtime: /usr/lib/jvm/java-11-openjdk-amd64
Default locale: en_IN, platform encoding: UTF-8
OS name: “linux”, version: “5.15.0-53-generic”, arch: “amd64”, family: “unix”
We are going to use Petclinic as a sample application, which is a Spring Boot application built using Maven or Gradle. In this article we will build a JAR file and deploy it in a minikube cluster. Visit here to know more. Copy the GitHub repository URL from the above URL, and use the git clone command to clone it locally.
osfy@ubuntu:~/Desktop$ git clone https://github.com/spring-projects/spring-petclinic.git

Cloning into ‘spring-petclinic’...
remote: Enumerating objects: 9424, done.
remote: Total 9424 (delta 0), reused 0 (delta 0), pack-reused 9424
Receiving objects: 100% (9424/9424), 7.64 MiB | 1.55 MiB/s, done.
Resolving deltas: 100% (3567/3567), done.
Once the source code is available, go to the root of the project using the change directory command as given below, and execute the ./mvnw package command to create a JAR file. At first execution it will try to download multiple dependencies, and hence will take some time to complete execution.
osfy@ubuntu:~/Desktop$ cd spring-petclinic
osfy@ubuntu:~/Desktop/spring-petclinic$ ./mvnw package
Warning: JAVA_HOME environment variable is not set.
[INFO] Scanning for projects...
Downloading from spring-snapshots:
[INFO]
[INFO] ------------< org.springframework.samples:spring-petclinic >------------
[INFO] Building petclinic 2.7.3
[INFO] --------------------------------[ jar ]---------------
.
.
[INFO] Building jar: /home/osfy/Desktop/spring-petclinic/target/spring-petclinic-2.7.3.jar
[INFO]
[INFO] --- spring-boot-maven-plugin:2.7.3:repackage (repackage) @ spring-petclinic ---
[INFO] Replacing main artifact with repackaged archive
[INFO] ------------------------------------------------------[INFO] BUILD SUCCESS
Observe the logs of Maven command execution where it says Building jar: /home/osfy/Desktop/spring-petclinic/target/spring-petclinic-2.7.3.jar.
Now, we have a JAR file ready. The next step is to create a Docker image that contains the JAR file and runtime environment.
So, what is a Dockerfile? The Dockerfile is nothing but the text document that provides build instructions to build the image with your application package.
FROM openjdk:11
MAINTAINER osfy
COPY target/spring-petclinic-2.7.3.jar app.jar
ENTRYPOINT [“java”,”-jar”,”/app.jar”]
Place the Dockerfile in the project root directory. Now, it is time to build a Docker image.
For testing locally with minikube, we should point the local Docker daemon to the minikube internal Docker registry, and build the image to install it in the minikube cluster: eval $(minikube docker-env).
Next, execute sudo docker image build -t petclinic:latest, which is the command from the project root directory.
We will use Docker images available in the local environment and not from the public or private Docker registry; so set the imagePullPolicy value to Never in the YAML file. Given below is the YAML file for deployment and service, to deploy a sample application in the minikube cluster.
apiVersion: apps/v1
kind: Deployment
metadata:
  creationTimestamp: null
  labels:
    app: petclinic
  name: petclinic
spec:
  replicas: 1
  selector:
    matchLabels:
      app: petclinic
  strategy: {}
  template:
    metadata:
      creationTimestamp: null
      labels:
        app: petclinic
    spec:
      containers:
      - image: petclinic:latest
        name: petclinic
        resources: {}
        imagePullPolicy: Never
status: {}
---
apiVersion: v1
kind: Service
metadata:
  name: petclinic
spec:
  type: LoadBalancer
  selector:
    app: petclinic
  ports:
    - protocol: TCP
      port: 8080
      targetPort: 8080
Use the kubectl apply command to create service and deployment available in the YAML file.
osfy@ubuntu:~/Desktop$ kubectl apply -f petclinic-deployment.yaml

deployment.apps/petclinic created
service/petclinic created
minikube tunnel runs as a process that helps to create a network route on the host to the service CIDR of the cluster, using the cluster’s IP address as a gateway. The tunnel command exposes the external IP directly to any program running on the host operating system. Open a new terminal window and execute the minikube tunnel command.
osfy@ubuntu:~/Desktop$ minikube tunnel
[sudo] password for osfy:
Status:
	machine: minikube
	pid: 94645
	route: 10.96.0.0/12 -> 192.168.49.2
	minikube: Running
	services: [petclinic]
    errors:
		minikube: no errors
		router: no errors
		loadbalancer emulator: no errors

Let’s verify services:

osfy@ubuntu:~/Desktop$ kubectl get services

NAME         TYPE           CLUSTER-IP     EXTERNAL-IP    PORT(S)          AGE
kubernetes   ClusterIP      10.96.0.1      <none>         443/TCP          12m
petclinic    LoadBalancer   10.98.225.67   10.98.225.67   8080:30200/TCP   69s
Visit the localhost:8080 in the browser and our sample application is ready.
Installing ZAP
OWASP ZAP can be installed on different kinds of operating systems such as Windows, macOS, and Linux. The exact steps for installation depend on the operating system.
Click on Linux Installer and it will download ZAP_2_12_0_unix.sh.
Change the access permission of ZAP_2_12_0_unix.sh using the chmod command and run it. You need to be a root user to run it (as shown in Figure 1).
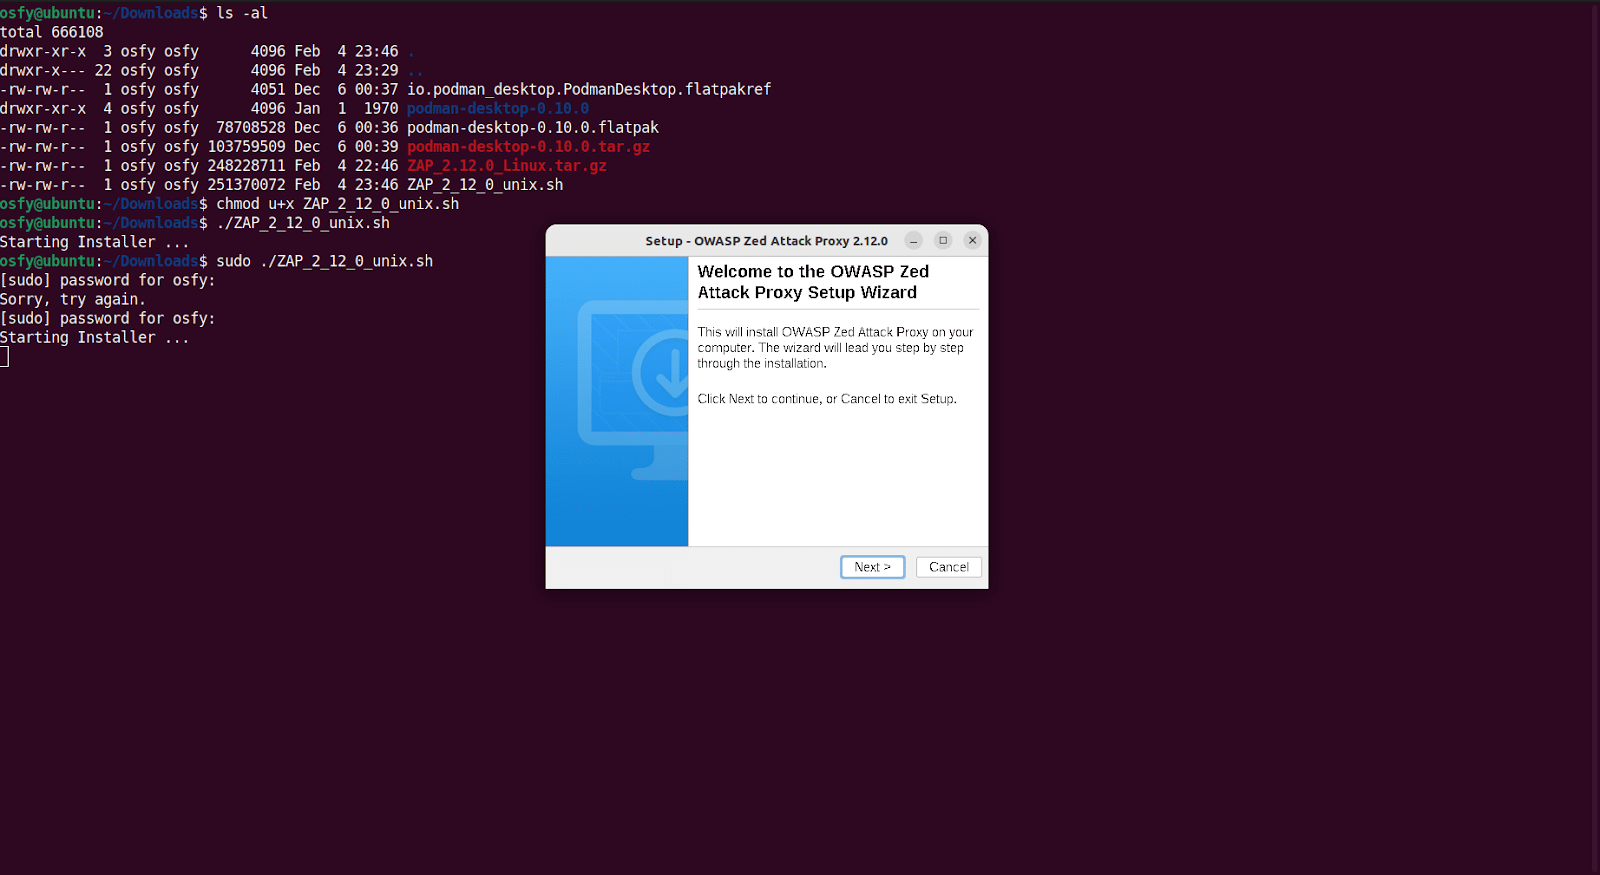
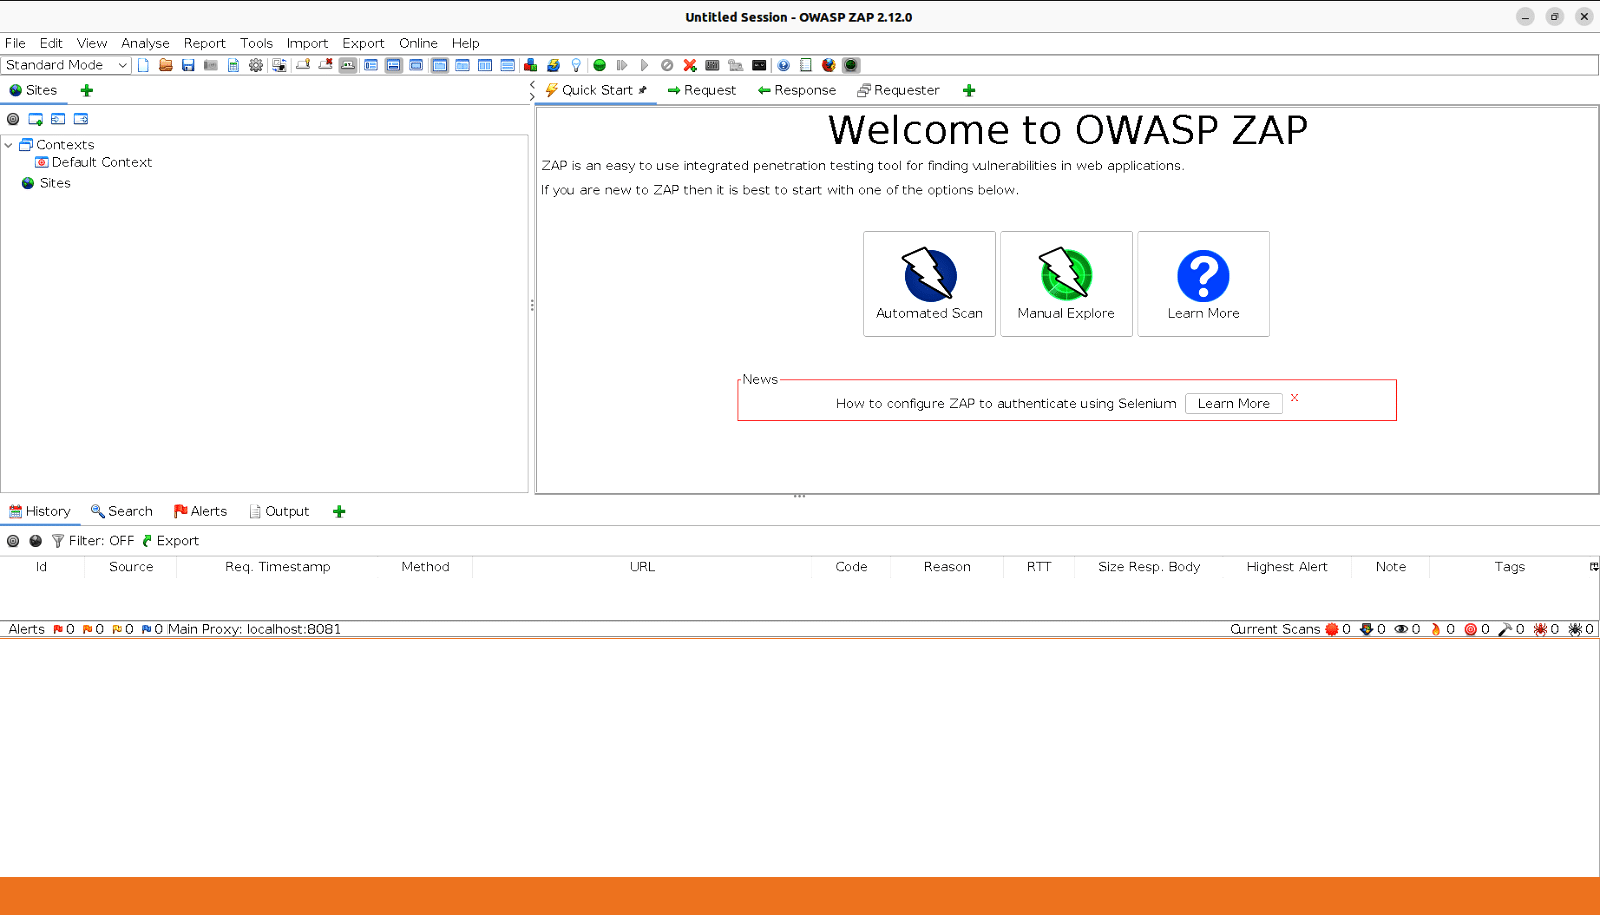
Follow the installation steps and finish the installation.
Run the application once the installation is completed and then click on ‘Automated Scan’, as shown in Figure 2.
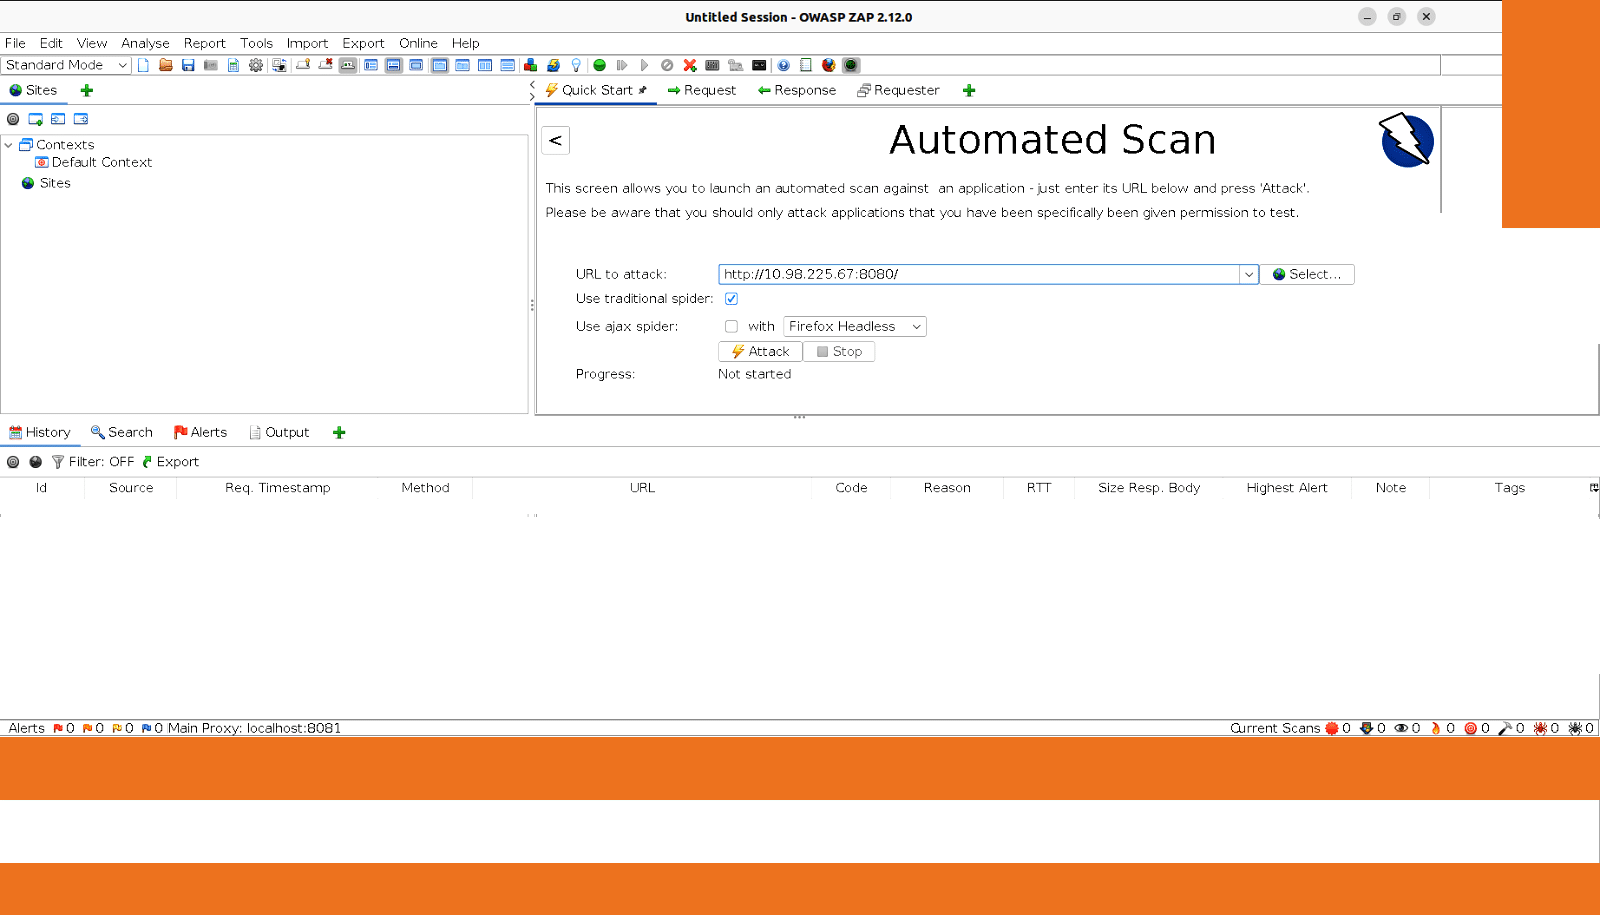
Give the application URL that we have deployed in the minikube cluster and click on ‘Attack’, as shown in Figure 3.
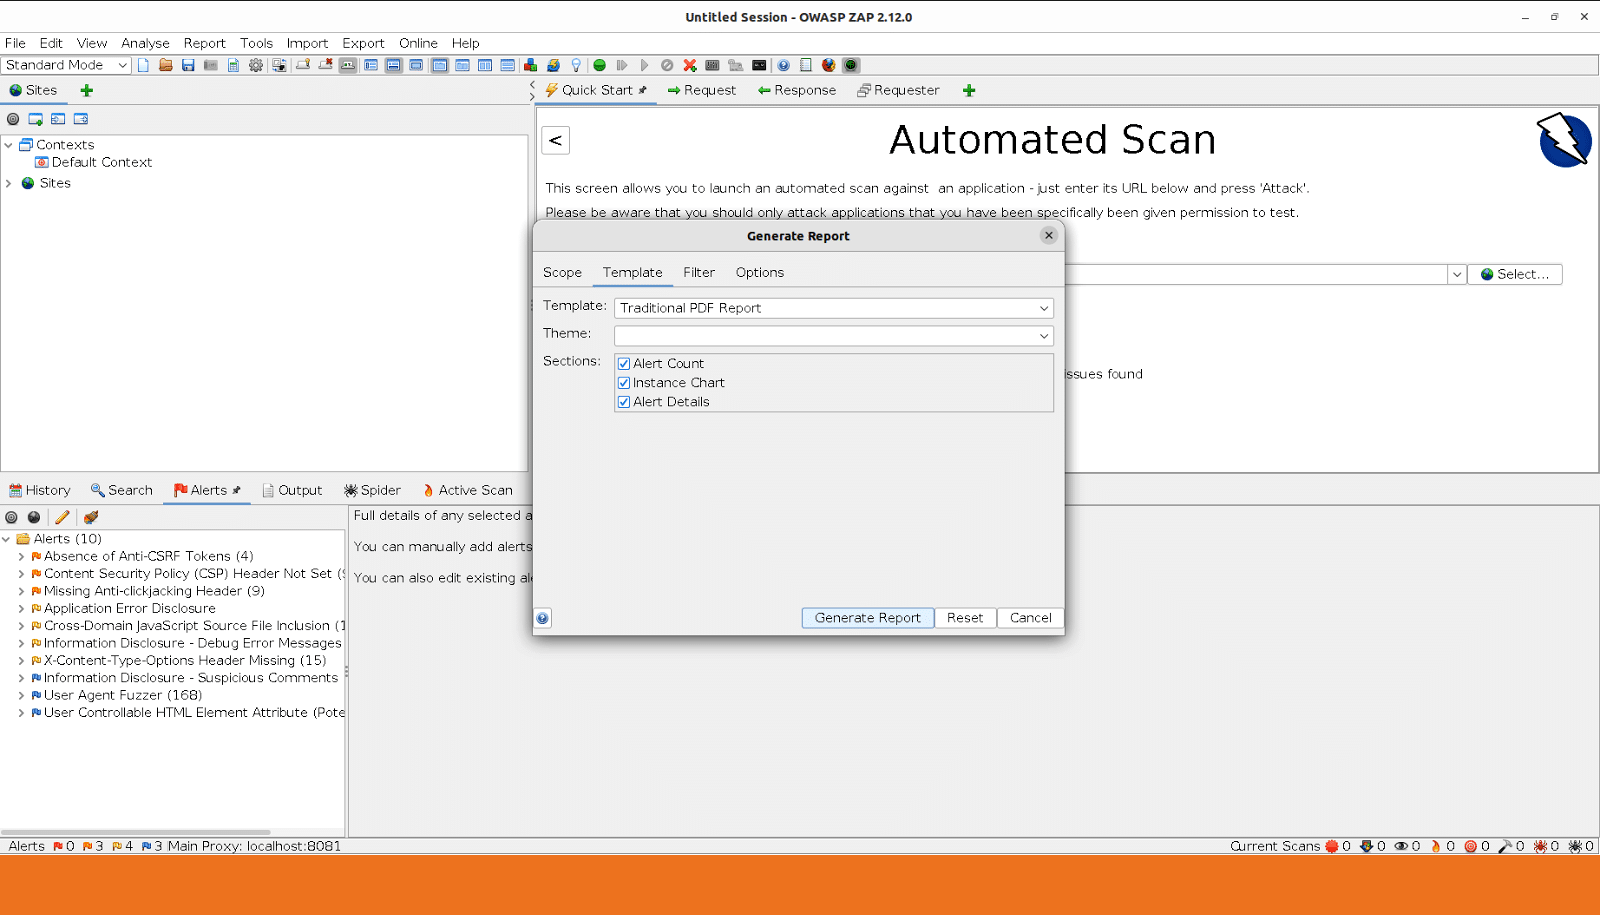
Wait until ‘Active Scan’ is completed. Now click on ‘Report Menu’ and select ‘Generate Report’. Select the appropriate ‘Template’ (Figure 4).
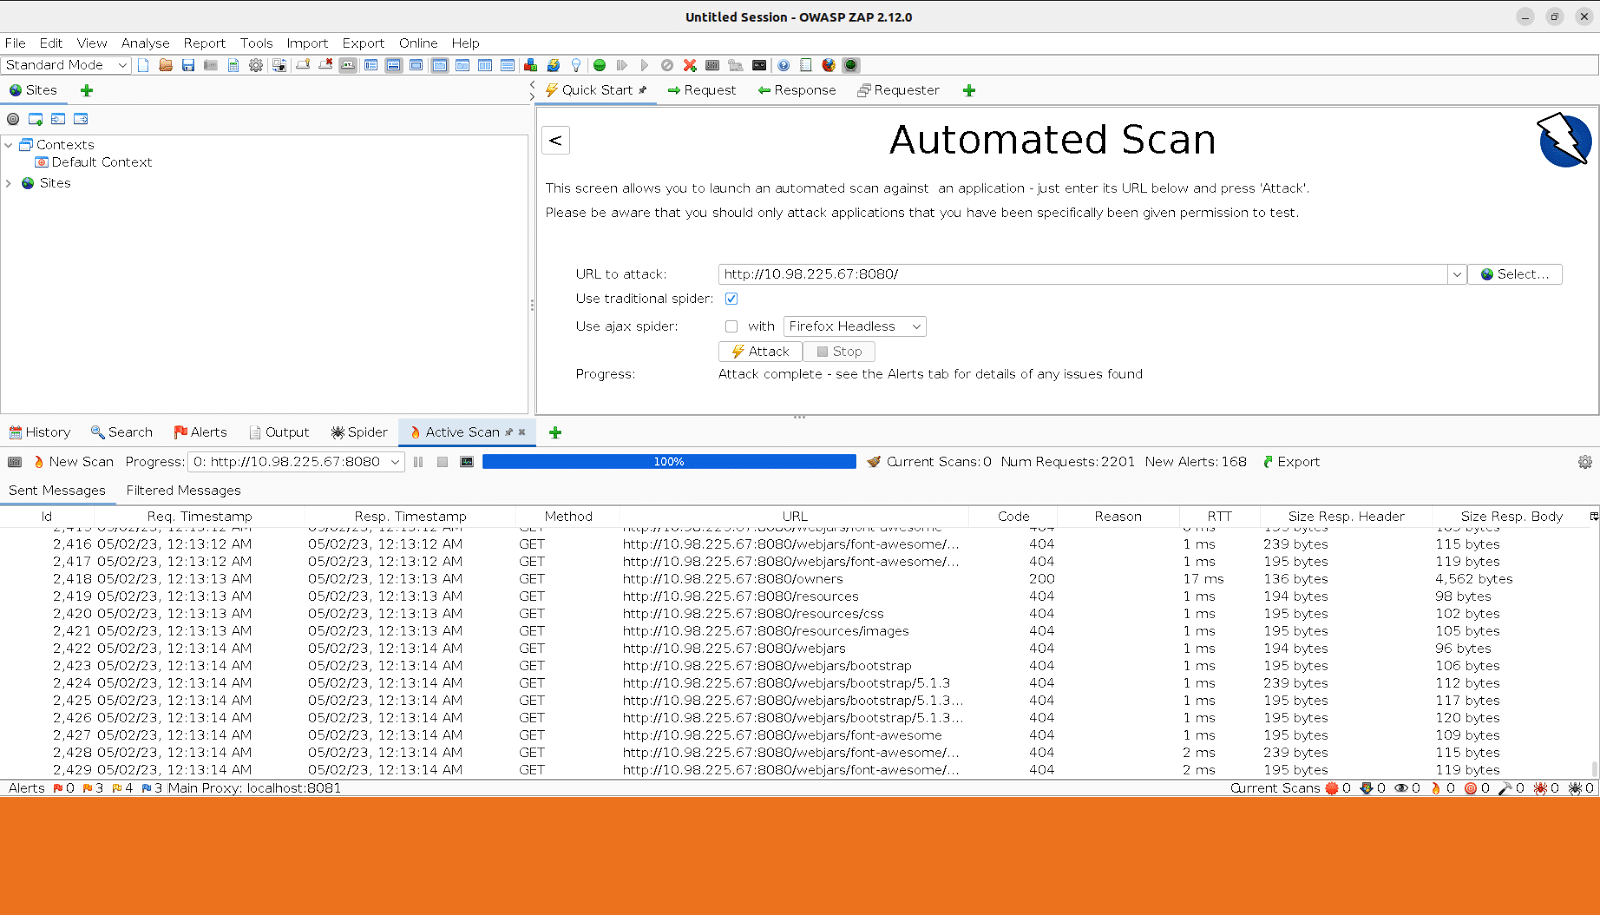
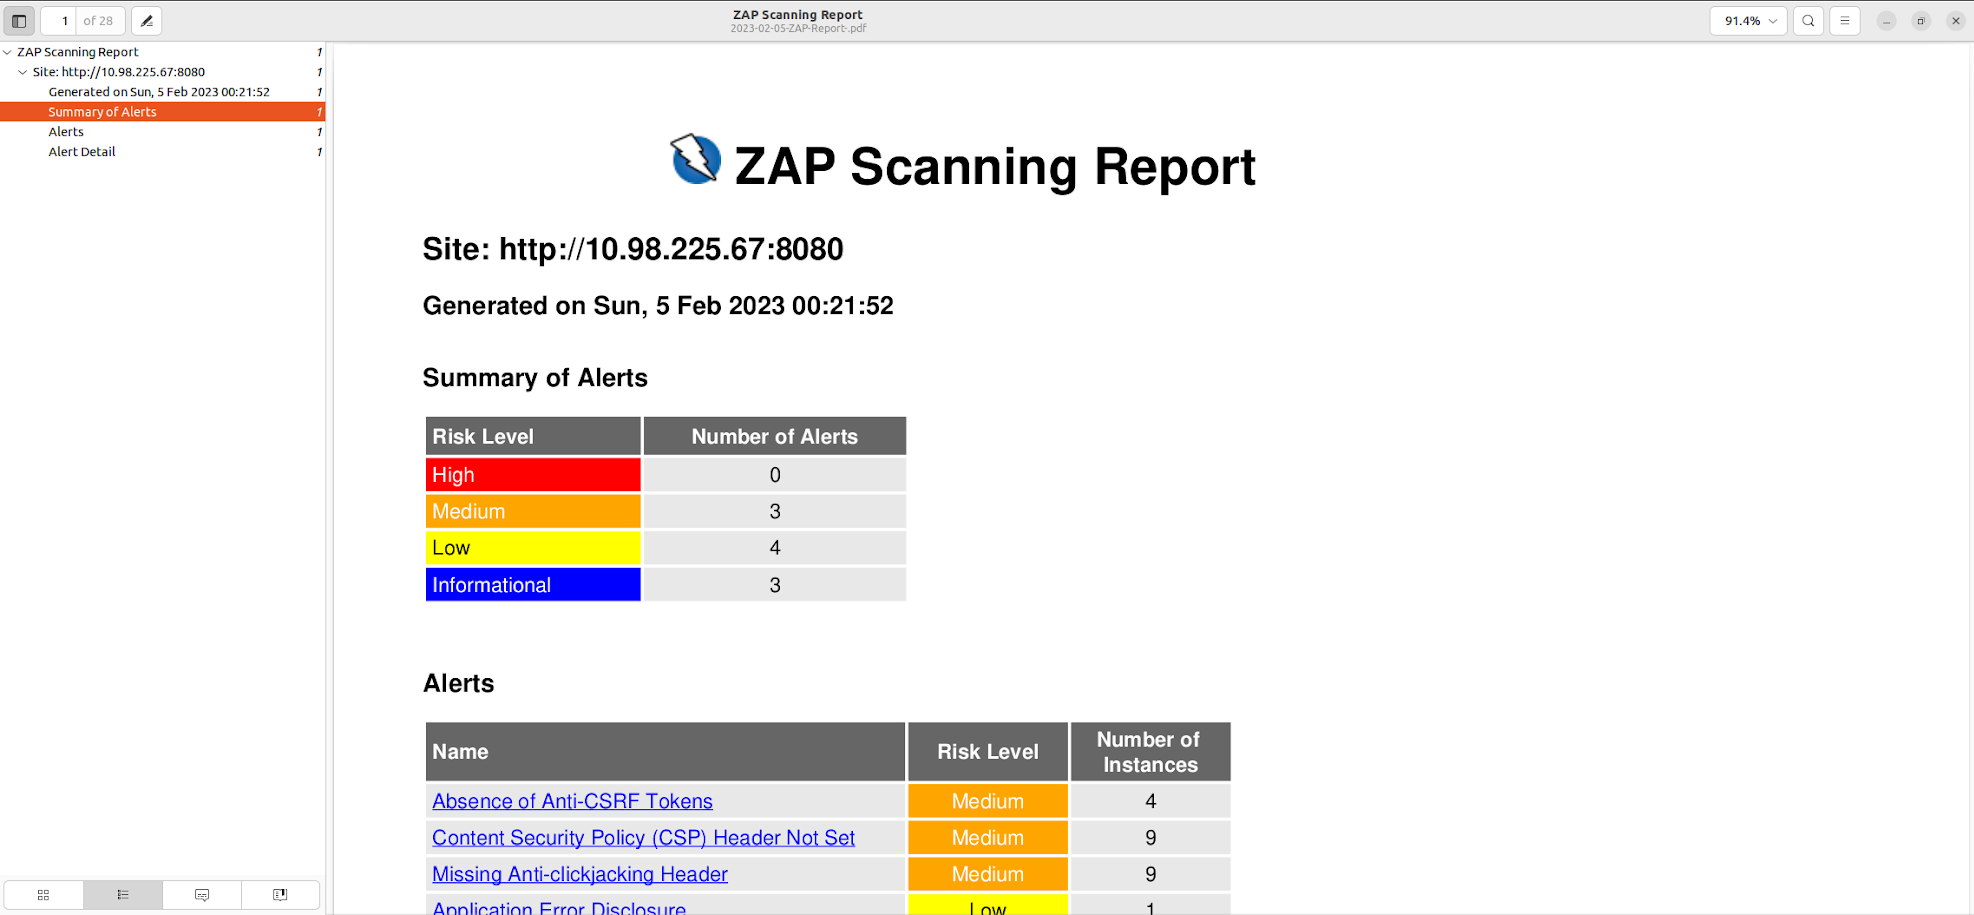
You can even generate the PDF of the scanning report.
OWASP ZAP can also be run using Docker. In fact, Docker provides a convenient way to run OWASP ZAP in a consistent environment, regardless of the underlying operating system.


