


The Eclipse IDE is a popular open source platform for application development. It provides a comprehensive set of tools for developing and debugging applications written in various programming languages, including Java, C/C++, Python, and others. Let’s find out how to install this IDE on Ubuntu LTS 22.04, and why Java developers use this tool to increase their efficiency and productivity.
Eclipse offers rich and useful features such as code editing, debugging, version control, project management, and integration with other tools. It also has a large ecosystem of plugins and extensions that extend its functionality; you can write your own plugins as well.
The Eclipse IDE (integrated development environment) is widely used by developers and organisations for building applications, APIs, mobile apps, and more. Its flexibility and extensibility make it a popular choice for a wide range of software development projects. However, which IDE is better among the many available remains a matter of personal choice.
This IDE has several benefits that make it a popular choice for application and API developers, some of which are listed in Table 1.
| Cross-platform support | It can run on different operating systems such as Linux, Windows, and macOS. |
| Wide language support | Supports multiple programming languages such as Java, C/C++, Python, and more. |
| Customisable and extensible | Highly customisable; development teams can modify its interface and functionality based on their needs. |
| Robust debugging tools | Robust debugging tools that enable development teams to identify and fix errors in their code quickly. |
| Collaborative development | Enables collaborative development through tools such as Git and other version control systems. |
| Cost-effective | Open source software and is free to use. |
| Large community support | Eclipse has a large and active community of developers and users. Hence, there is a large repository of documentation and tutorials, and many support forums. |
Table 1: Benefits of Eclipse IDE
Installation of Eclipse in Ubuntu LTS 22.04
Let’s update the packages in the Ubuntu operating system first before installing Eclipse.
osfy@ubuntu:~$ sudo apt-get update
[sudo] password for osfy:
Hit:1 https://download.docker.com/linux/ubuntu jammy InRelease
Ign:2 https://pkg.jenkins.io/debian-stable binary/ InRelease
Hit:3 https://pkg.jenkins.io/debian-stable binary/ Release
Get:4 https://dl.yarnpkg.com/debian stable InRelease [17.1 kB]
<Snipped>

Hit:24 https://ppa.launchpadcontent.net/openshot.developers/ppa/ubuntu jammy InRelease
Fetched 814 kB in 5s (157 kB/s)
Reading package lists... Done

W: Some index files failed to download. They have been ignored, or old ones used instead.
Next, verify the Java installation.
osfy@ubuntu:~$ java -version
openjdk version “11.0.18” 2023-01-17
OpenJDK Runtime Environment (build 11.0.18+10-post-Ubuntu-0ubuntu122.04)
OpenJDK 64-Bit Server VM (build 11.0.18+10-post-Ubuntu-0ubuntu122.04, mixed mode, sharing)
If Java is not already installed then use sudo apt-get install default-jdk to install JDK.
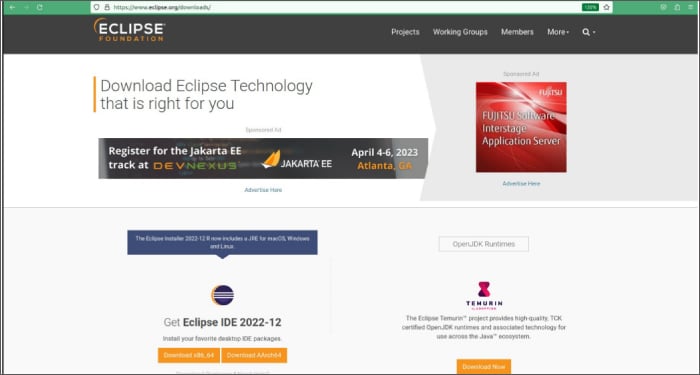
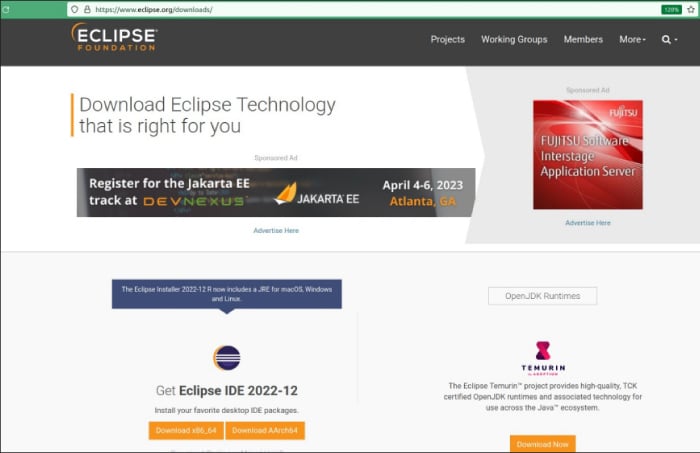
Now, download the Eclipse IDE from the official website.
- Go to the Eclipse download page (https://www.eclipse.org/downloads/).
- Select the appropriate package for Ubuntu; download the Linux 64-bit version.
Extract the contents of the file to a directory of your choice by right clicking on tar file or use:
tar -zxvf eclipse-inst-jre-linux64.tar.gz.
- Click on eclipse-inst file in the extracted directory (as shown in Figure 2).
- Select Eclipse IDE for Java developers.
- Select Java Installer and click on Install.
- Wait until the installation is complete.
- Once the installation is completed, click on Launch.
- Select a directory as Workspace. Eclipse IDE uses the Workspace directory to store its preferences and development artifacts.
- Click on Launch again.
You can also launch Eclipse from the applications menu by searching for ‘Eclipse’, or you can open Eclipse IDE for Java Developers – 2022-12.desktop. Get the Exec value from it and execute it from Terminal to start Eclipse.
#!/usr/bin/env xdg-open
[Desktop Entry]
Type=Application
Terminal=false
Encoding=UTF-8
Version=1.1
Name=Eclipse IDE for Java Developers - 2022-12
StartupWMClass=Eclipse
Exec=/home/osfy/eclipse/java-2022-12/eclipse/eclipse
Categories=Development;IDE;
Icon=/home/osfy/eclipse/java-2022-12/eclipse/icon.xpm
Eclipse for Java developers
The Eclipse IDE is very popular among Java developers.
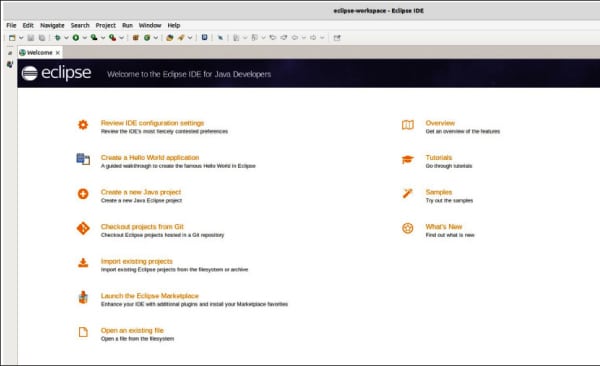
Let’s configure the Show View first. In Eclipse, the Show View feature allows developers to open and manage various views in the IDE. This feature provides a quick and easy way to access and manage different aspects of a project or the IDE itself.
There are many different views available in Eclipse, including the ones listed in Table 2.
| Package Explorer | Displays the files and folders in a project. Objective: To navigate and manage the project’s structure. |
| Outline | Displays the structure of the currently selected file. Objective: To find classes, methods, and fields available in the file. |
| Console | Displays the output of the program. Objective: To find any errors or debugging information. |
| Problems | Displays any errors or warnings in the code. Objective: To identify and fix issues. |
| Debug | Displays information about the current debugging session, including breakpoints, variables, and call stacks. Objective: To troubleshoot issues in the program. |
To access a view in Eclipse, go to the Window menu and select Show View. The Show View feature in Eclipse is a powerful tool that helps developers to manage their projects and the IDE itself, making it easier to write, debug, and test code.
Once we have configured views as per our liking, let’s click on Create Java
Project in Project Explorer or Package Explorer view (Figure 4).
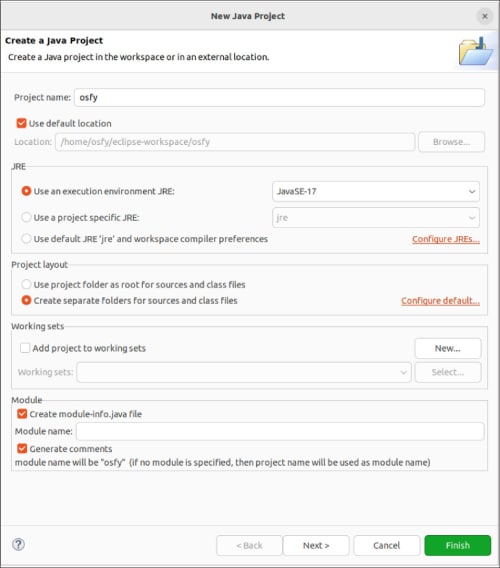
Define the Java build settings and click on Finish. Next, create a HelloWorld.java file with the following content:
package com.osfy;

public class HelloWorld {

public static void main(String[] args) {
// TODO Auto-generated method stub
System.out.println(“Hello World”);

}

}
Right click on the Java file and click on Run As -> Java Application.
Verify the Outline section with Class and Method information. Console provides the output of the program while Project Explorer gives structure details of the project.
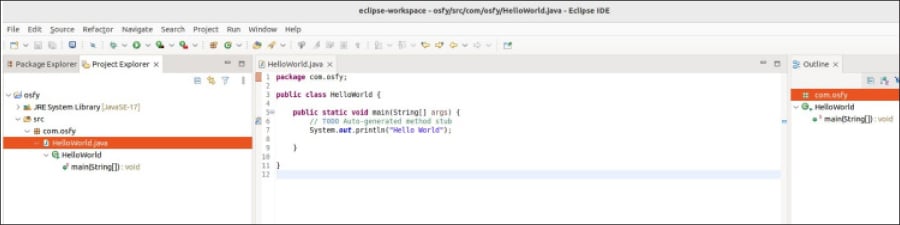
Eclipse provides a powerful code editor that supports syntax highlighting, code completion, and code templates. It helps developers to write, edit, and debug Java code. Compilation errors will be marked in the editor itself and you can also find them in the Problems section.
Use Shift+Ctrl+B to set the toggle point. In Eclipse, a toggle point is a temporary breakpoint that can be quickly enabled or disabled during a debugging session. Toggle points are useful when you want to temporarily pause the execution of a program to inspect a specific line of code.
]package com.osfy;

public class HelloWorld {

static String str1 =”Hello “;
static String str2 =”World!!!”;

public static void main(String[] args) {
// TODO Auto-generated method stub
System.out.println(“Hello World”);
str1 = “Hellooooo “;
System.out.println(str1 + str2);
}

}
To set a toggle point in Eclipse, follow these steps:
1. Open the Java file that you want to debug.
2. Place the cursor on the line where you want to set the toggle point.
3. Press Ctrl+Shift+B to set the toggle point.
4. Run the program in debug mode.
5. When the program reaches the line with the toggle point, it will pause execution.
6. How do you enable or disable the toggle point? Simple — right click on the line with the toggle point and select Toggle Breakpoint.
7. How do you remove the toggle point? This is simple too — right-click on the line with the toggle point and select Remove Breakpoint.
Toggle points are useful for debugging in Eclipse.

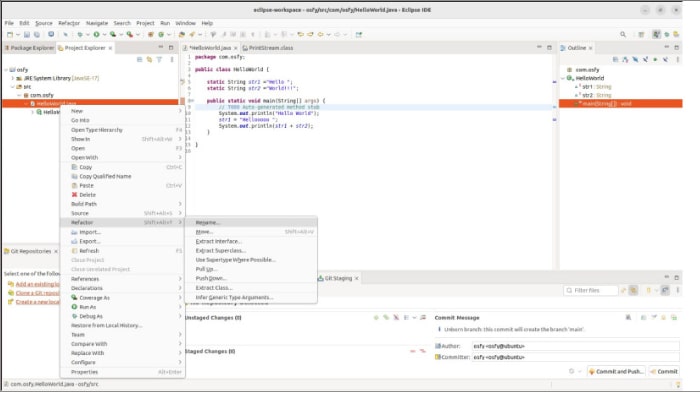
Eclipse provides powerful refactoring tools that allow developers to quickly make changes to their code without breaking it.
It supports collaboration features, such as distributed version control or Git integration, which can help developers to work more effectively in teams.
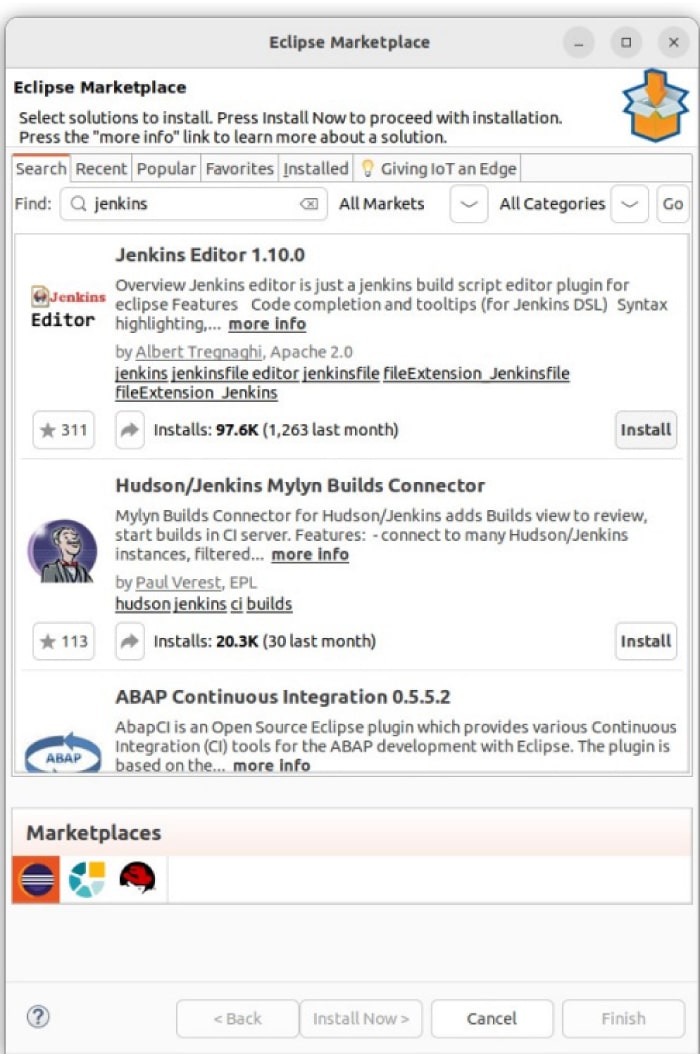
Eclipse has a rich ecosystem of plugins that can extend its functionality. Marketplace has plugins for testing, version control, and continuous integration tools such as Jenkins.
Go to the Help menu and select Eclipse Marketplace to install plugins (refer Figure 8).
Overall, Eclipse is a comprehensive tool for Java developers that can help them to be more productive and efficient in their daily work.


