


In the world of web development, where speed and efficiency are paramount, developers are constantly on the lookout for frameworks that offer a lightweight yet powerful approach. HyperApp, a JavaScript framework, has gained popularity for its minimalistic design and efficient functionality. In this article, we will explore its features, examine its benefits, and provide real-world examples.
HyperApp has emerged as a modern JavaScript library that empowers developers to build fast and feature-rich applications in the browser. With its minimalist design and focus on performance, HyperApp offers a compelling alternative for developers seeking a lightweight yet powerful framework.
What is HyperApp?
HyperApp is a front-end JavaScript framework that focuses on simplicity and performance. It follows a functional programming paradigm and draws inspiration from React, Redux, and Elm. With its tiny footprint ( just1KB gzipped), HyperApp offers an ideal solution for building fast and responsive web applications.
This minimalistic JavaScript library weighs just a few kilobytes, making it ideal for building lightweight applications. It follows a unidirectional data flow architecture, similar to other popular frameworks like Redux, to ensure predictable state management. Its small size and efficient design translate into faster load times and improved performance for web applications.
To get started with HyperApp, we need to set up the development environment and create a basic project structure following the steps mentioned here:
1. Install HyperApp using npm or Yarn (use Python SDK as needed).
2. Create a new HyperApp project using the CLI or manually set up the project structure.
3. Set up a basic HyperApp component using JSX syntax.
4. Render the component to the DOM.
HyperApp leverages JSX syntax, allowing developers to write expressive and declarative UI components. It boasts a simple and intuitive API, making it easy for developers to grasp and leverage its capabilities. The library employs a declarative approach, where developers describe the desired user interface state and let HyperApp handle the rendering and updates. This approach promotes code clarity and maintainability, allowing developers to focus on building application logic rather than worrying about the intricacies of the underlying framework.
HyperApp leverages a virtual DOM (VDOM) implementation to efficiently update and render UI components. By comparing the VDOM with the actual DOM, HyperApp minimises unnecessary re-renders, resulting in optimal performance. The library’s efficient Diffing algorithm ensures that only the necessary updates are applied, reducing rendering overhead and enabling fast and responsive user interfaces.
Reactive state management
HyperApp incorporates a reactive state management system that simplifies data handling within applications. It provides a central store, inspired by Redux, where the application state is managed. Any changes to the state trigger automatic re-rendering of relevant components, ensuring a consistent and up-to-date UI. HyperApp’s reactive approach allows for easier state management and promotes the development of scalable and maintainable applications.
Architecture of HyperApp
HyperApp embraces a modular architecture, allowing developers to selectively include features and extensions based on their project requirements. The library provides a rich ecosystem of plugins and community-contributed packages, offering additional functionalities such as routing, HTTP requests, and form handling. This modular approach promotes code reusability and empowers developers to customise the development environment based on their specific needs.
With its lightweight design and efficient rendering mechanism, HyperApp delivers exceptional performance, even in complex applications. The library’s focus on minimalism and performance optimisation enables faster page loads, smoother transitions, and improved user experiences. HyperApp’s scalability is evident in its ability to handle large data sets and complex application logic while maintaining optimal performance.
HyperApp benefits from an active and growing community that contributes to its ecosystem with plugins, tools, and resources. Its community-driven nature ensures ongoing support, updates, and documentation, making it easier for developers to get started and collaborate.
With HyperApp, developers can create responsive and scalable applications while maintaining code clarity and simplicity. As the ecosystem continues to grow and evolve, HyperApp is poised to play an increasingly significant role in the development of performant web applications.
| Feature | HyperApp | React | Vue.js | Angular |
| Size | Lightweight (~7KB) | Larger (~100KB) | Larger (~80KB) | Larger (~500KB) |
| Virtual DOM | Yes | Yes | Yes | Yes |
| Performance | Fast | Fast | Fast | Fast |
| Reactivity | Reactive state | Reactive state | Reactive state | Two-way binding |
| Learning curve | Easy | Moderate | Moderate | Steep |
| State management | Built-in | Redux (external) | Vuex (external) | Built-in |
| Component reusability | High | High | High | High |
| Community support | Growing | Vast | Vast | Vast |
| Extensibility | Modular | Plugin ecosystem | Plugin ecosystem | Module-based |
| Mobile support | Yes | Yes | Yes | Yes |
| Documentation | Well-documented | Comprehensive | Comprehensive | Comprehensive |
HyperApp compared with other popular JS frameworks
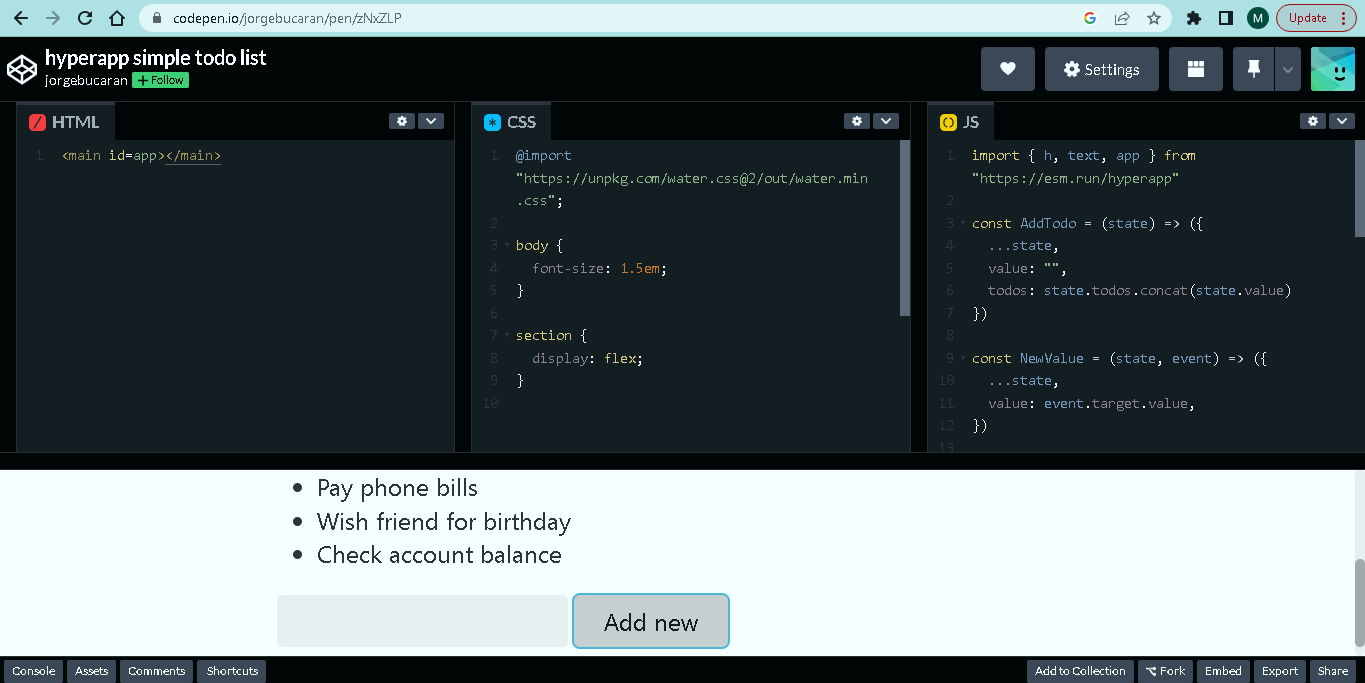
Building a user interface with HyperApp
This lightweight JavaScript library for building user interfaces follows a declarative approach similar to React but with a much smaller footprint. Here’s a step-by-step guide on how to build a user interface with HyperApp.
Step 1: Set up a new project
Start by creating a new HTML file and include the HyperApp library. You can either download the library and reference it locally or use a content delivery network (CDN) to include it in your project. Here’s an example using the CDN:
<!DOCTYPE html>
<html>
<head>
<meta charset=”UTF-8”>
<title>HyperApp UI</title>
<script src=”https://unpkg.com/hyperapp”></script>
</head>
<body>
<div id=”app”></div>
<script src=”app.js”></script>
</body>
</html>
Step 2: Define the initial state
In your JavaScript file (e.g.,
app.js), start by defining the initial state of your application. The state represents the data that will drive your UI. For example:
const state = {
};
count: 0
Step 3: Define actions
Actions in HyperApp are responsible for updating the state. They receive the current state as the first argument and can return a new state. Here’s an example of an action that increments the count:
const actions = {
increment: () => (state) => ({ count: state.count + 1 })
};
Step 4: Define the view
The view describes the UI components and their structure. It’s a function that returns a virtual DOM representation using HyperApp’s JSX-like syntax.
const view = (state, actions) => (
<div>
<h1>Count: {state.count}</h1>
<button onclick={actions.increment)>Increment</button>
</div>
);
Step 5: Mount the application
Finally, mount the application by calling the ‘app’ function from HyperApp, passing the state, actions, and view as arguments. Here’s an example:
const main = app(state, actions, view, document.getElementById(‘app’));
That’s it! A basic HyperApp application with a simple UI has been developed. Whenever the ‘Increment’ button is clicked, it will trigger the increment action, updating the state and re-rendering the view.
API request handling with HyperApp applications
Actions, effects, and asynchronous operations are frequently used in combination to handle API requests in HyperApp applications.
The following steps and source codes elaborate how to manage API calls in a HyperApp application.
Step 1: Define the initial state
Start by defining the initial state of your application, including properties related to API data. For example:
const state = {
todos: [ ],
isLoading: false,
};
Step 2: Define actions for API requests
Create actions that handle API requests. Typically, these actions will trigger asynchronous operations and update the state accordingly. Here’s an example of an action that fetches to-dos from an API:
const actions = {
fetchTodos: () => async (state, actions) => {
actions.setLoading (true);
actions.setError(null);
try {
const response = await fetch(‘https://api.example.com/todos’);
const todos = await response.json();
actions.setTodos (todos);
} catch (error) {
actions.setError(‘Failed to fetch todos’);
console.error(‘Failed to fetch todos:’, error);
}
actions.setLoading (false);
},
setTodos: (todos) => ({ todos }),
setLoading: (isLoading) => ({ isLoading }),
setError: (error) => ({ error }),
};
In the above example, fetchTodos is an asynchronous action that sets the isLoading state to true, performs the API request using fetch, and updates the todos state with the fetched data. If an error occurs during the request, it is logged to the console.
Step 3: Define the view
Update your view function to conditionally render components based on the state. For example, you can show a loading indicator when the API request is in progress. Here’s an updated example:
const view = (state, actions) => (
<div>
{state.isLoading ? (
<div>Loading...</div>
) : (
<div>
<ul>
{state.todos.map((todo) => (
<li>{todo.title}</li>
))}
</ul>
<button onclick={actions.fetchTodos}>Fetch Todos</button>
</div>
)}
</div>
);
Step 4: Mount the application
Mount the application as before, using the updated state, actions, and view functions:
const main = app(state, actions, view, document.getElementById(‘app’));
Now, when the ‘Fetch Todos’ button is clicked, it will trigger the fetchTodos action, which will make the API request, update the state with the fetched to-dos, and re-render the view.
We can extend this example by adding more actions for different API requests, handling request parameters, error handling, and more. Additionally, you might want to consider using HyperApp effects, such as the http effect, or external libraries like Axios for more advanced API handling.
Testing and debugging HyperApp applications
Testing and debugging are crucial steps in the development process of HyperApp applications to ensure that the application functions correctly and handles potential issues gracefully.
Here are some approaches and tools you can use for testing and debugging HyperApp applications.
Unit testing: Write unit tests to verify the behaviour of individual components, actions, or utility functions in isolation. Tools like Jest or Mocha can be used for testing HyperApp applications. Unit tests help identify and fix bugs at an early stage and ensure that changes to the codebase don’t introduce regressions.
Integration testing: Perform integration tests to validate the interaction between different components, actions, and the overall application behaviour. Integration tests can be written using testing frameworks like Cypress or Selenium, which simulate user interactions and verify the application’s functionality across multiple components.
Debugging tools: HyperApp provides debugging tools that can help identify and fix issues. For example, you can use the Redux DevTools extension for debugging state changes, actions, and their payloads. HyperApp also has a built-in app({ … }) method for logging state changes and rendering performance optimisations.
Console logging: Insert console.log statements at critical points in your code to log values, state changes, or function outputs during runtime. Console logging can help track the flow of execution and identify unexpected behaviour or incorrect data.
Error handling: Implement proper error handling and error messages to make debugging easier. Use try/catch blocks around critical sections of code, especially asynchronous operations and API requests. Log or display meaningful error messages to assist in identifying and resolving issues.
Browser developer tools: Leverage the browser’s developer tools, such as the JavaScript console, network tab, and debugger. These tools allow you to inspect network requests, log JavaScript errors, step through code execution, and examine the state and structure of the application’s DOM.
Code review: Have peers or team members review your code. Code reviews can help identify potential issues, provide valuable feedback, and ensure code quality.
User testing: Involve real users or testers in the process to gather feedback and identify potential issues from a user’s perspective. User testing can uncover usability problems, edge cases, or unexpected behaviour that may not have been detected during development.
By combining these testing and debugging approaches, developers can ensure the reliability, functionality, and user experience of their HyperApp applications.


