Unclutter your Downloads folder in Windows with this extremely useful file classifier which is written in Python (Automate File Classification). After running this script, you will be able to manage your downloads with ease.
Internet users download several files to the Downloads folder of Windows OS. If you examine the contents of your Downloads folder (C:\Users\<user-name>\Downloads) you might find various files in diverse formats like MP3, PDF, docs, srt, Zip, MP4, etc. These files populate your C drive, and then you start moving the files from the Downloads folder to other folders, which can be a very tiresome and monotonous task.
In this article, I am going to show you how to shift your files from the Downloads folder to their respective folders automatically, by using a simple Python program.
The structure of the program
The complete program contains a Python code and one txt file. The txt file supplies the necessary parameters and rules for moving the files.
First, let’s write a text file called rules.txt, as shown below:
C:\Users\<user-name>\Downloads

R

mp3:D:\music

pdf:D:\all_pdf

exe:D:\software

doc:D:\all_docs

docx:D:\all_docs

srt:D:\all_srts

mp4:D:\all_mp4
The first line indicates the complete path of the Downloads folder; so it is user-specific. The second line states the mode. I used ‘R’ for recursive mode and ‘S’ for simple mode. In recursive mode, the interpreter checks folders inside Downloads. In simple mode, the interpreter checks the files only in the Downloads folder.

The remaining lines show the file extensions with paths. This means that MP3 files must be moved to D:\music folder and so on.
Let us look at the program class1.py, and try and understand it:
# program created by mohit

# official website L4wisdom.com

# email-id mohitraj.cs@gmail.com
Import the mandatory files:
import os

import shutil
The following lines indicate the path of the rules.txt file. In your Windows folder, this should be C:\Users\<user-name>\.
file_path= os.path.expanduser(‘~’)

file_name = file_path+”//” +”rules.txt”

Get the path and mode from rules.txt:
file_t = open(file_name,’r’)

path=file_t.readline()

mode = file_t.readline()

mode = mode.strip(“\n”).lower()

path1 = path.strip(“\n”)
The following function returns a dictionary that contains the rules. The dictionary’s keys behave as extensions of the files, and values act as moved paths, respectively.
def rules():

dict1 = {}

for each in file_t:

each = each.strip(“\n”)

if each.split(“:”,1)[0]:

file_ext,dest_path = each.split(“:”,1)

file_ext = file_ext.strip()

dest_path = dest_path.strip()

dict1[file_ext]=dest_path

return dict1
The following function takes a list of files, and moves the files to their respective folders:
def file_move(files_list):

for file in files_list :

if “.” in file:

ext = file.rsplit(“.”,1)[1]

ext= ext.strip()

if ext in dict1:

dst = dict1[ext]

try:

print file

shutil.move(file, dst)

except Exception as e :

print e
The following function is used when a simple mode is selected:
def single_dir(path1):

os.chdir(path1)

files = os.listdir(“.”)

file_move(files)
The following function is used when a recursive mode is selected:
def rec_dirs(path1):

for root, dirs, files in os.walk(path1, topdown=True, onerror=None, followlinks=False):

#print files

os.chdir(root)

file_move(files)

print “files are moved”

dict1 = rules()

if mode ==’r’:

rec_dirs(path1)

else:

single_dir(path1)

Running the program
So, the program is ready. Now let us convert the Python program into an .exe file.
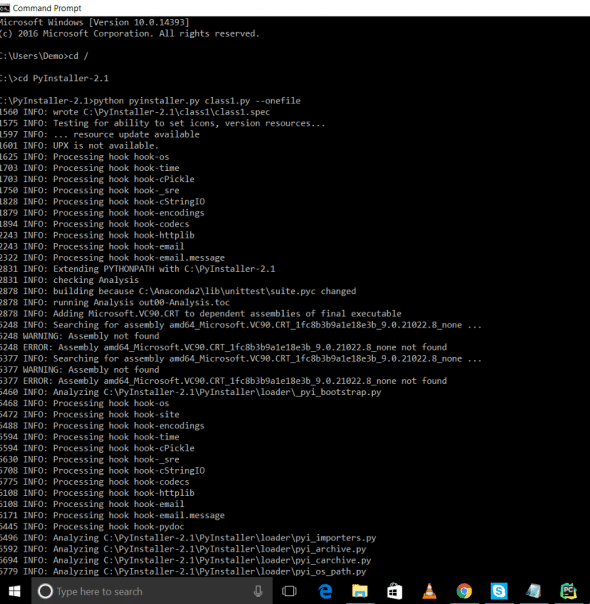
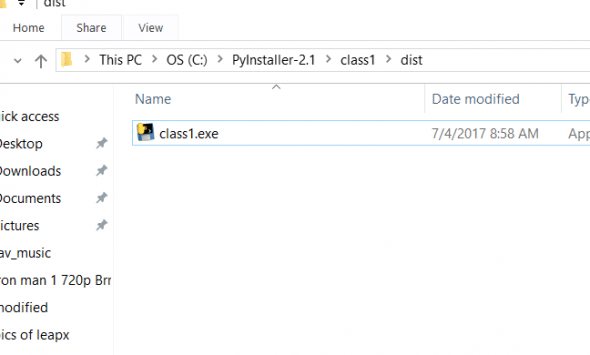
In order to do this, use the installer shown in Figure 1. After conversion, it will make a directory called class1\dist, as shown in Figure 2. Get the class1.exe files from the directory class1\dist and put them in the Windows folder. Before doing that, you can rename the exe file. I am calling it cfr.exe. In this way, cfr.exe is added to the system path. cfr.exe works like a DOS command.

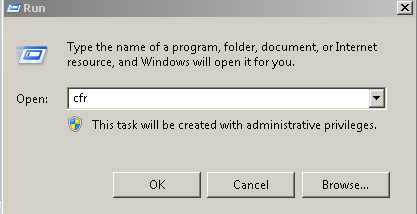
In order to run the program, use Windows’ run facility, as shown in Figure 3.
After a successful run, check the folders as specified in the rules.txt. If the folders do not exist, then the program automatically creates the folders.


