


Data is extremely important because, without it, an organisation will not be able to meet its purpose. Backing up data is even more important, just in case of any disaster — manmade or natural. This article discusses an open source network backup solution, called UrBackup.
Data can be stolen from digital ecosystems by hackers. This data loss can compromise your personal identity, and even bankrupt your company. No matter what you store — years of highly sensitive and confidential data or just pictures of your dogs — you never want to find out that most or all of it has been compromised. This is where data backup comes in to save the day.
Why is backup needed?
The main reason for a backup is to possess a secure archive of important information, whether that’s classified documents for your business or treasured photos of your family, so that you can restore it to your device quickly and seamlessly in the event of loss of data.
What data should I back up?
In general, you should back up data that can’t be replaced easily. Some examples are word documents, spreadsheets, databases (for financial data), customer data, and personal files such as pictures, music files, emails, etc.
As a thumb rule, system folders don’t need a backup. Programs will need to be reinstalled before you can run them and system folders will be restored from your OS installation disk. Be sure to save program installation disks, operating system disks and registration information in a safe place. If you have downloaded any applications, you should always save their installation files.
Most backup solutions are very costly and that’s a good reason to select UrBackup. In this server-client solution, you install the server on your Windows machine, which allows you to back up any Windows, macOS, or Linux machine (using the UrBackup client software) to the desired server.
UrBackup is a simple and easy-to-setup client/server backup system. This is done through a mix of image and file backups, achieving both data safety and quick restoration. File and image backups are created while the system is running without interfering with current processes. UrBackup also constantly observes the folders that you would like to back up in order to quickly find differences from previous backups. Because of that, incremental file backups are really fast. It has a Web interface that shows the status of the clients, current activities, logs and statistics. It allows the administrator to manage backup settings and override the settings for the clients. Previously stored file backups can be browsed, and files from these backups can be extracted or restored.
Drawbacks of UrBackup
Image backups only work with volumes that are NTFS formatted and with the Windows client. The drives must be MBR or GPT partitioned, and the partition should be a primary one. Dynamic volumes are not supported. Mirrored dynamic volumes work, but aren’t officially supported. Backup to VHD files only works for volumes with a size lesser than 2TB.
UrBackup alternatives and competitors are:
1. Bareos (Backup Archiving REcovery Open Sourced)
2. Duplicati
Installation of UrBackup server
1. Download UrBackup server from the link https://hndl.urbackup.org/Server/2.4.13/UrBackup%20Server%202.4.13.exe.
2. Install UrBackup server by accepting the terms and conditions.
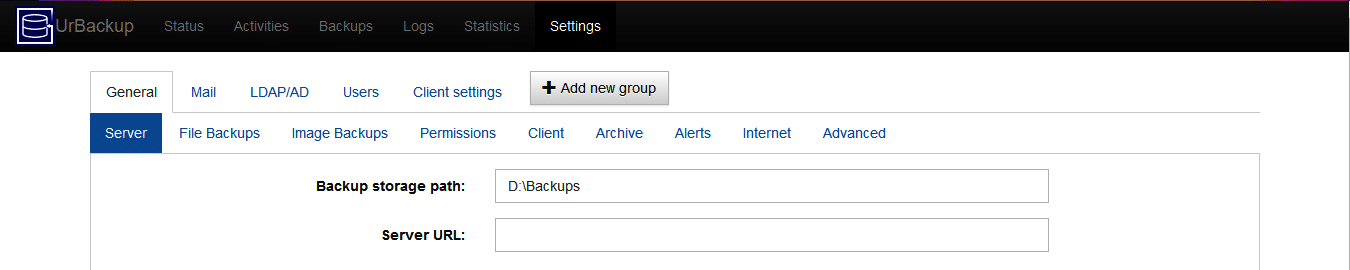
3. Now that you have successfully installed it, go to the Web interface (http://localhost:55414 ), and then to the settings, and configure the folder where UrBackup should store the backups of the clients (see Figure 1).
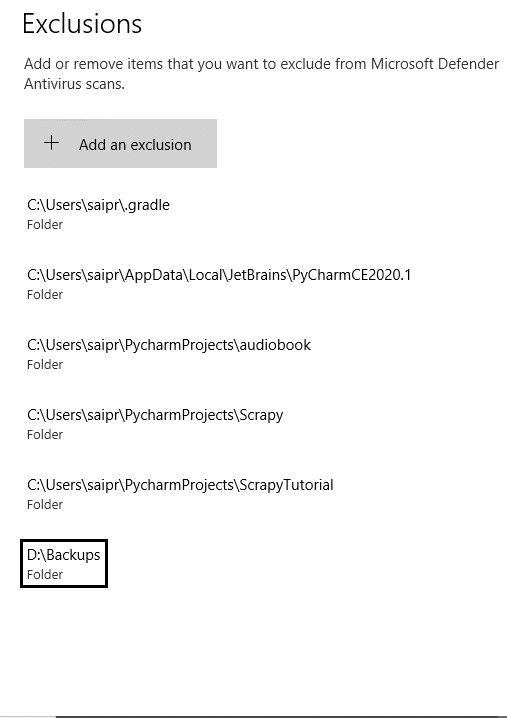
4. After configuring the folder, if you get an error ‘on-access virus scanner active in temporary file path’, just exclude Windows security to scan in the path. This can be done by Search -> Windows security -> Virus and threat protection -> Virus and threat protection settings -> Manage settings -> Add or remove exclusions -> Add exclusion (the path for the backup folder). See Figure 2.

For more information, you can go to https://www.windowscentral.com/how-exclude-files-and-folders-windows-defender-antivirus-scans.
Installation of UrBackup client
If you propose to use the client within the same local network because the server or the client is in your local network during setup time, then you can follow these steps:
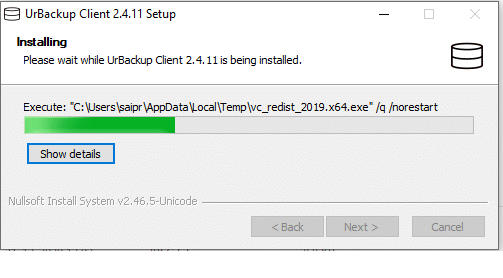
1. Download UrBackup client from the link https://hndl.urbackup.org/Client/2.4.11/UrBackup%20Client%202.4.11.exe
2. Run the installer and accept the terms and conditions. This will successfully install the UrBackup client on the client PC.
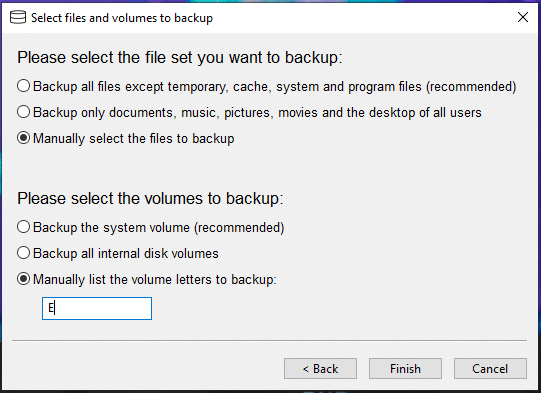
3. When you click on the Finish button, it will open a prompt asking you to select files and volumes to backup.
4. Go to the Web interface of UrBackup. At this point, it will display ‘No Recent Backup’ in the File Backup Status (that’s fine because UrBackup is busy indexing the backup). The backup should automatically start after indexing gets completed. The indexing can take a while (depending upon how much data you’ve got to back up).
| Note: Different colours of the UrBackup client icon inform users about the status of the backup. This can be checked by clicking on the Windows tray icon: a. Red – not connected b. Yellow – backup running c. Green – backup completed recently |
5. After indexing gets completed, the full image and file backup starts automatically. Now you just need to wait for it to complete. After the backup is completed, the status on the client will change to idle and you can check your server status under your client name. If a successful backup is created, then it will display ‘ok’ under file backup status and the image backup status.
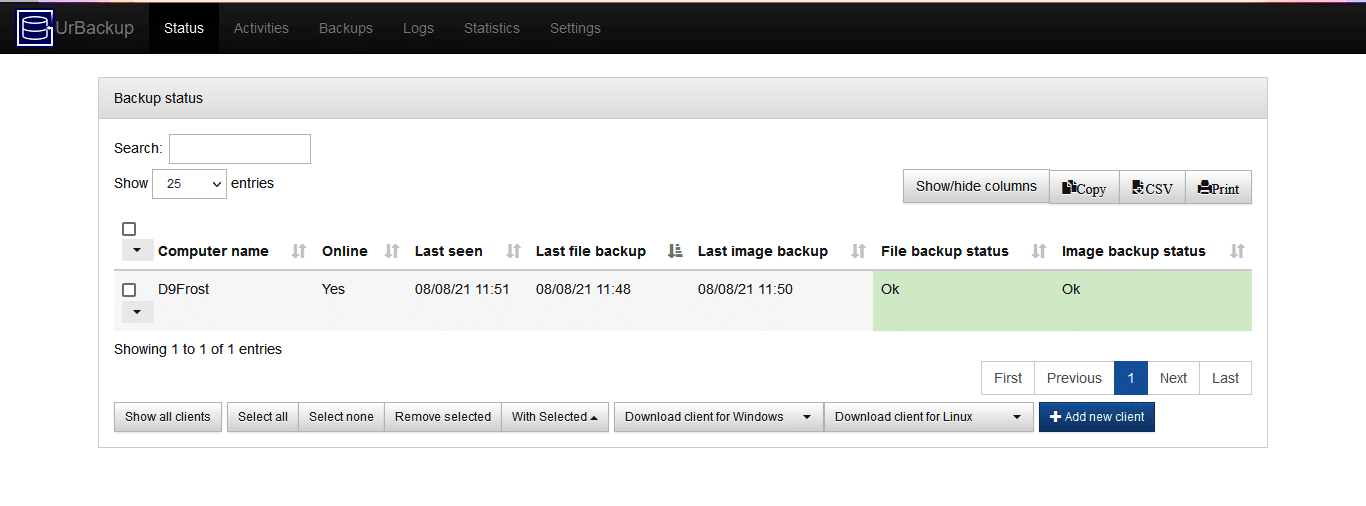
6. Now, check your backups folder on your Windows server. Backup has been saved under your client name folder. In my case, the client PC name is ‘D9Frost’. I have completely backed up Drive E, and you can see the folder ‘agile’ which was present in Drive E in my client machine has been backed up (Figure 7).

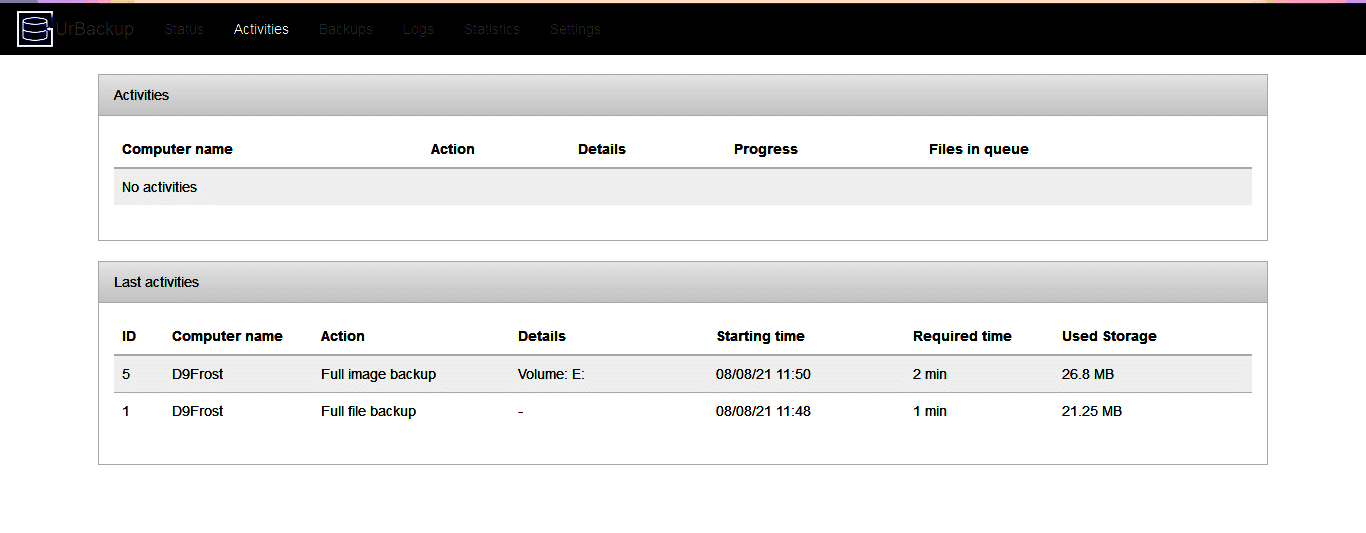
7. By accessing your Web interface, you can also get the information on your recent backups and logs, as well as statistics about storage information (Figure 8).
Congratulations! You now have a very simple, reliable Internet backup system up and running.


